Backcountry must-have item, seal.
Following the overview, I would like to see how to handle it in the practical version. Let's check again whether there are any mistakes in the usage method, not only for those who have never used it, but also for those who use it regularly.
Click here for an overview
After purchasing a seal
The following is the case of POMOCA, but when you purchase a sticker, the following package items are generally included in the set.
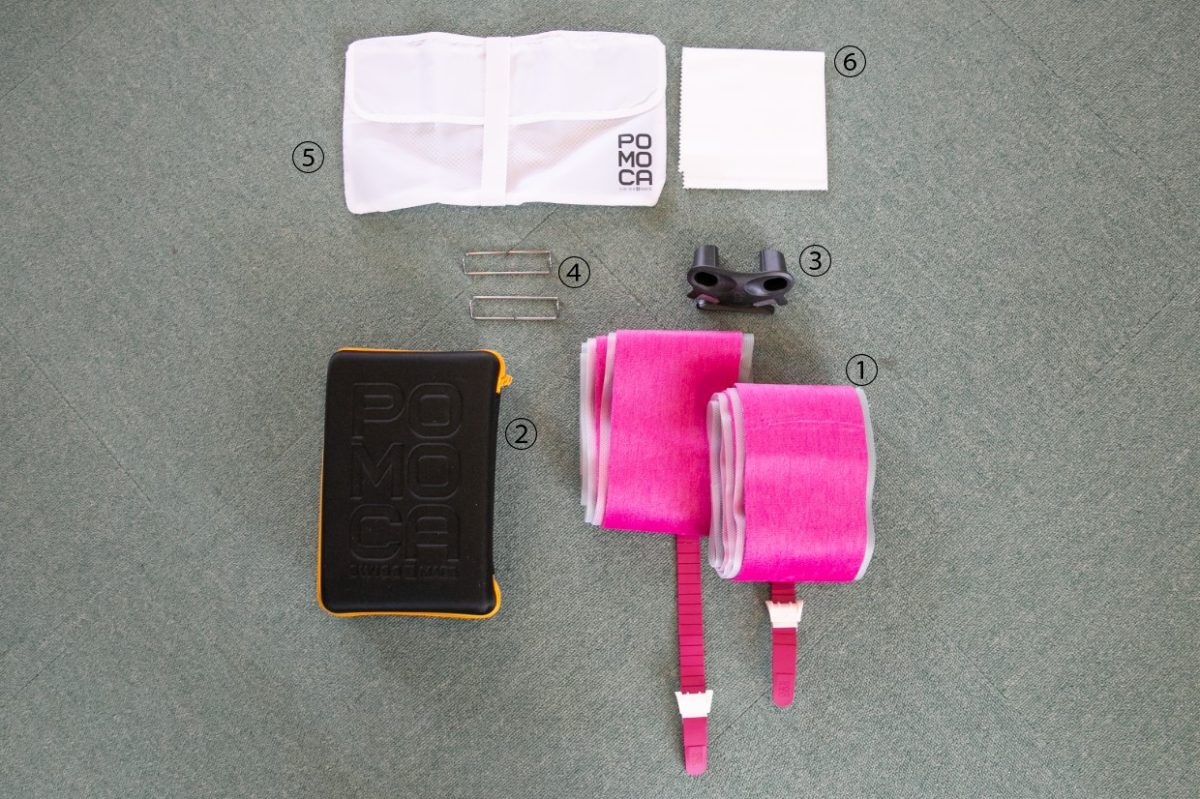
1 Seal body (with cheat sheet)
2 Hard case
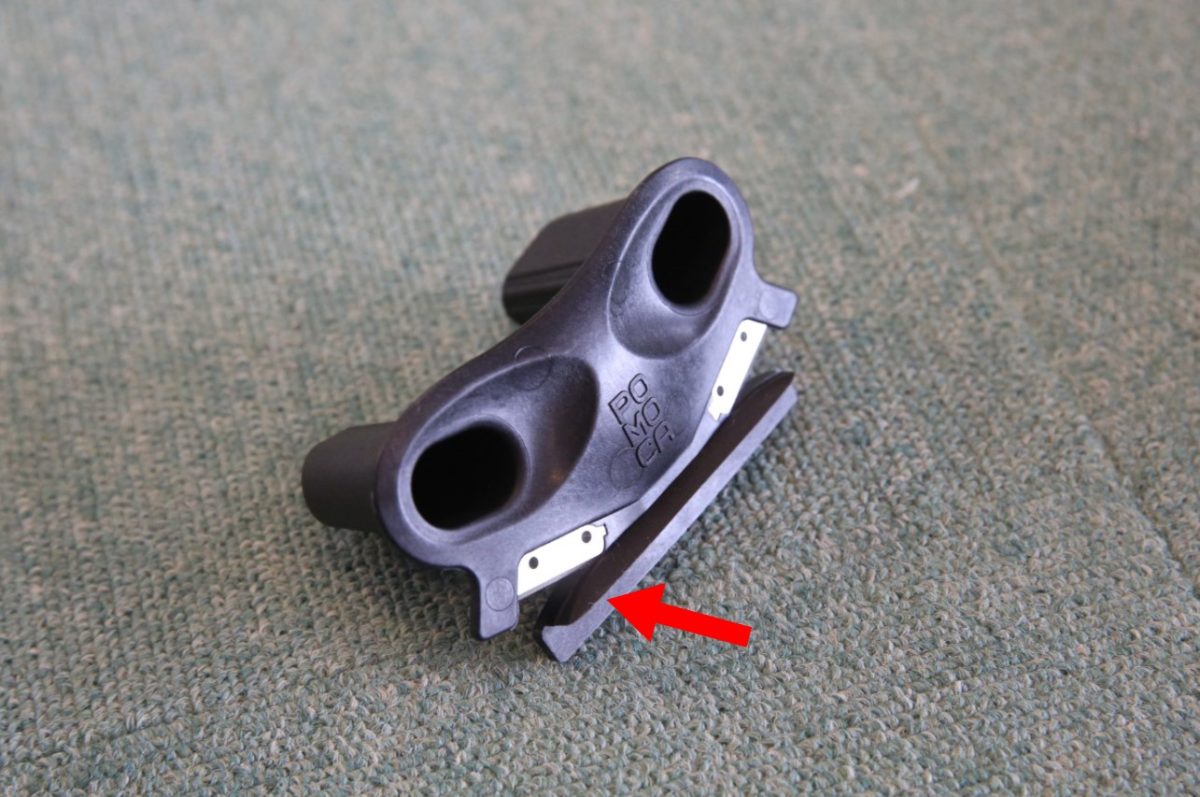
3 Seal cutter
4 Nose part stopper spare
5 Seal case
6 Sheet for removing moisture
The first is the seal body. No. 2 is a hard case containing all 1 to 6. It is almost impossible to take this to the mountains, so it is recommended to use it as a storage case for something. Number 3 is a cutter for cutting stickers to fit the size of your board. The cutting method will be described later. No. 4 is a spare nose stopper. No. 5 soft case is good to use when going to the backcountry or storing in the summer. Number 6 is a sheet that wipes the water off the board when attaching the seal.
After purchasing a sticker... cut it first
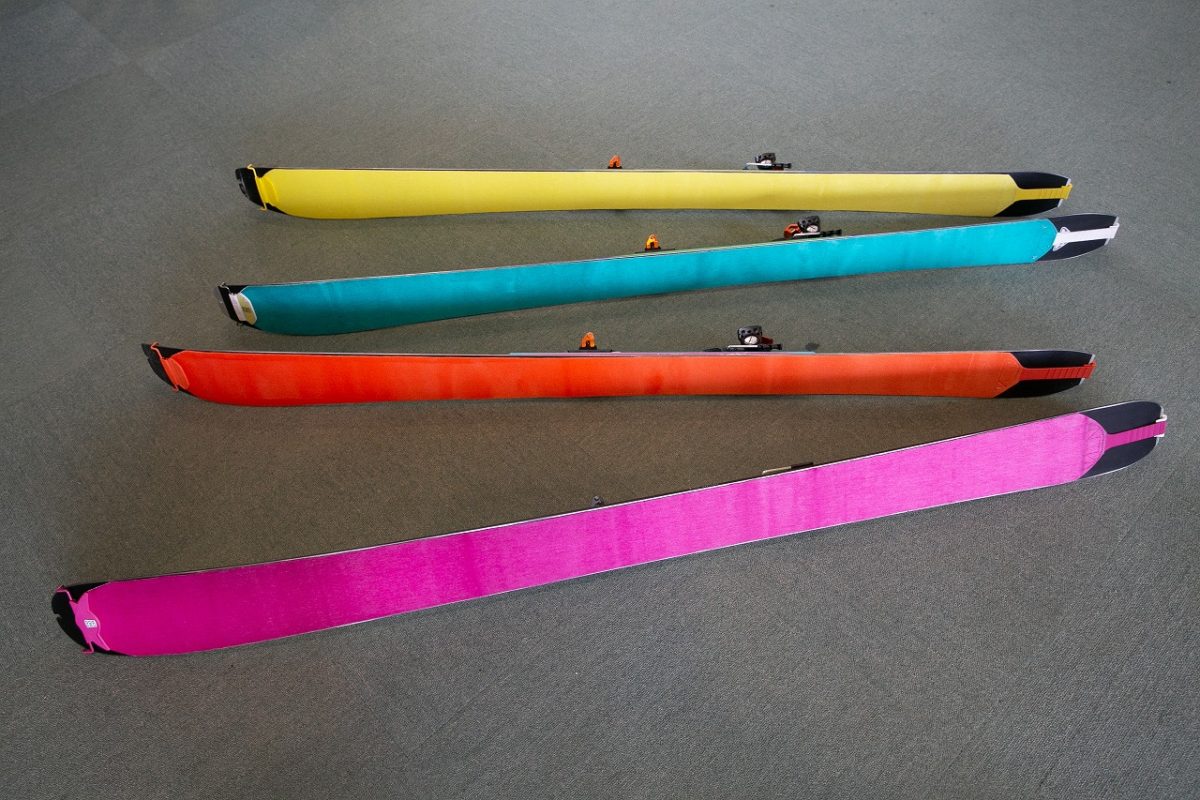
When you purchase the sticker, it doesn't fit your board size, so you need to cut it accordingly.
The guideline for cutting is so that one edge of the ski comes out.
If the edge does not protrude while walking with a seal, the edge will not bite when walking sideways on the slope and you will not be able to walk. So the seal needs to be cut to cover only the running surface.
In most cases, if you buy it at a store, they will cut it for you, but if you buy it online, you need to cut it yourself. The cutting method is as follows.
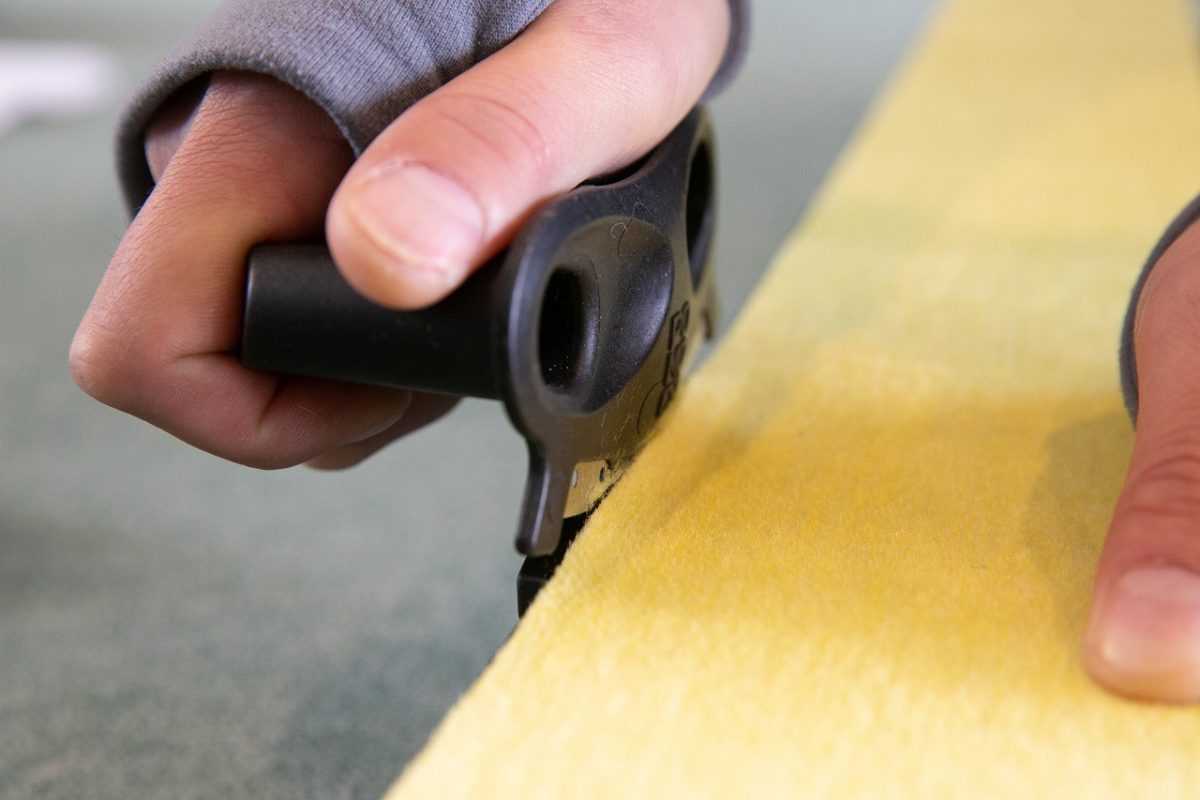
First, hook the nose and tail stoppers so that the side protrudes. At that time, the protruding part is left and right evenly.
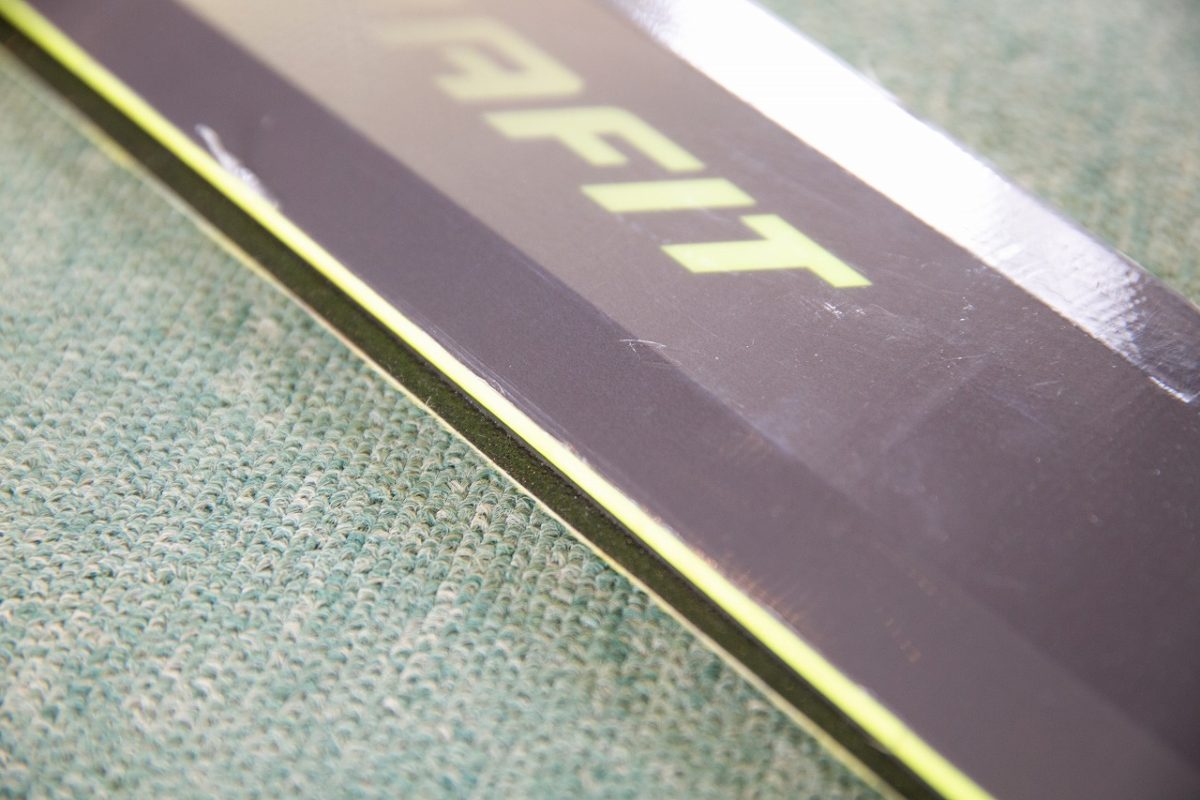
Use the sticker cutter in the photo above to cut the sticker. Just put the red arrow part between the running surface and the seal and cut from the nose to the tail as it is. Now you can cut one edge.
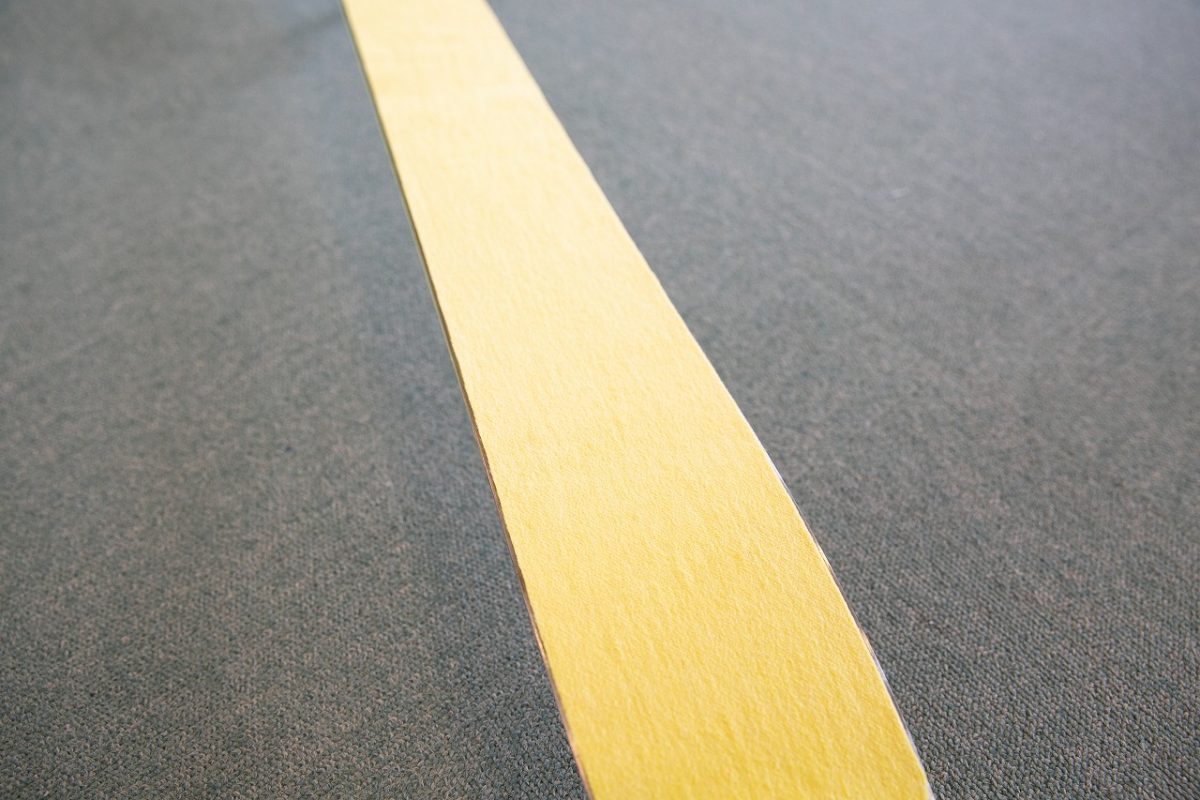
Then, remove the hair on the cross section with the glue part of the cut excess seal and trim it. This is all you have to do. Do this on the left and right sides of both boards.
How to install the seal
After cutting the seal, let's mount it immediately. I want to review the installation again before suddenly going up to the mountain.
Check out the video on how to put it on correctly.
1) Stop the nose stopper, and stick the seal on the nose side so that one edge on the left and right is exposed.
2) This time, from the tail side, stick one edge so that the sticker does not get twisted. At this time, firmly stroke the whole with your hand so that there is no gap between the seal and the running surface.
3) Stop the stopper on the tail side. See the video for how much tension is applied at this time.
It seems easy when you write it down, but it's actually a delicate work. It takes a lot of practice to get used to it. If you get used to it, you will be able to put on one leg in about 30 seconds.
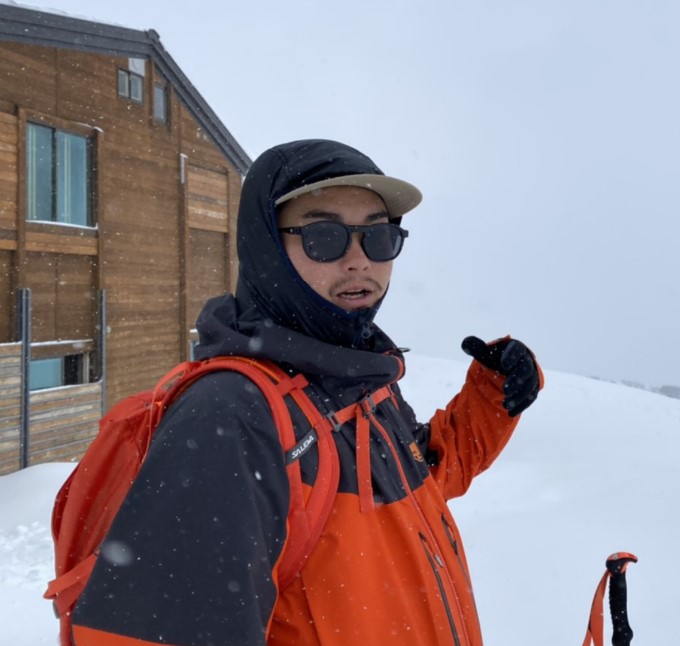
Wearing in the snowy mountains
Then I want to actually use it in the snowy mountains.
And before that... As is the case with POMOCA seals, POMOCA products are made to be glue-to-glue. Therefore, cheat sheets (protective sheets) are not required on site. This transparent and lightweight sheet is easy to lose in the field, so it's safe to leave it at your hotel or car.
In the preparation stage, there is one thing to do. That is the folding method called bellows folding that makes it easier to attach the seal to the board. Let's see it in the video.
Roll up the cheat sheet with the side to be glued inside and store it. Otherwise, the cheat sheet will have dust on it, and that dust will cause problems with glue.
You're ready! to the snowy mountains
Once you have the sticker with the bellows fold, it's time to go to the site. Let's actually see how easy it is to handle bellows folds.
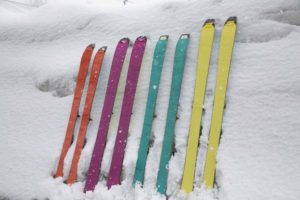
In addition, there is usually no problem with the storage location of the seal in the backpack in the snowy mountains. However, in environments where the glue freezes due to the cold, such as in the midst of winter, there is a way to prevent it from getting cold by body temperature by storing it inside the wear.
It feels a little stiff when sliding, but it's good to remember that it's one of the storage methods that prevents freezing and makes it easy to take out and increase mobility.

Now, you should know the basics of how to handle stickers, even on snowy mountains. All that's left is to repeat the actual battle and make the technology a thing. Let's have a more enjoyable ski life!
the person who taught me
Tomoya Takahashi
is in charge of Japan sales for Dinafit Pomoka. He loves skiing and fishing. Currently, he is taking advantage of remote work and is apprenticing to management of his parents' inn. In the summer, he devotes himself exclusively to fishing and picking edible wild plants.
Cooperation / Rexxam Co., Ltd.