You can make your own skis. What would you think if you asked?
Probably not.
This is because the only people who can do that are the perverted DIY enthusiasts or a few top professionals who can create signature models, and there is no factory where everyone can do that.
I have never seen such a service before. If you had the shape and ideal weight and performance you envisioned in your head, how would your enjoyment of skiing change? I can't stop being excited just by imagining it.
Well, that's all I've heard.
This is because the day has come for you to create your own one-of-a-kind ski with your own hands.
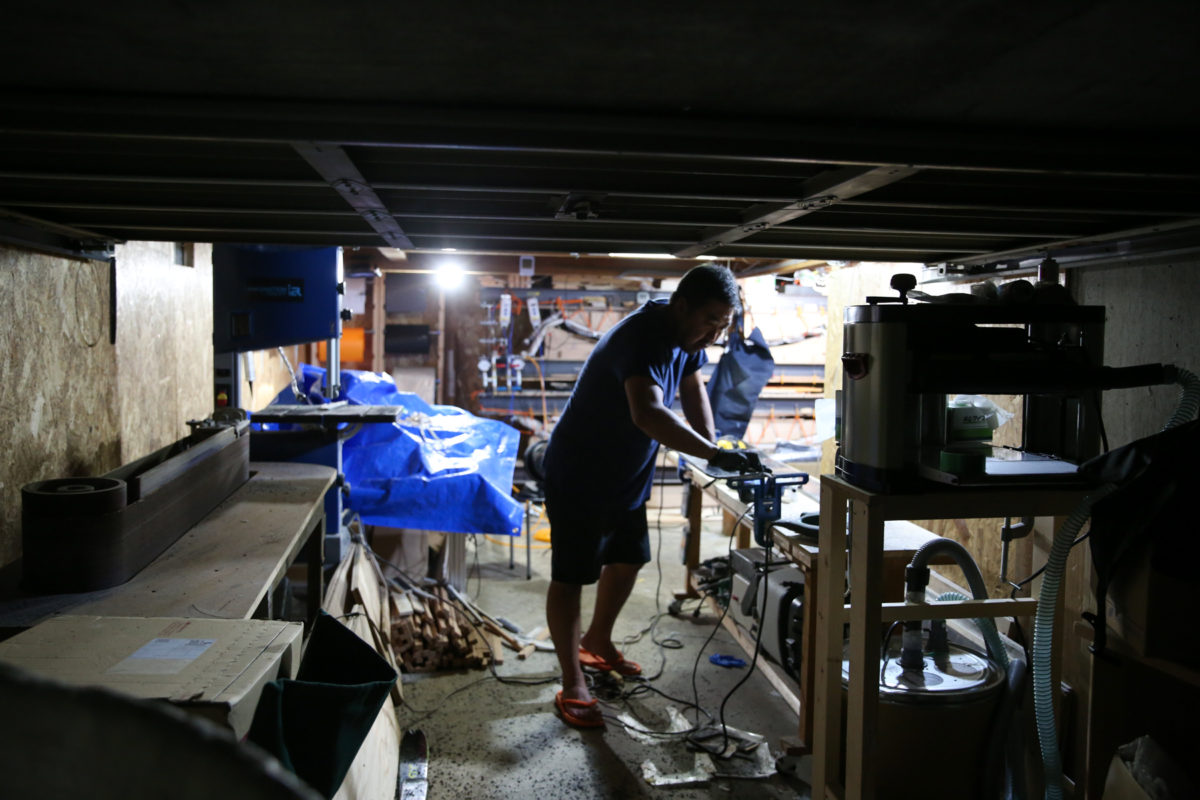
A place where you can make your own board
A small garage brand in Minamiuonuma City, Niigata Prefecture made it possible.
VOLTAGE Design. It would be more correct to say that it was a garage brand. They used to be a ski and snowboard brand based in Minamiuonuma, but now they have developed their own equipment and become a “manufacturer” that makes original boards.
Mr. Nagai, who is the representative of the manufacturer and is a mountain guide, thought about it in the fields that appear every day.
"Every day will be more fun if you can skate on your own board."
The development of the original skis and snowboards began in June 2021. It's been a little over a year. From there, through repeated trial and error, he rapidly mastered the technique, and before the arrival of last winter, he was able to make an original ski as a prototype. Today, the technology has evolved further, and it has come to a point where it is perfect in terms of graphics, performance, and finish.
Now they have started a service to make original skis for general users.
This includes not only the ability to create your own skis, but also the “experience value” of seeing and working on the site where the skis are actually made. Being able to see the ski making site is a unique and valuable experience.
Well, with that in mind, the editorial department actually went to make a completely original ski.
Let's take a look at the whole process this time.
Preparing the board material
The skis made by Voltage Design are called sandwich construction. With that in mind, let's proceed.
First of all, the main material for skis is wood. Skis are made by combining multiple woods with different characteristics in the right place. The types are poplar, cypress, and bamboo.
A plate made from this combination is called a core material or a core. The role played by this core material affects the hardness, resilience, and weight of the ski, and is a major factor in determining the ride quality.
The board of the voltage design mainly uses local cypress, and uses paulownia on both sides.
This is because the cypress is moderately hard, and the lightness of the paulownia is mixed to achieve the appropriate firmness and lightness of the board.
As a choice, you can choose if you want to choose various woods, but the brand sticks to these two types.
This is because we have decided to use materials produced in the prefecture or domestically when making boards. This aims to stimulate domestic demand and reduce CO2 emissions from transportation.
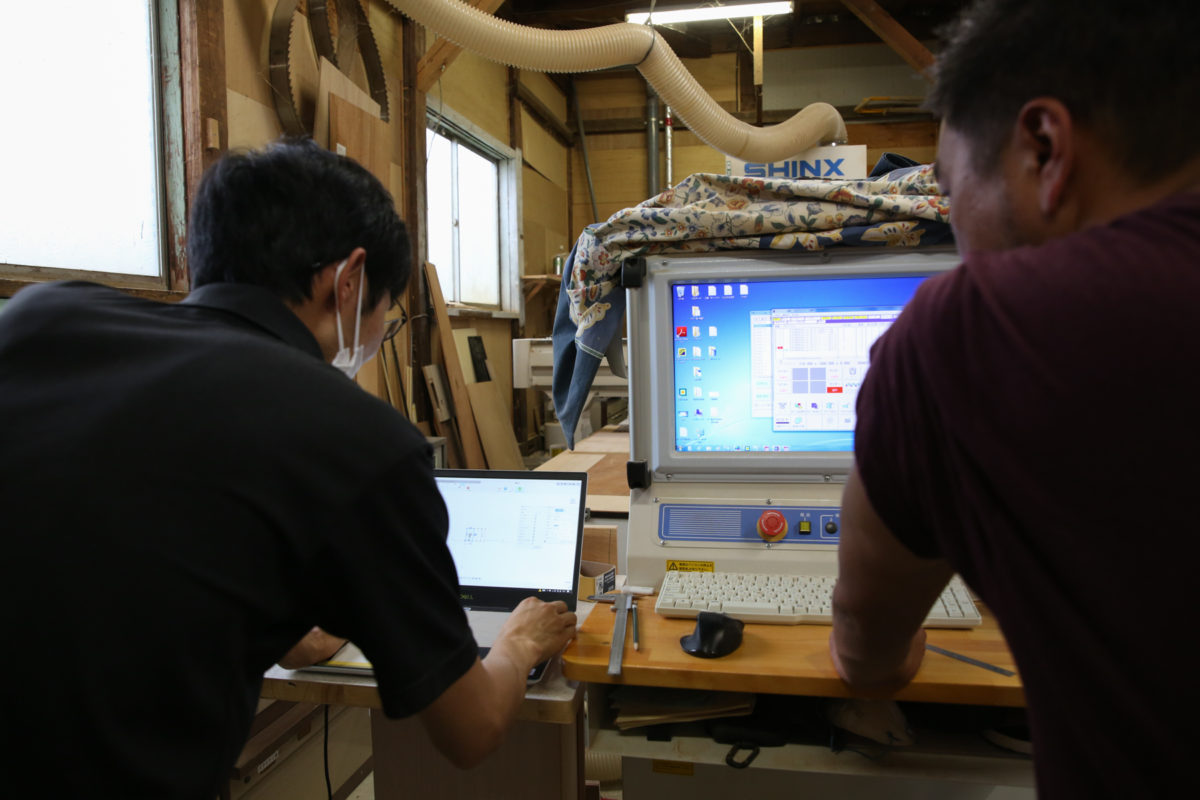
The board is designed using design software and CAD software until the wood is glued together.
This time, I'm going to try to make a shape of ski that I've never seen before.
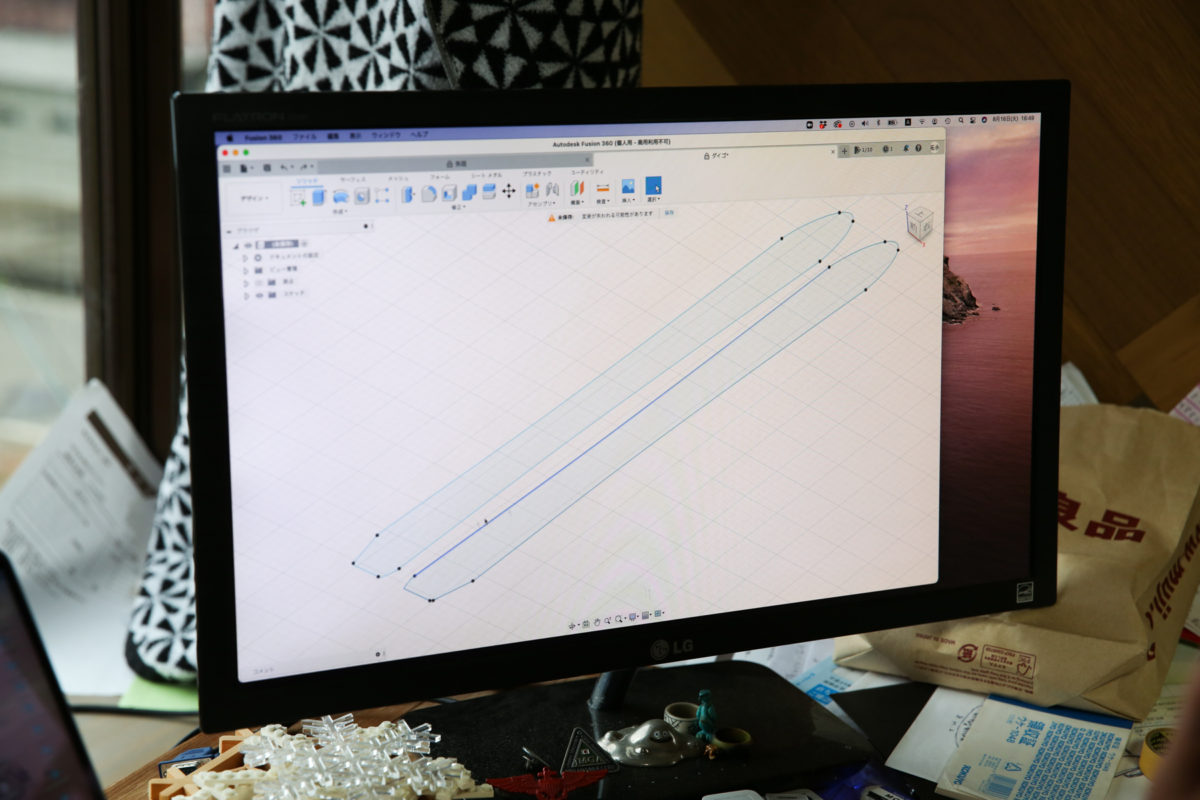
In summary, the center width is 116 cm, the nose is 148 cm, the tail is 137 cm, and the total length is 178 cm. I designed the nose to be sharp (visually for my personal aesthetic) and the effective edge of the tail to be longer on the inside of the board and shorter on the outside. This is because I wanted to be able to step firmly on the edge of the valley foot at the time of the turn, and to improve the operability with good edge clearance on the mountain foot. This is completely experimental, and we won't know if it works until we actually ride it on snowy mountains.
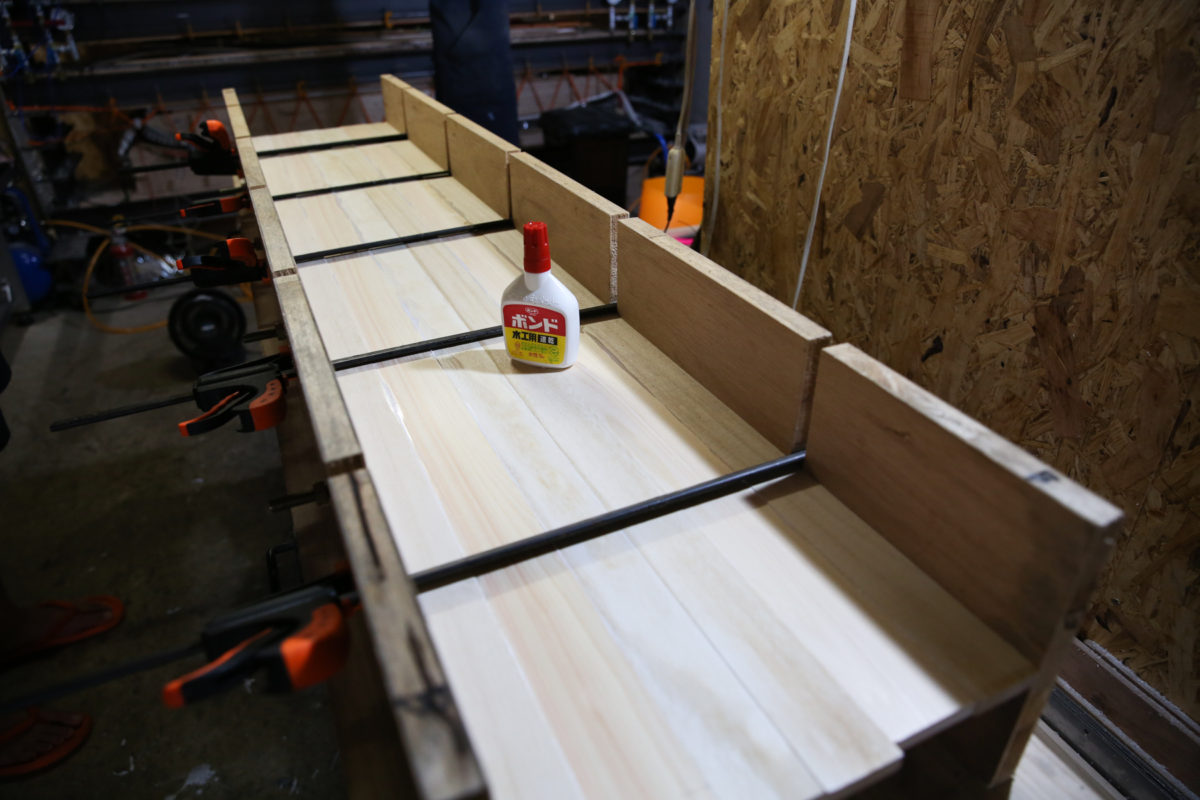
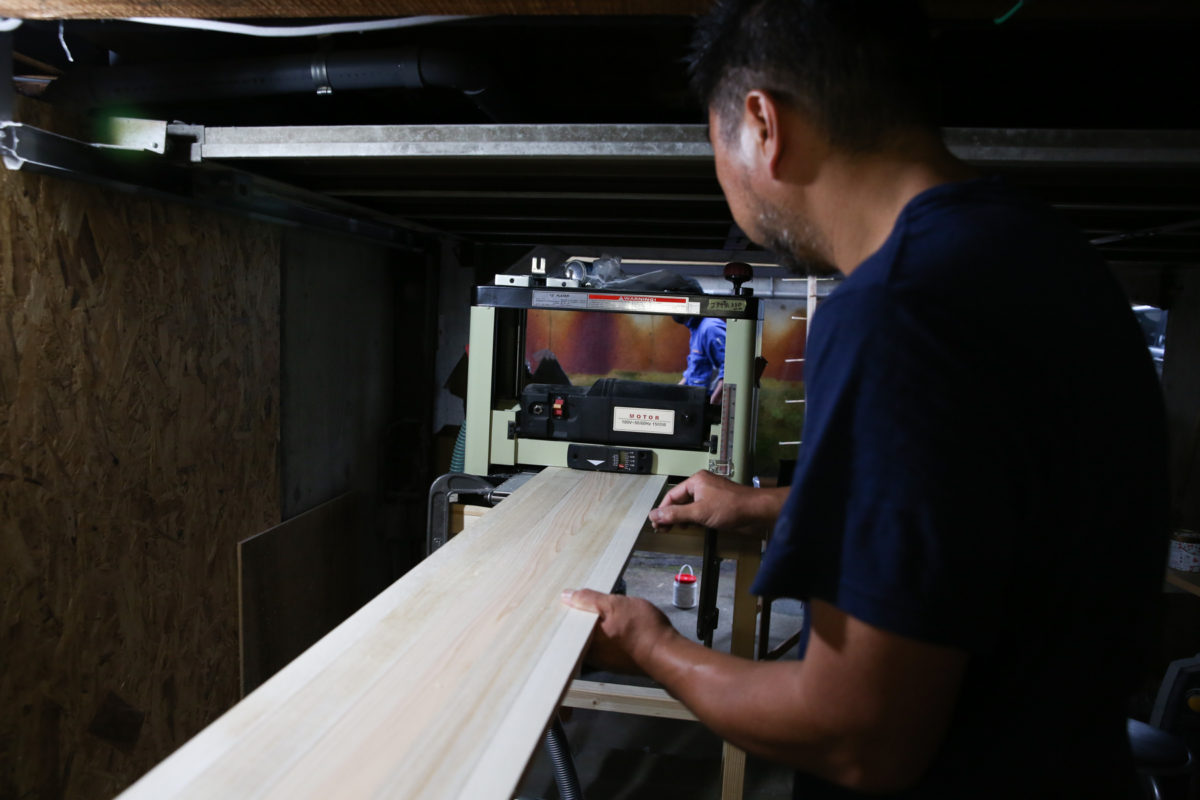
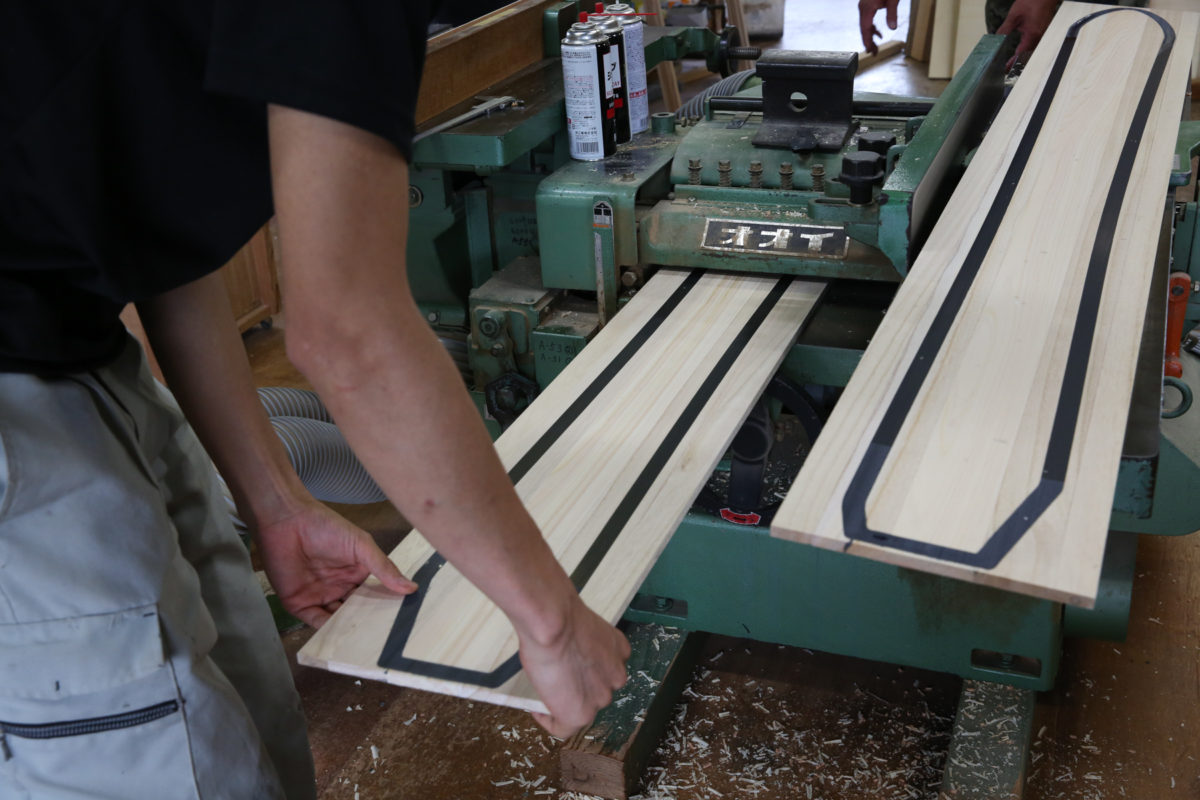
Once the design was completed, it was time to finish gluing the wood together. Since the thickness of the laminated core varies, an automatic planer is used to shave it evenly.
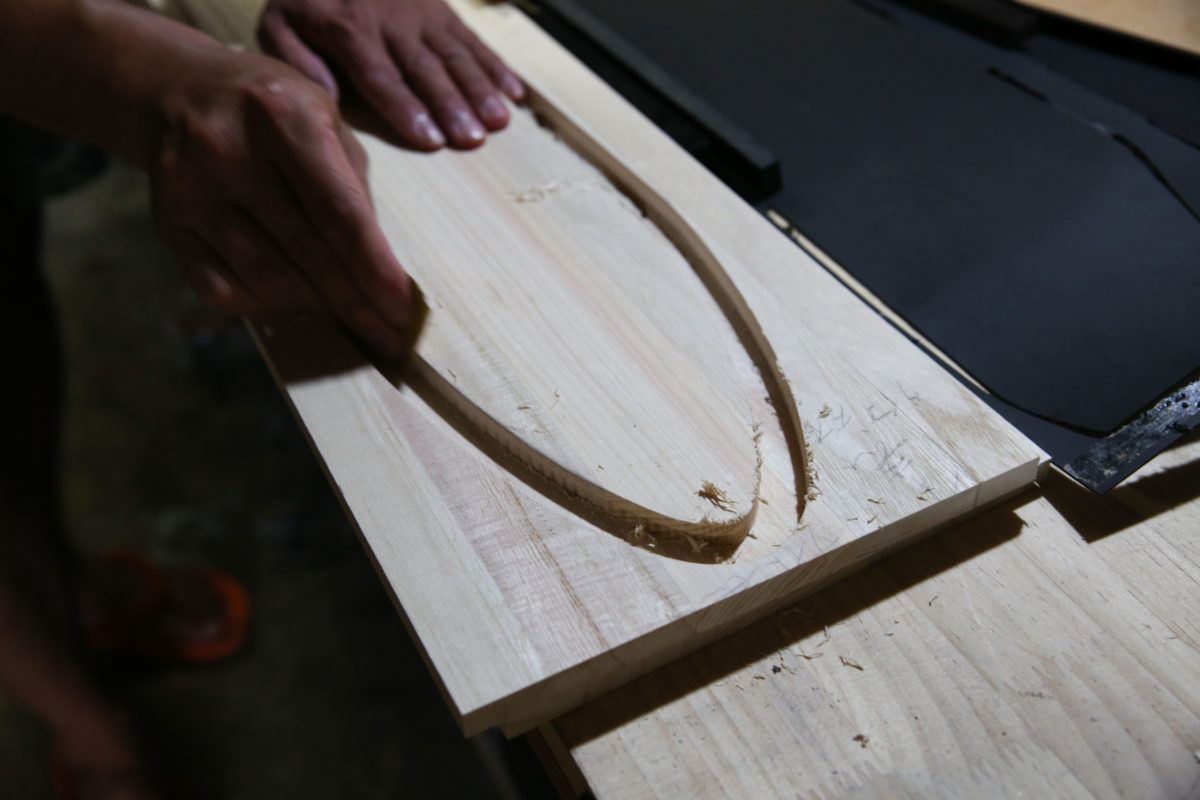
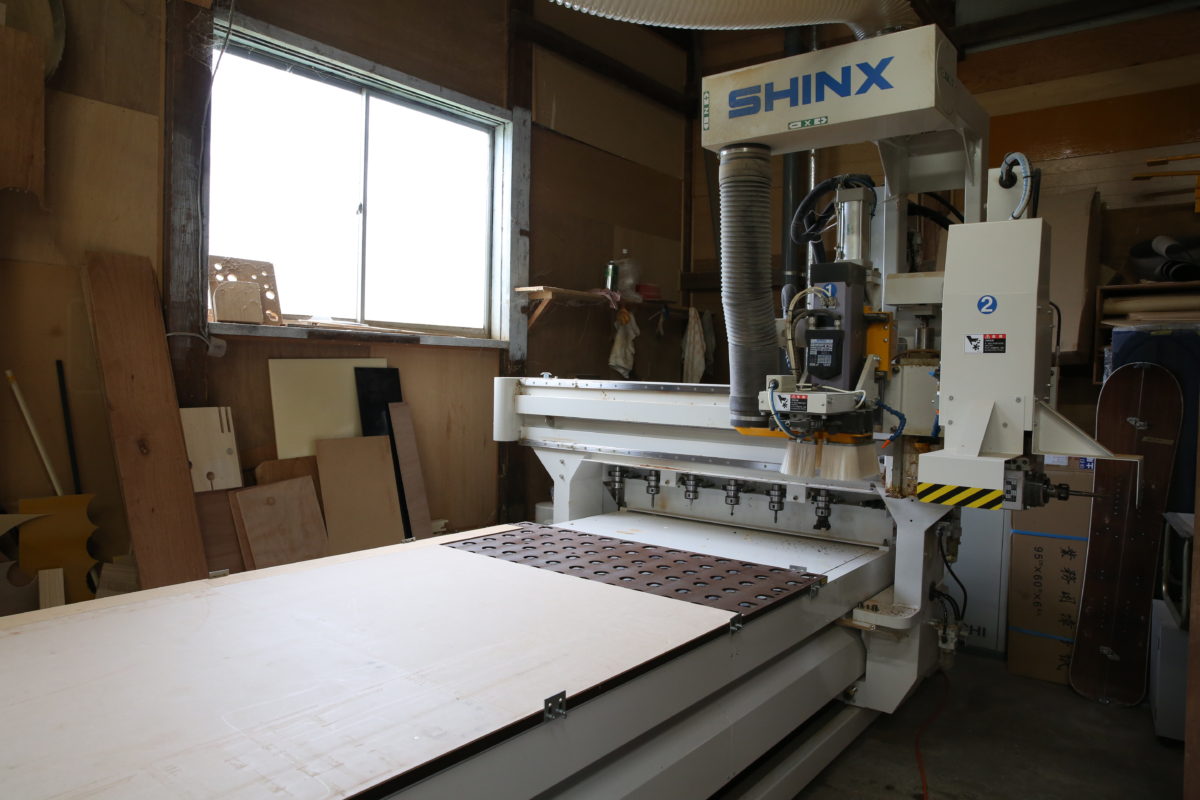
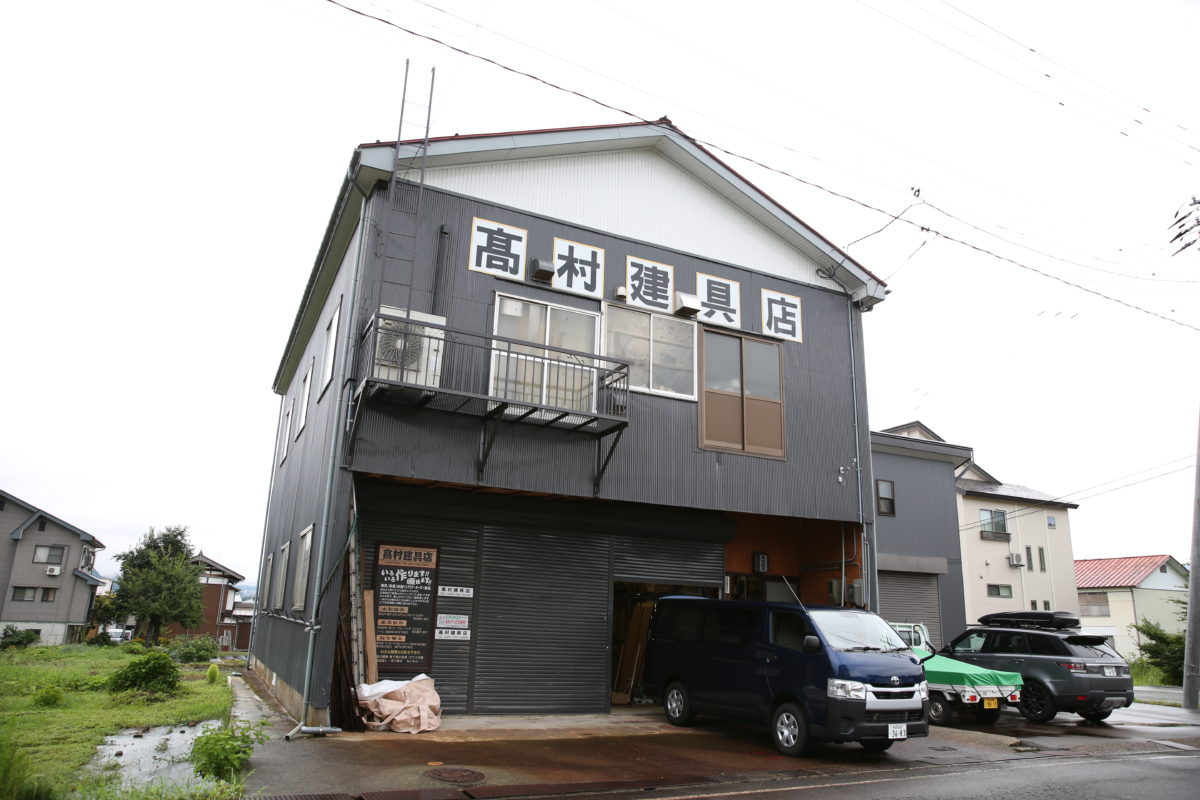
Once the thickness is uniform, I will bring in the drawing data at a nearby joinery shop and ask them to dig a groove on the outside according to the design I made earlier.
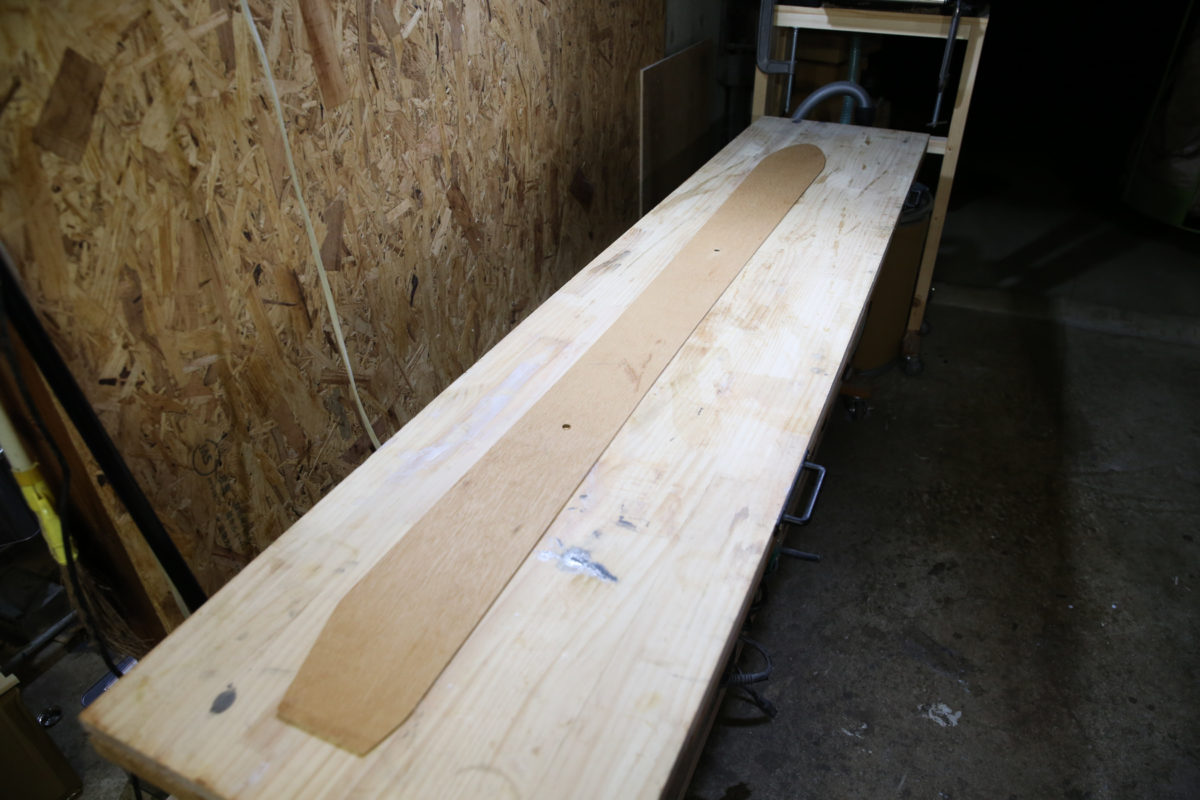
In addition, we ask them to make a template that will serve as a standard for the board they designed. Following this template, the sole, top sheet, reinforcing materials, etc. will be formed later, so even materials that have been prepared separately can finally be superimposed on each other without any deviations . We make molds instead of templates in order to produce a large quantity.
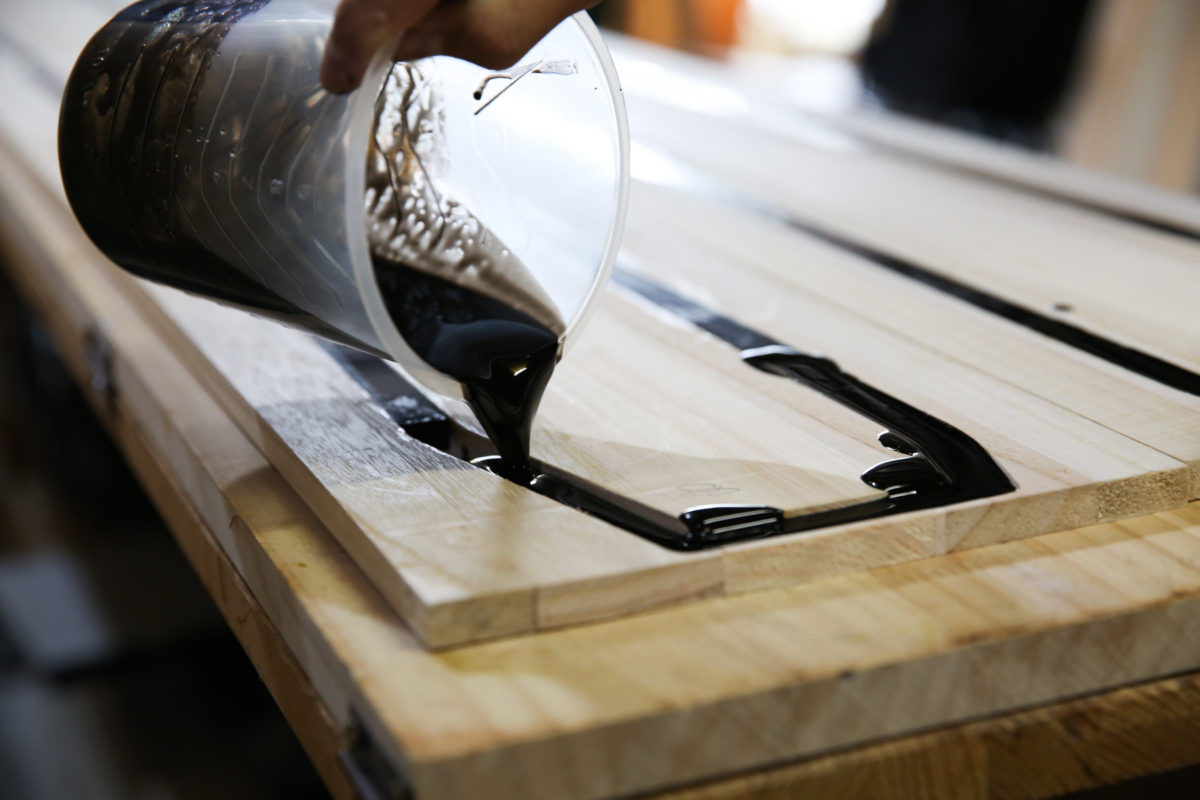
Next, put ABS resin and foamed urethane in the groove made by the joinery shop. This will be your sidewall. The role of the sidewall is to increase edge grip. As for this ABS resin, almost all manufacturers use similar materials, so there is no big difference. The ABS resin is put in about the length of the effective edge, and the tip of the nose and tail contains urethane foam. This is for ease of processing and cost reduction.


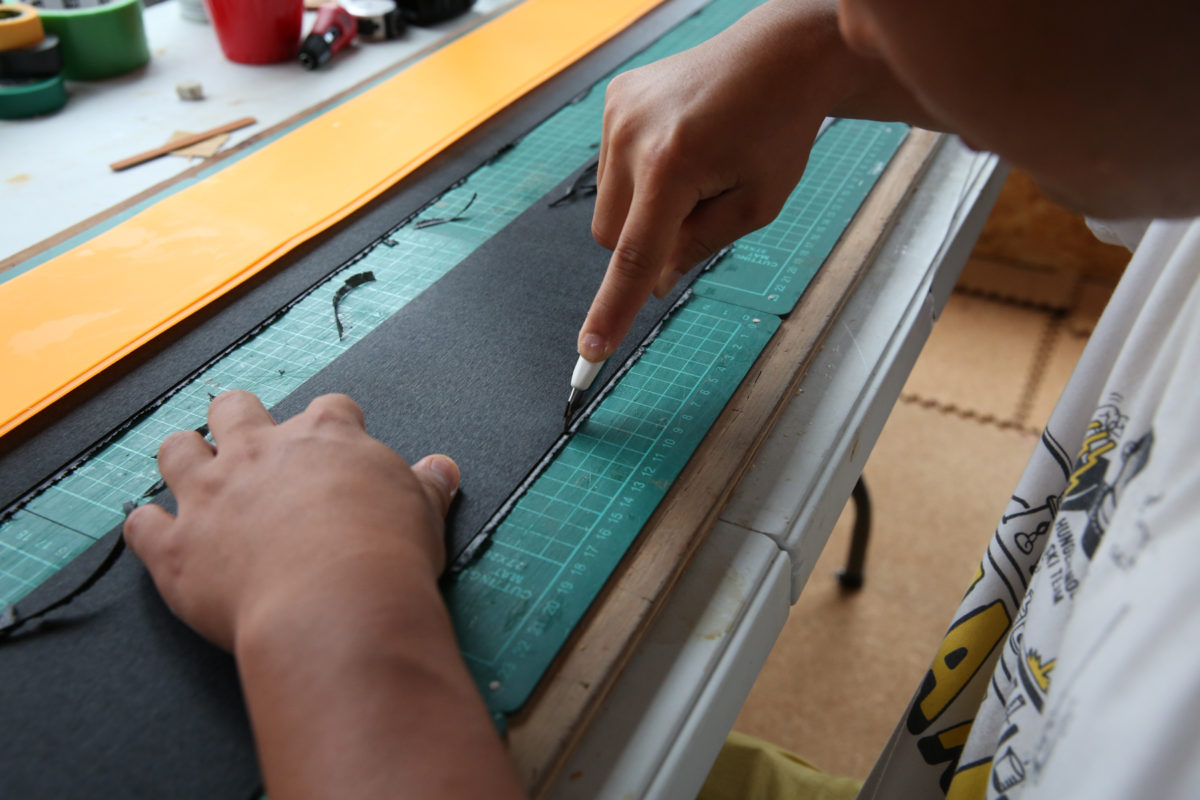
Move on to the next step until the urethane foam hardens. It's a cut out of the sole. The sole material is sintered sole with a molecular weight of 40,000 procured from a domestic factory. In short, the higher the number, the better the gliding performance. The figure of 40,000 is a large category. This is because I want to make something with excellent gliding performance.
When the urethane foam hardens, I go to the fittings shop again. Here, an automatic planer that can be controlled in units of tenths of a millimeter is used to bring the thickness of the board closer to the finished thickness. After adjusting the thickness, thin only the nose and tail. As you know, skis are thicker underfoot and thinner in the nose and tail for better maneuverability.
Next, move on to edge processing. The edge uses a steel edge ordered from an edge company in Joetsu City, Niigata Prefecture. One long edge is bent by hand. It is more difficult than it looks to bend along the subtle curve of the board. Full wrap this from the tip of the nose to the tip of the tail.
After preparing the edge, design the graphic of the board. You are completely free in this regard. You can use your own photos or drawings, or you can write nothing. You can put your favorite words on it, or anything is fine. Let's bring out the original ski feeling to the fullest.
So far, the focus has been on preparing the materials, and from the next page onwards, ski making will finally come to an end.