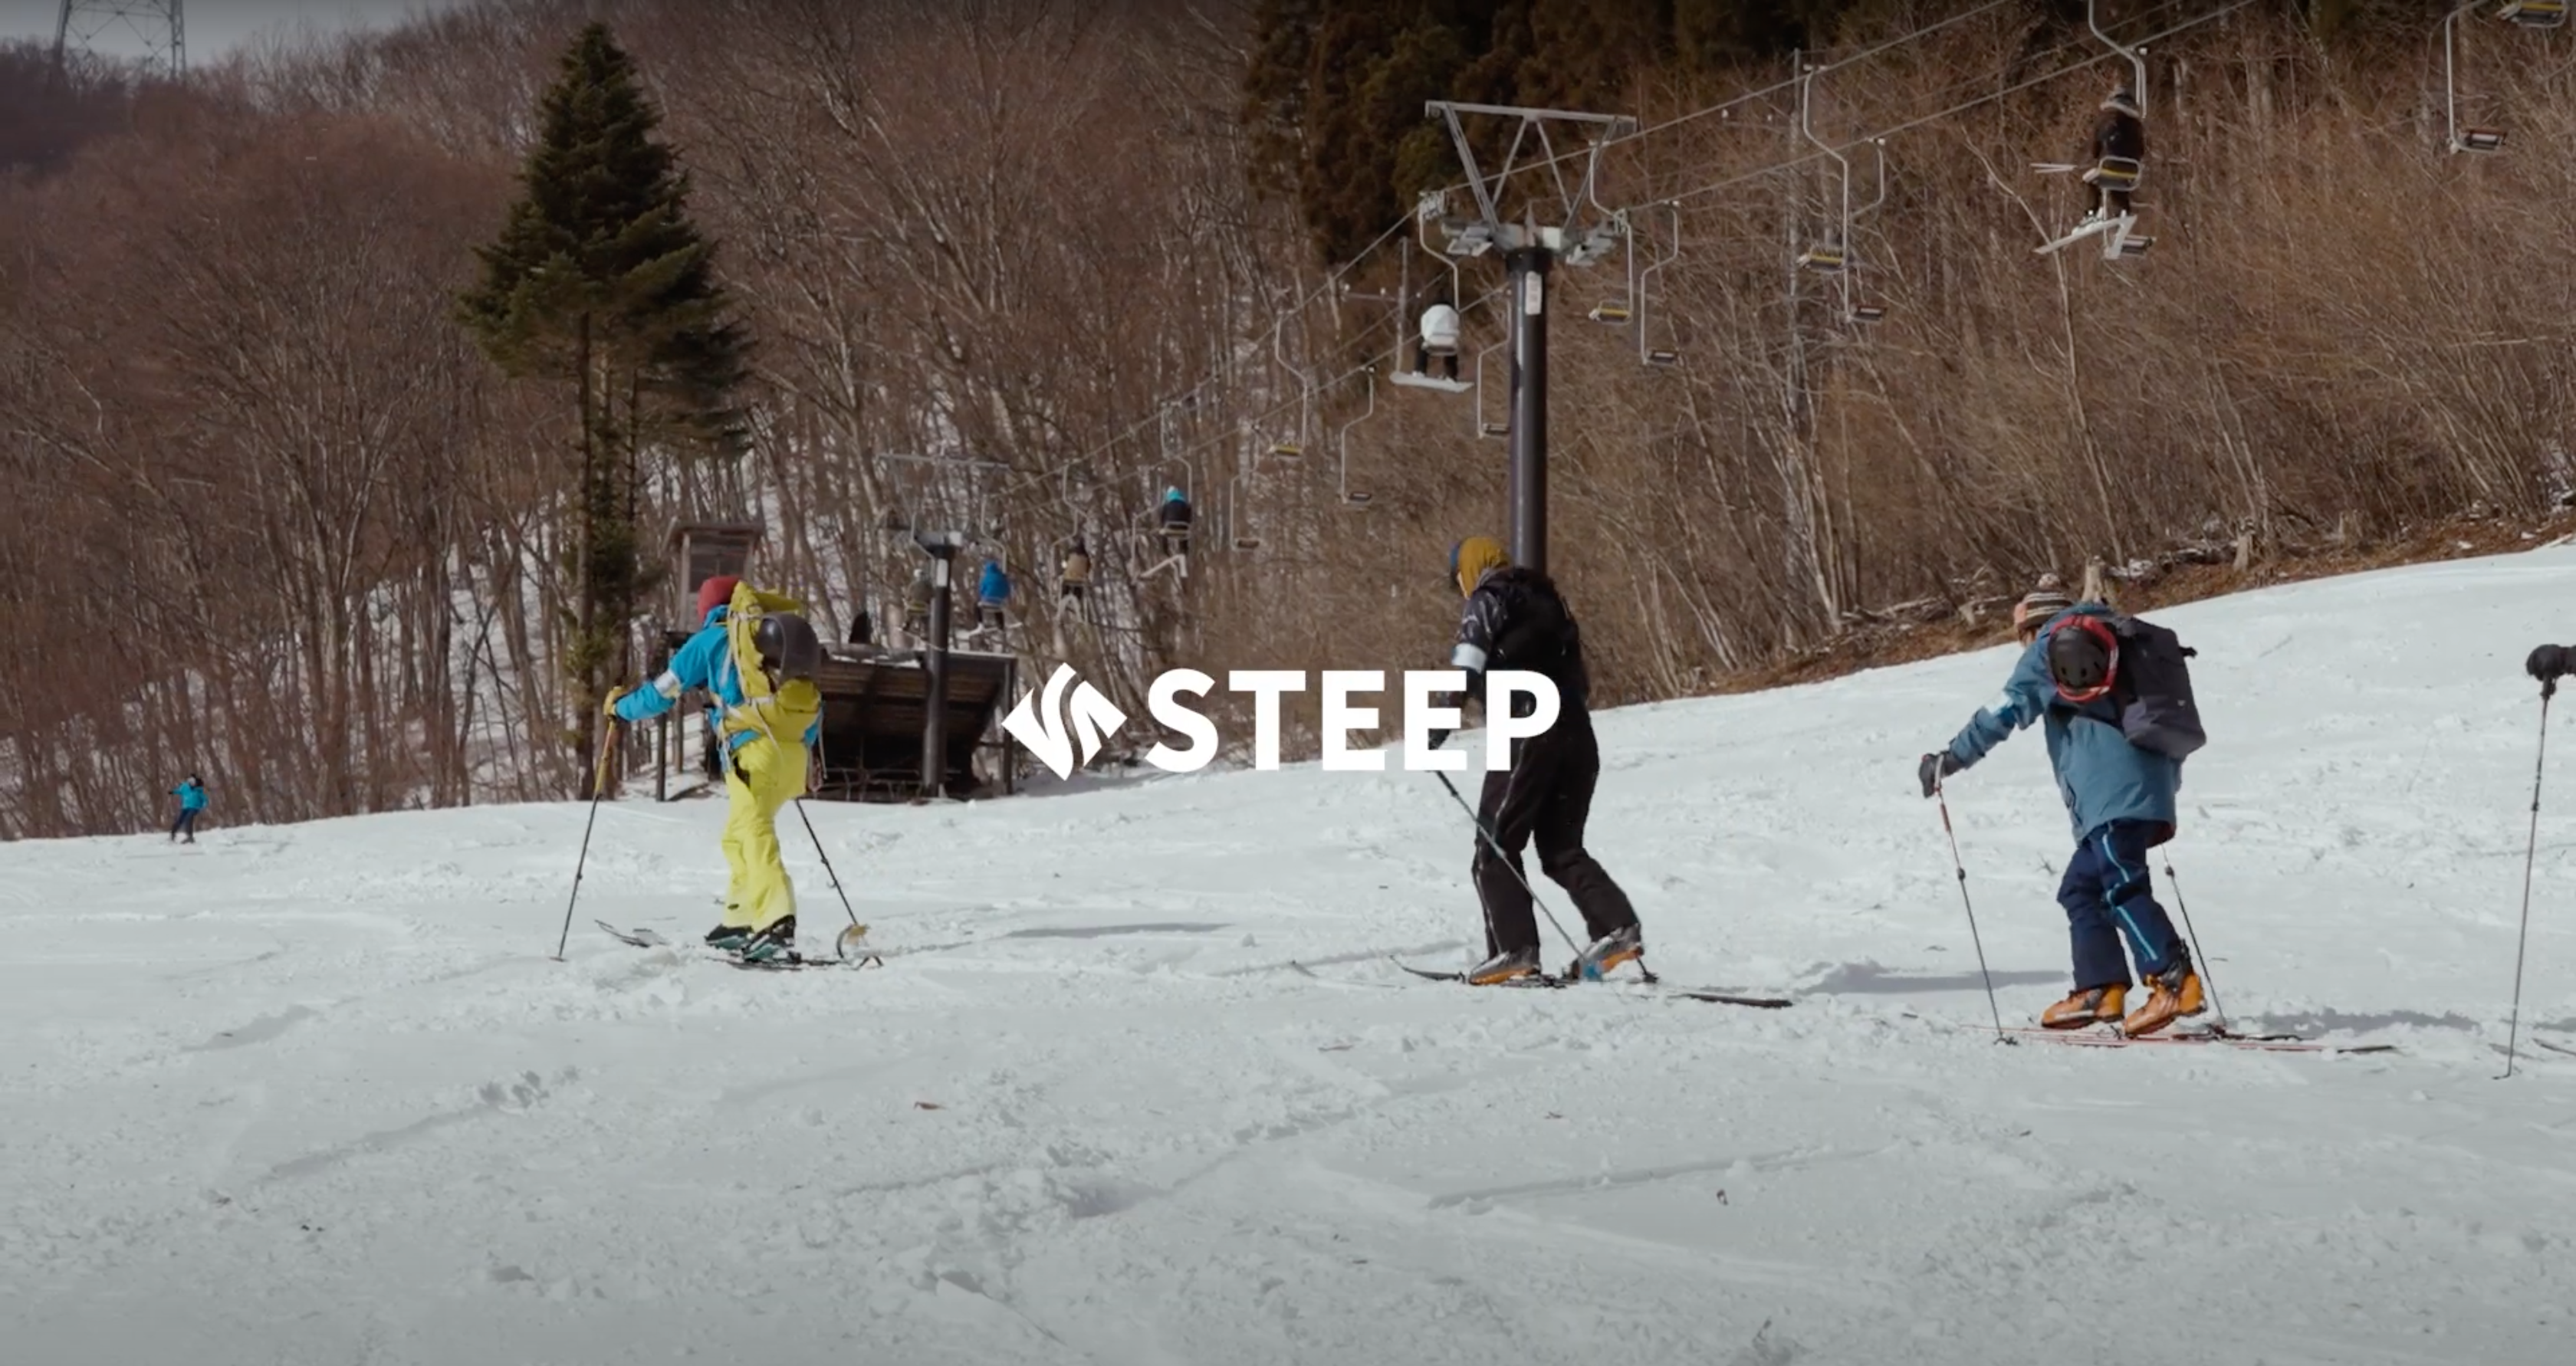
Skiing in the backcountry requires a variety of equipment in addition to the gear used at ski resorts.
As you step onto uncontrolled snowy mountains and have to climb in addition to sliding, it is essential to have some kind of equipment for winter mountain climbing, regardless of the time or location.
Therefore, we covered the ``Backcountry Ski Gear Experience Session'' held at the end of January, sponsored by Lost Arrow, which handles backcountry ski gear such as Black Diamond and Scarpa. We have prepared a collection of how-to videos for beginners in the backcountry, with excerpts from training courses on how to properly use and handle hike-up gear and avalanche gear. There are 10 video contents in total.
[Avalanche Gear]
・Beacon
・Shovel
・Probe
・Avalanche Backpack
This time, we focused on bindings.
Our instructor, mountain guide Genki Narumi, taught us how to install tech bindings and about climbing support.
Step 1: Attaching bindings (gliding mode)
Step 2: Climbing support
*This is only a part of the training.
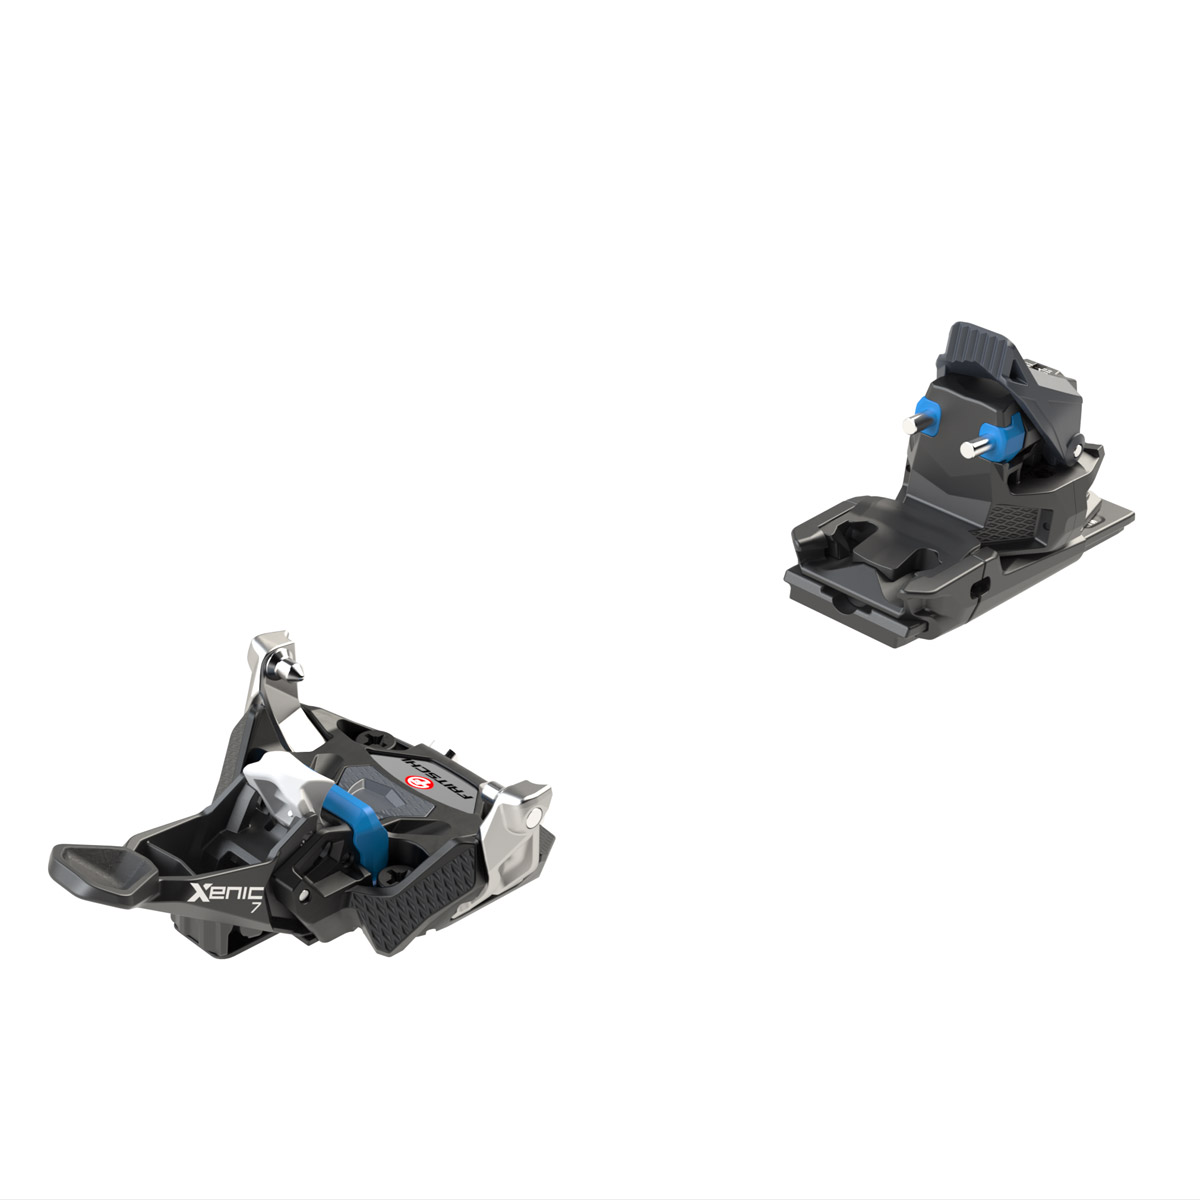
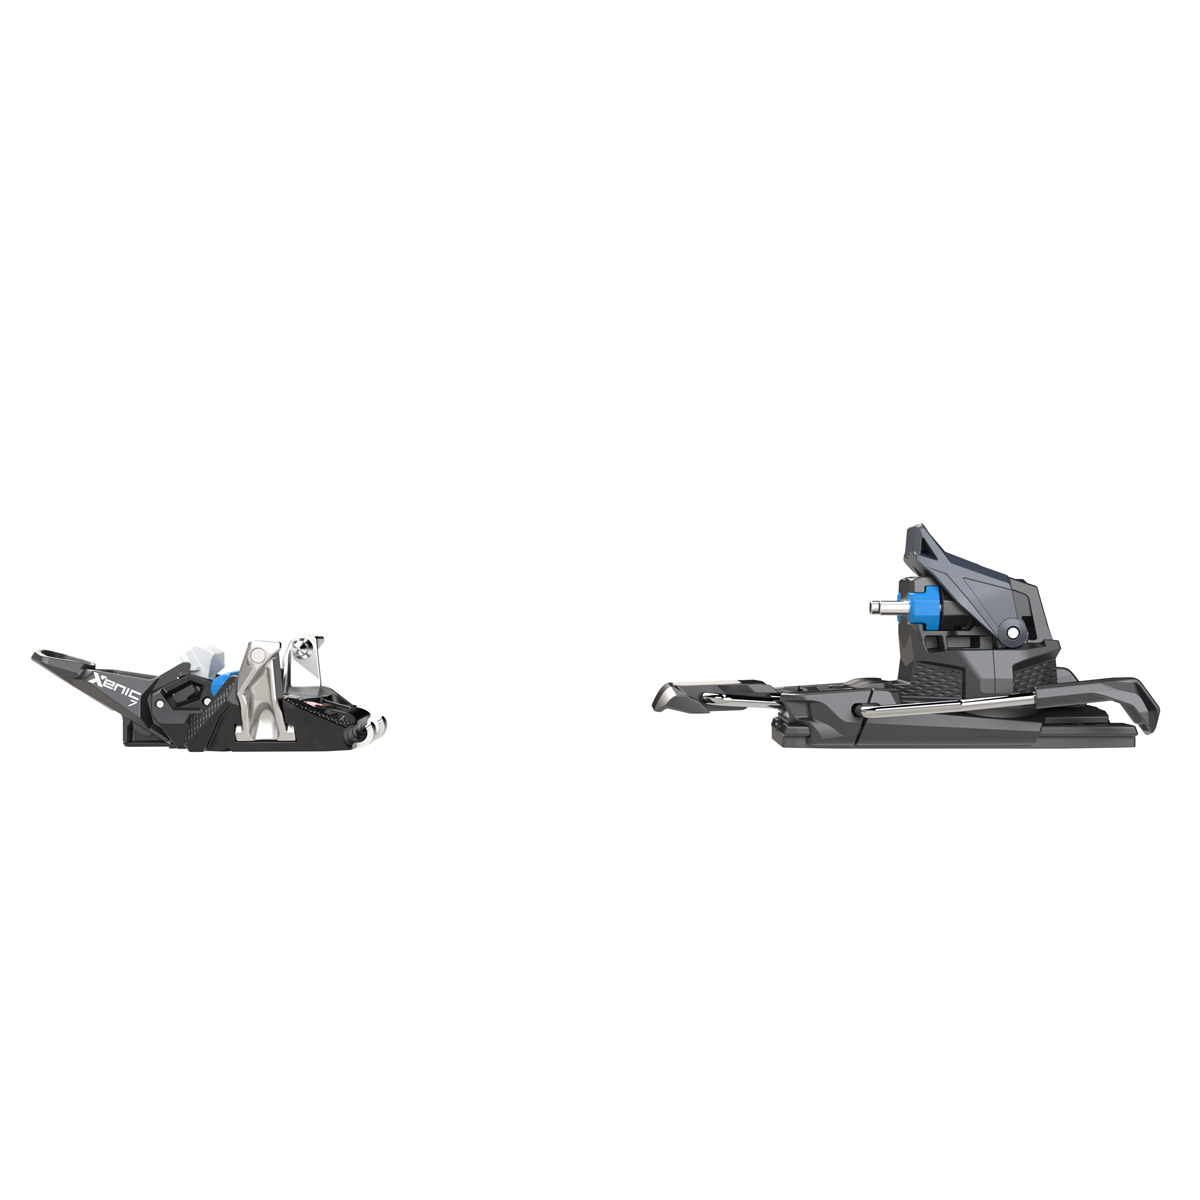
・Gear used in this video
Fritch/Genic 7
These ultra-lightweight bindings weigh just 280g (1/2 pair) thanks to their simple system and sophisticated, compact design. The heel piece rotates 180 degrees to switch between ski and walk modes. The heel piece is a sliding mechanism that prevents accidental release. The easy step-in design makes it easy to attach the toe piece
Interview cooperation/ Lost Arrow
Video shooting/editing/ Taiki Yoshikawa
Video composition/text/ Shinya Moriyama