Ski boots are, in some ways, the most important item connecting your body to your skis. Currently, the freeride boot category includes two-piece and three-piece boots with different shell structures, each with or without hiking functionality, different sole standards, and compatibility with bindings. Let's take a look at the reasons and meanings behind these diverse designs. This is a refresher on the basics of freeride ski boots
POINT 1 | What are freeride boots?
Here, we will collectively refer to freestyle and freeriding models as "freeride boots." It would seem more appropriate to call them "all-mountain boots," but some brands refer to their resort boots as "all-mountain," so we want to distinguish them from these
The overall trend is to balance gliding performance and lightness (climbing ability). Ski brand boots maintain their original gliding performance while reducing the stress of hiking uphill through the use of lighter materials and components.
On the other hand, so-called touring boots from mountain boot brands have evolved shell materials and construction, and there are more models that are lighter, easier to walk in, and offer a seamless gliding experience. Furthermore, even boots designed solely for gliding without hiking capabilities are increasingly benefiting from the advantages of lighter weight.
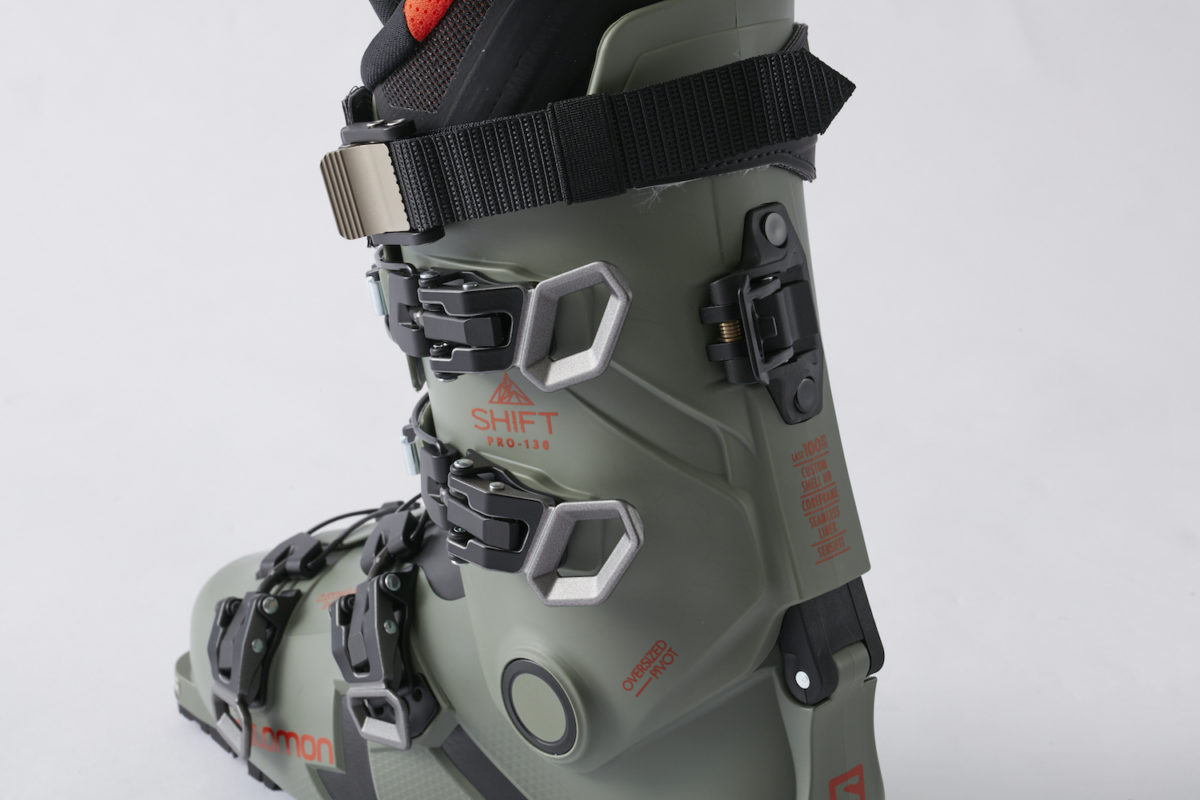
POINT 2 | 2-piece and 3-piece
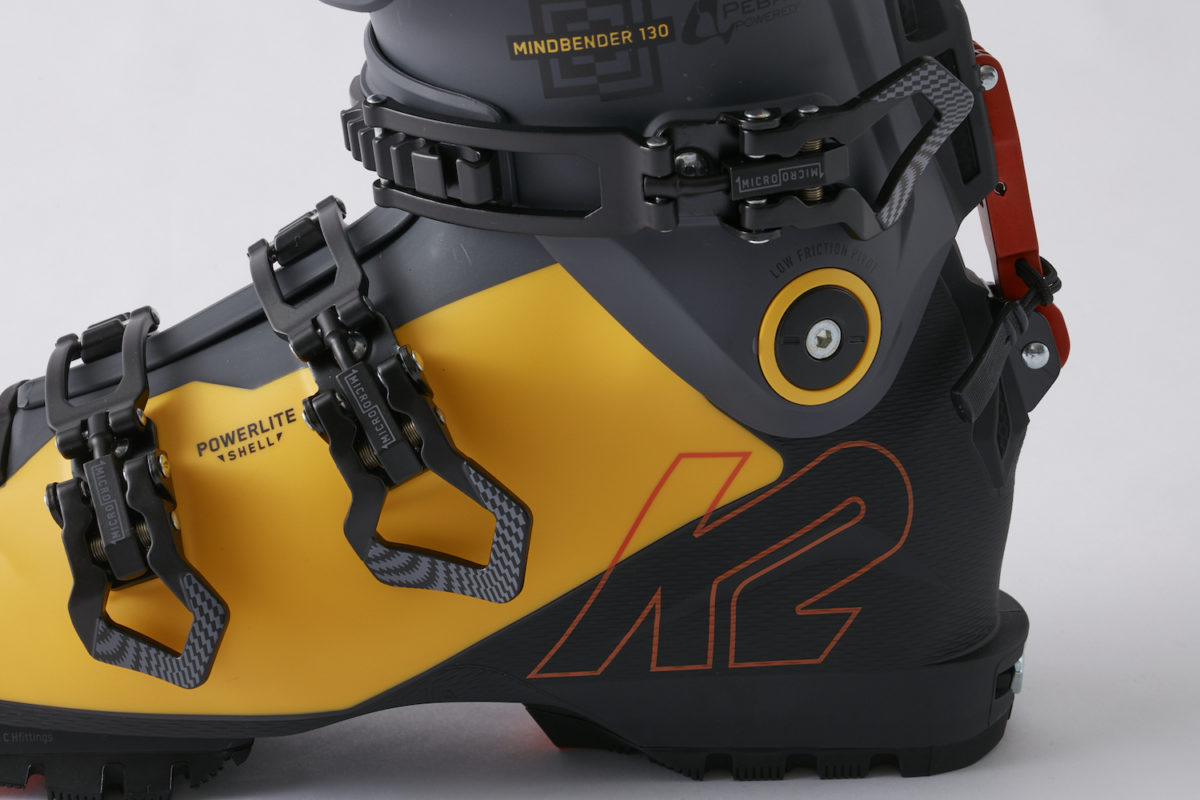
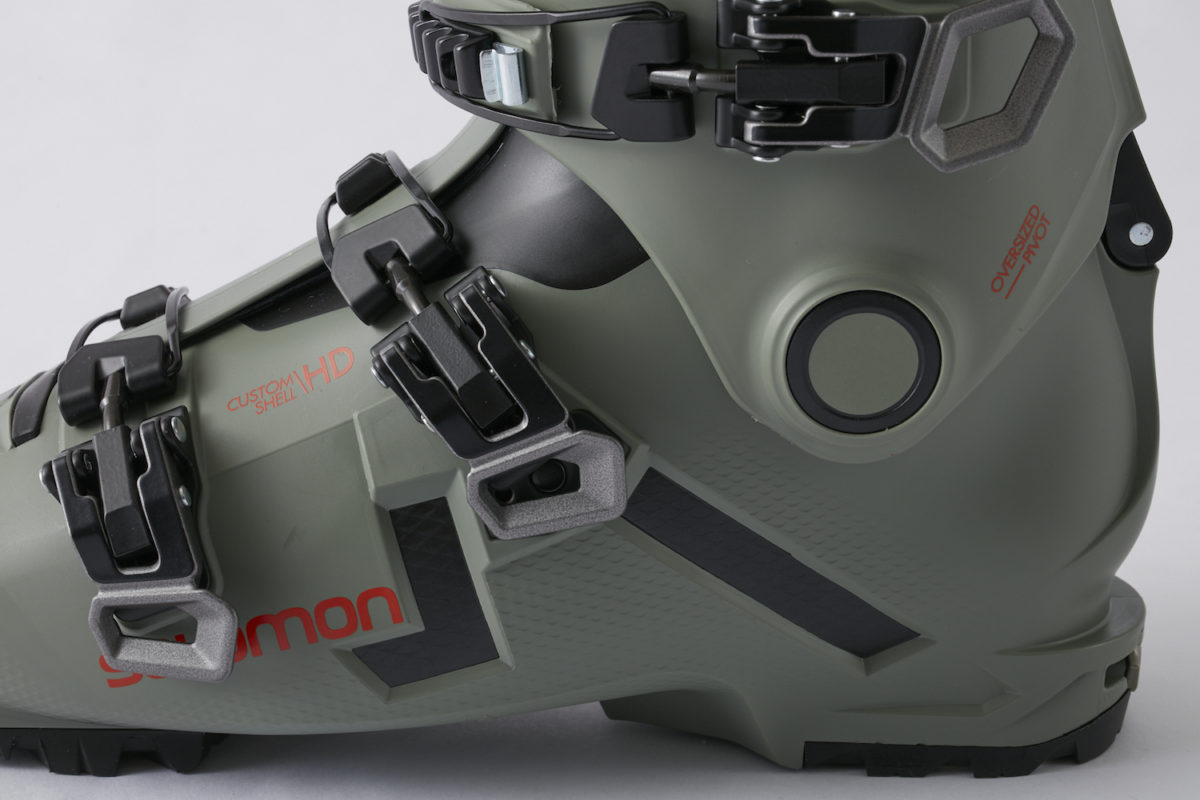
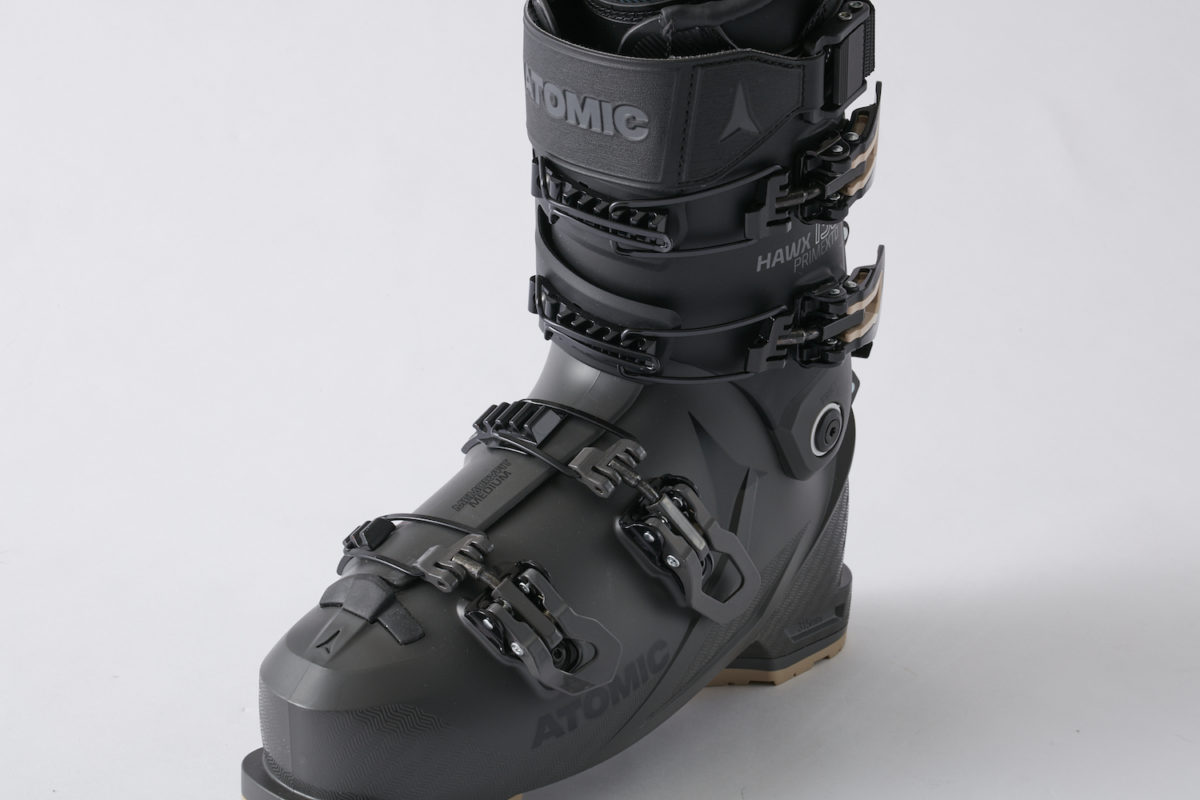
【Two-Piece Shell Construction】
The lower shell provides power transmission and flex, while the upper maintains the forward lean angle of the leg and supports a precise position.
The two-piece shell offers superior direct power transmission and is the ideal structure for turn-focused riding. If you want to enjoy turn control to trace your intended line and high-speed skiing, there is no better ski boot.
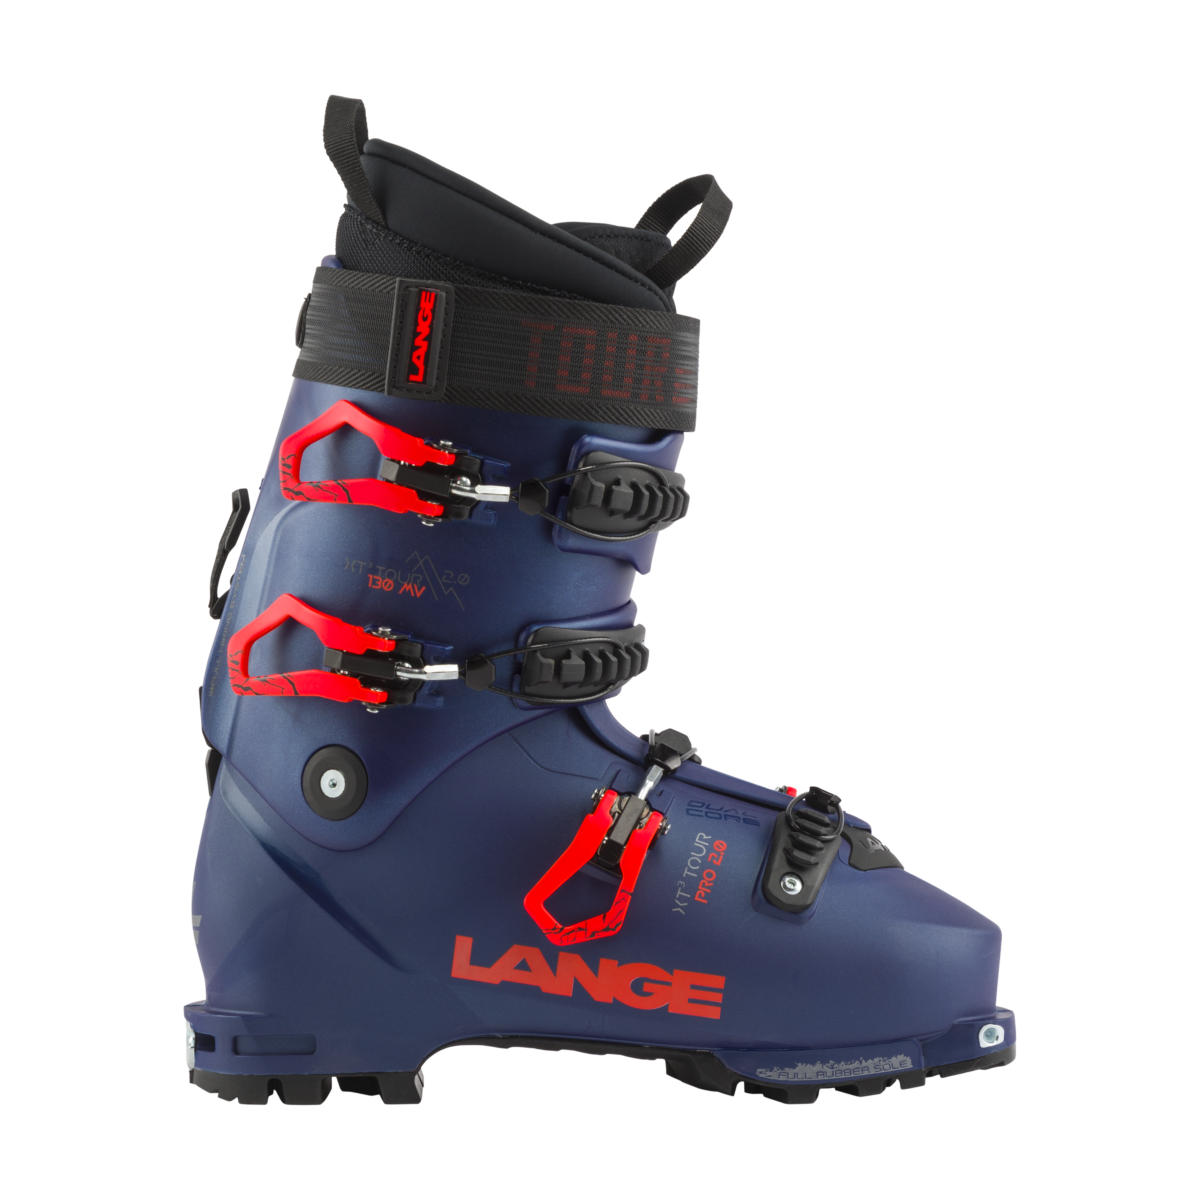
XT3 TOUR LIGHT MV 130
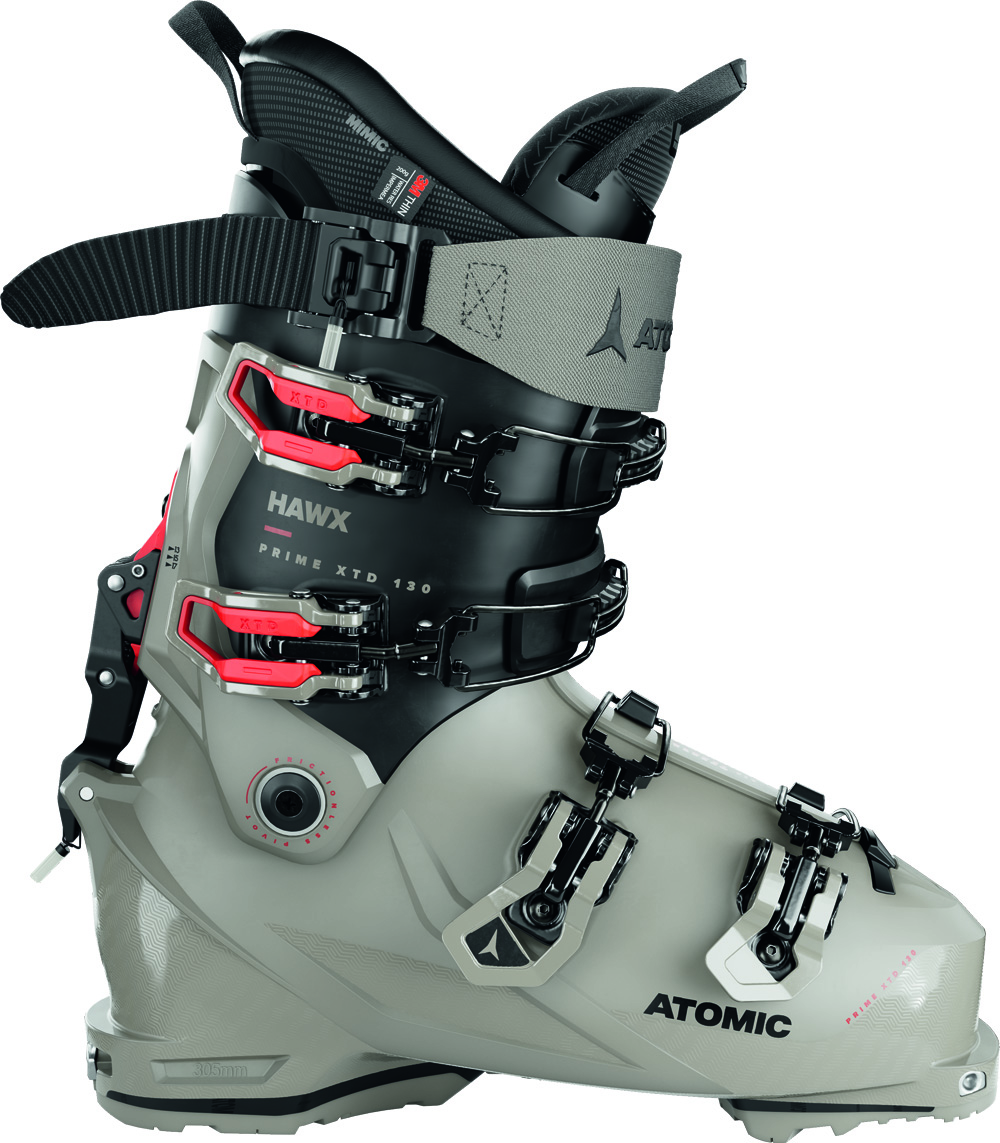
HAWX PRIME XTD 130 GW
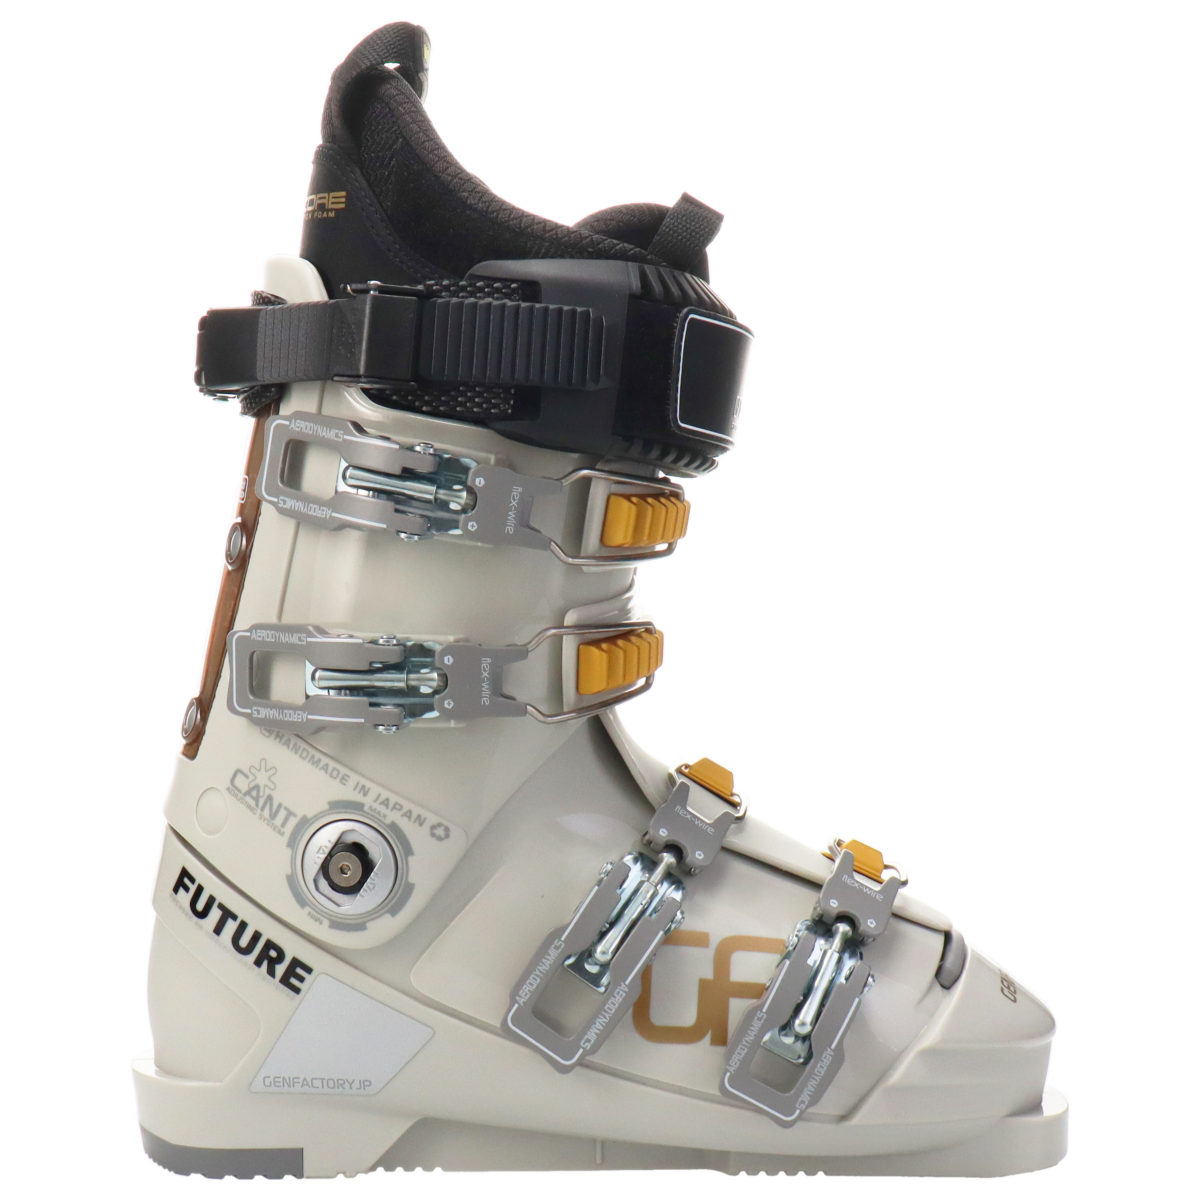
FUTURE
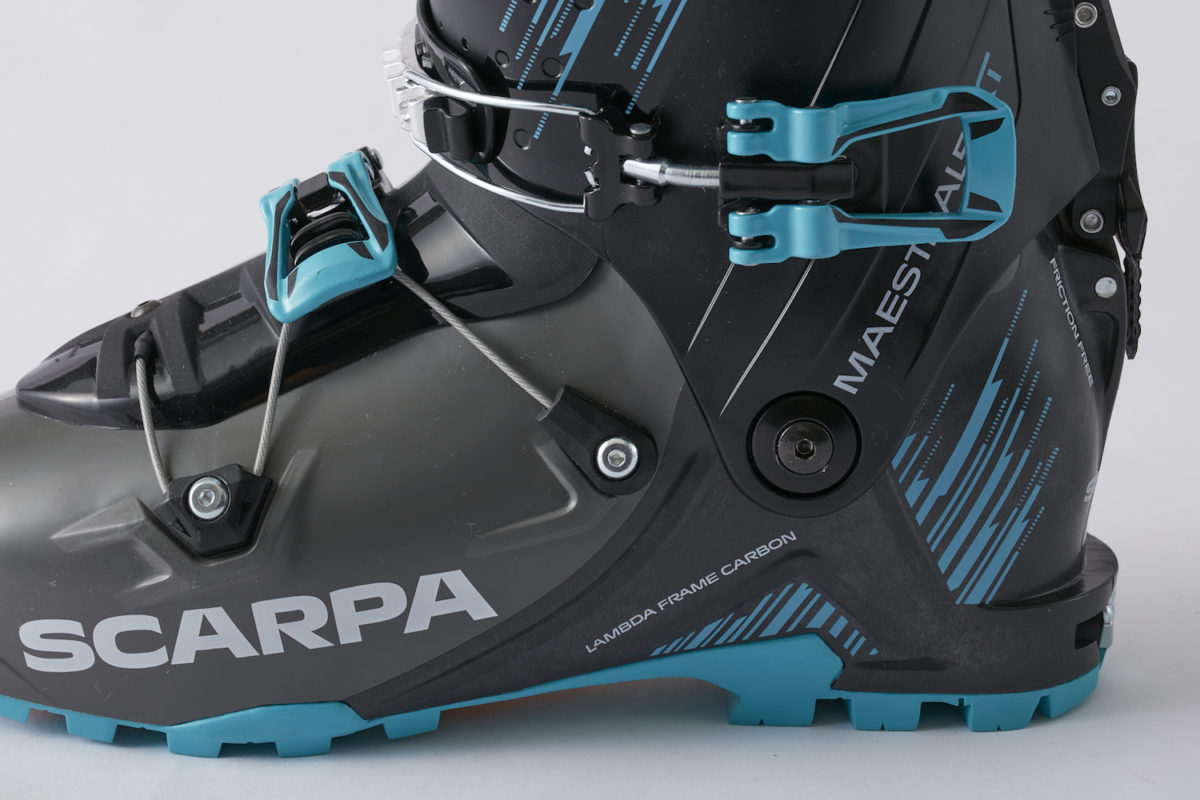
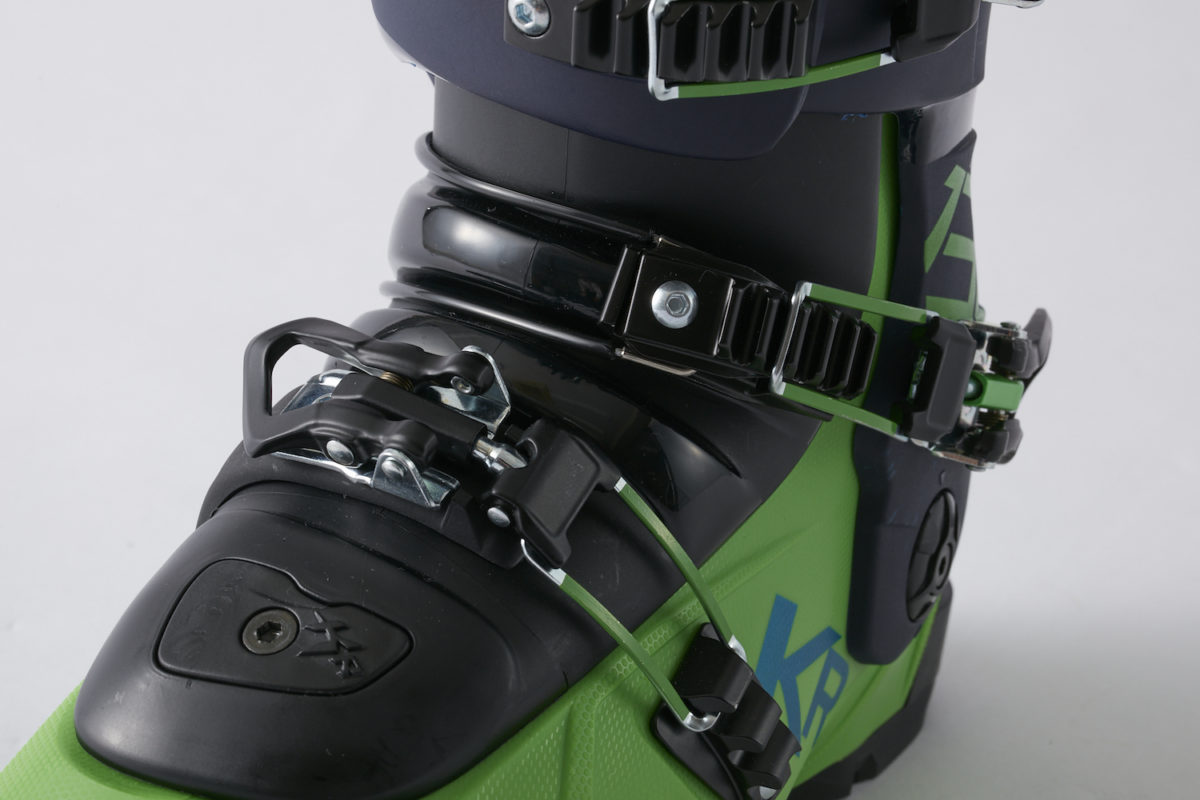
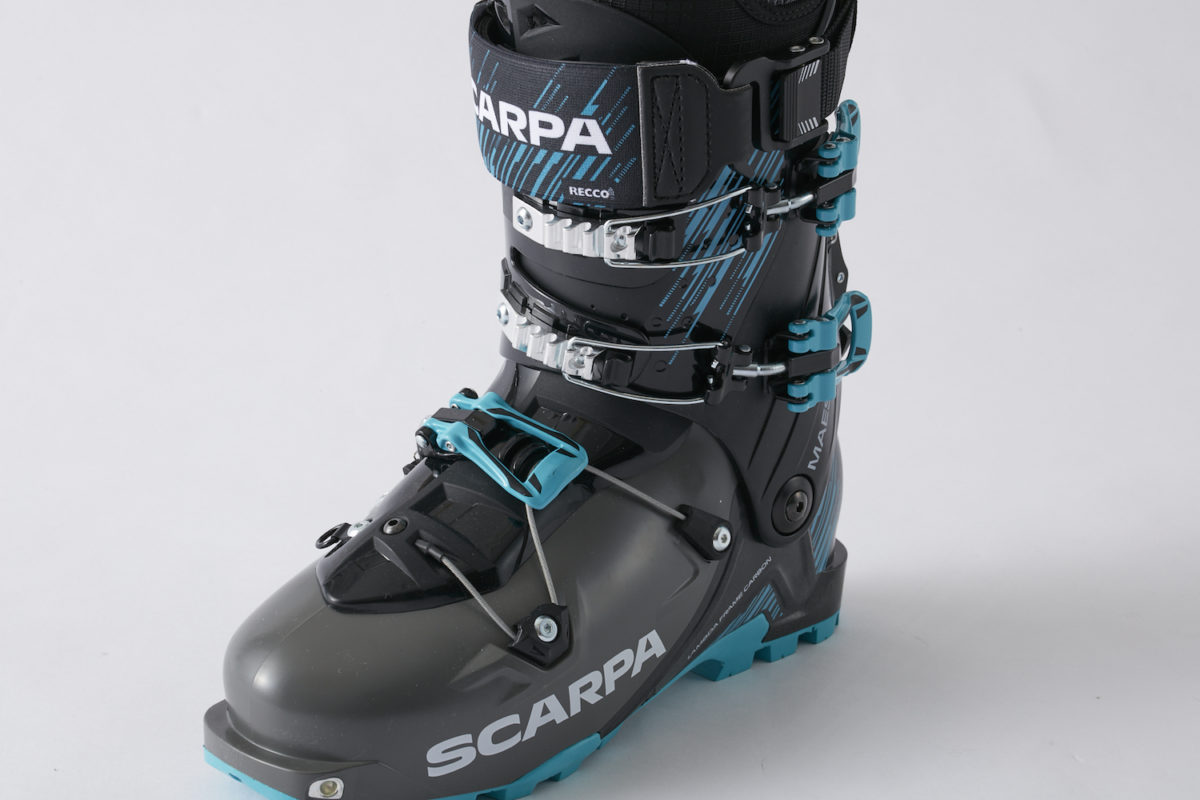
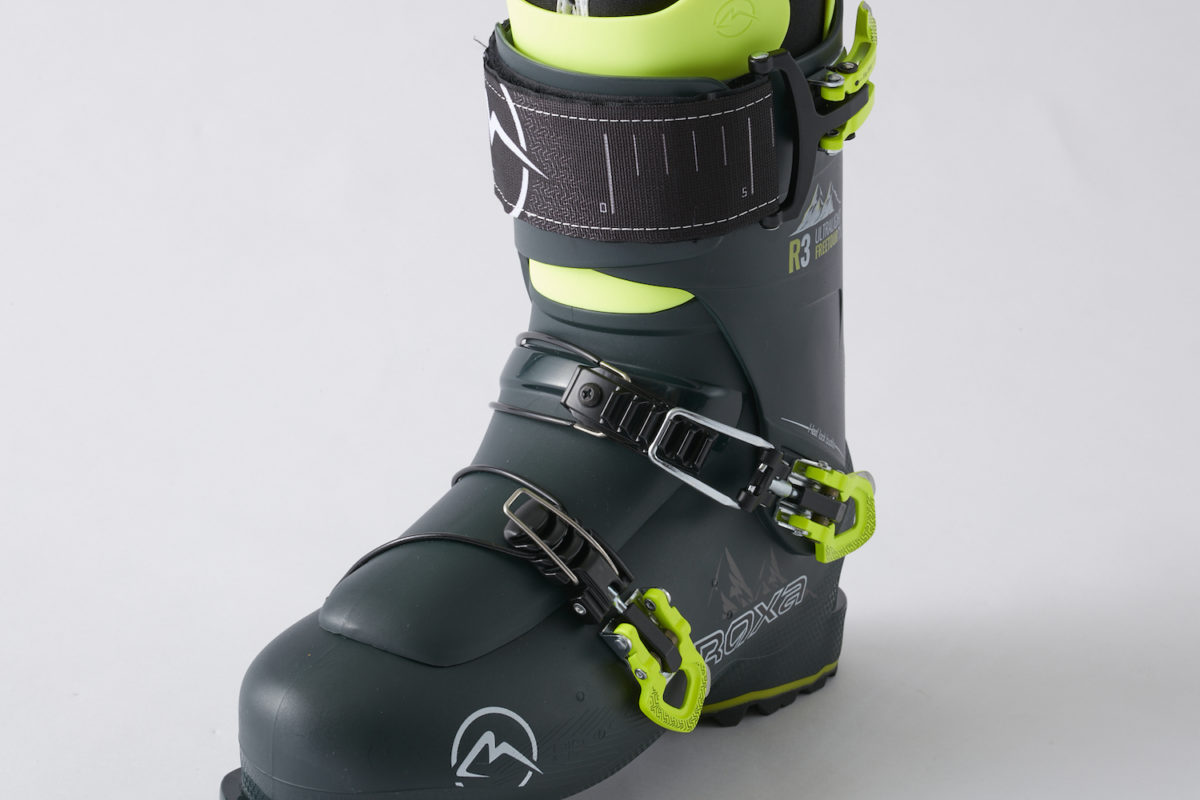
[3-Piece Shell Construction]
The rigid lower shell transmits power, while the independent tongue handles flex. The cuff can move smoothly back and forth.
The 3-piece shell makes it easy to set the flex thanks to the independent tongue, and it remains popular among skiers who prioritize ankle movement. Also, because the structure allows for a large range of motion in the cuff, most touring boots adopt this 3-piece construction. Furthermore, the hinge connecting the lower shell and the cuff is located close to the actual ankle bone, which is another hidden factor that does not impede flexible ankle movement.
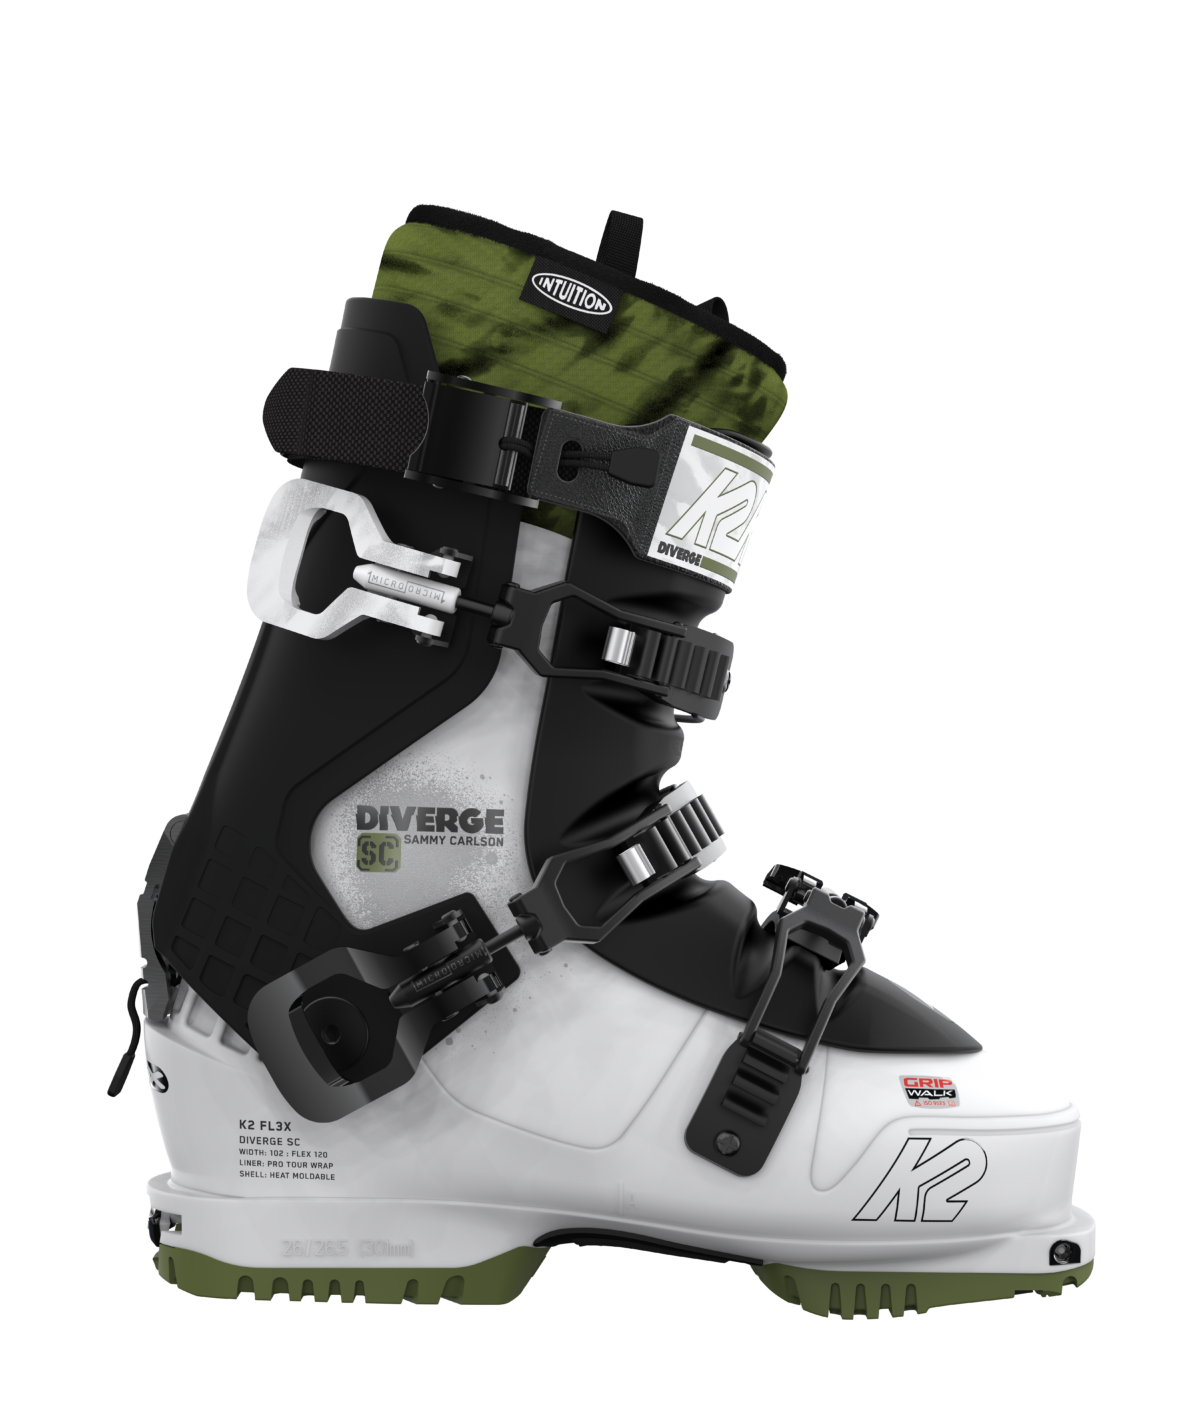
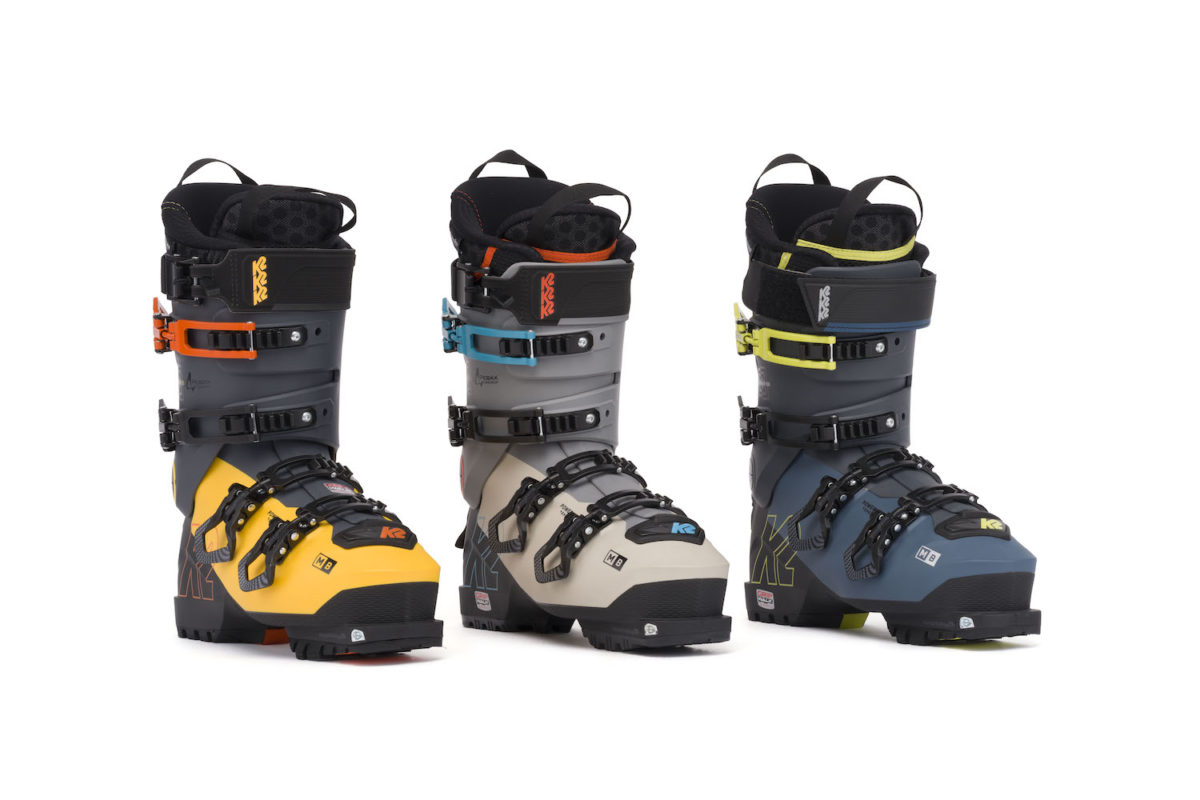
DIVERGE SC
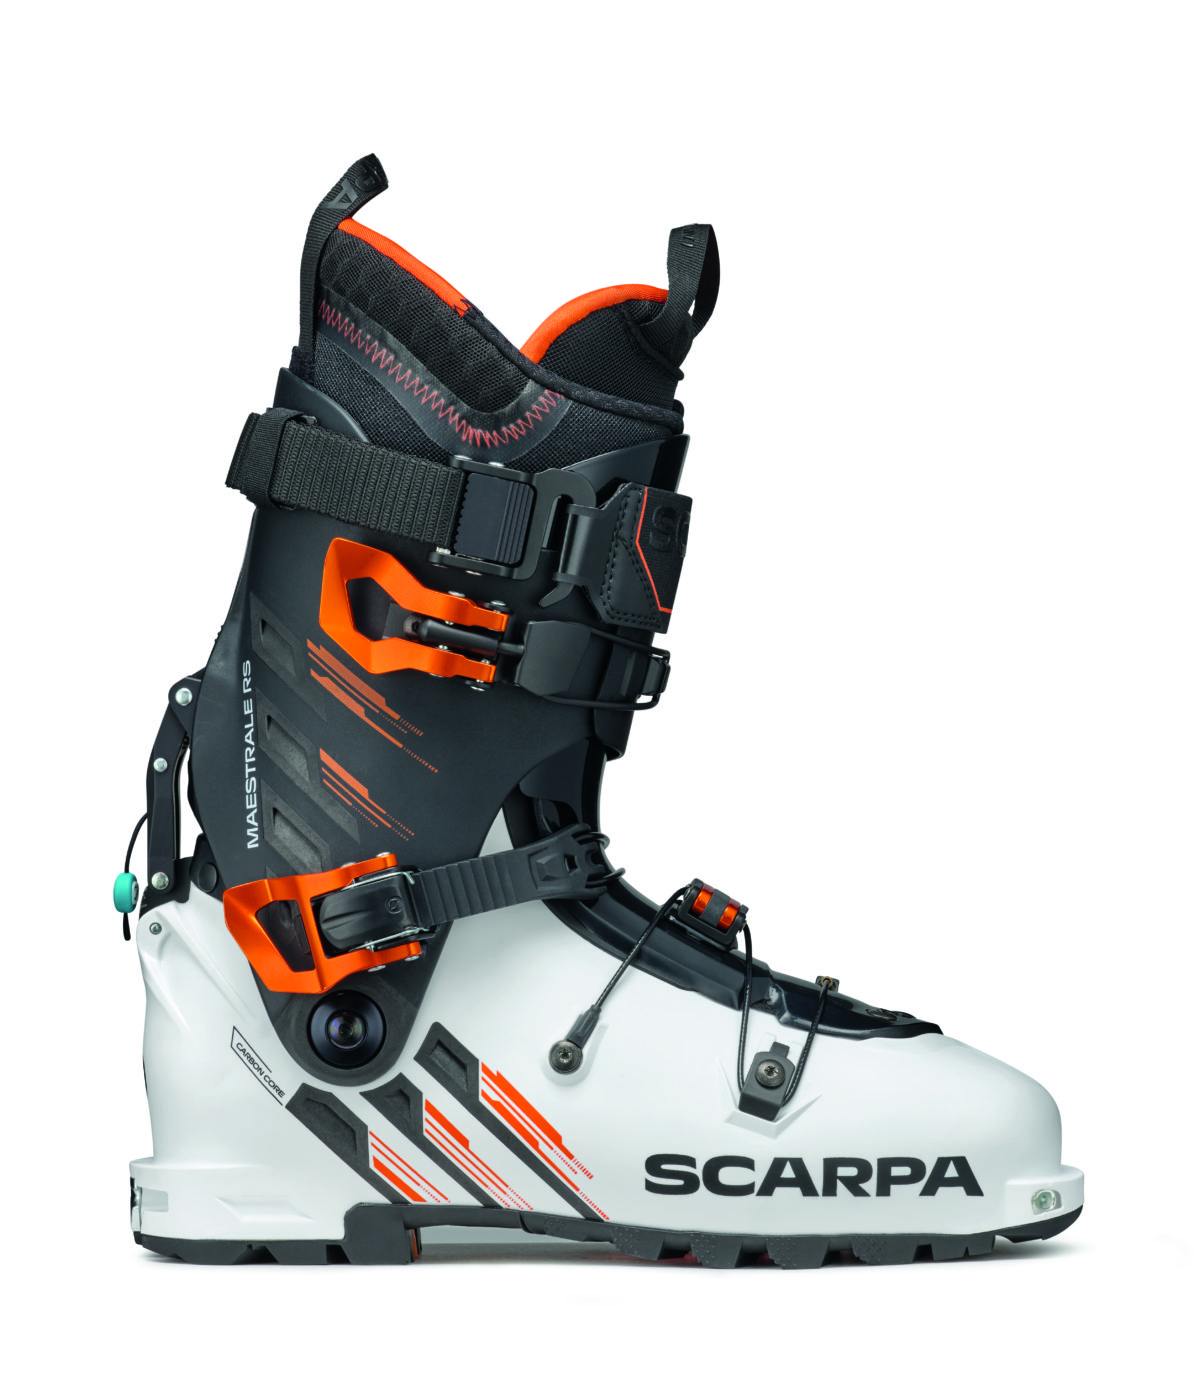
MAESTRALE RS
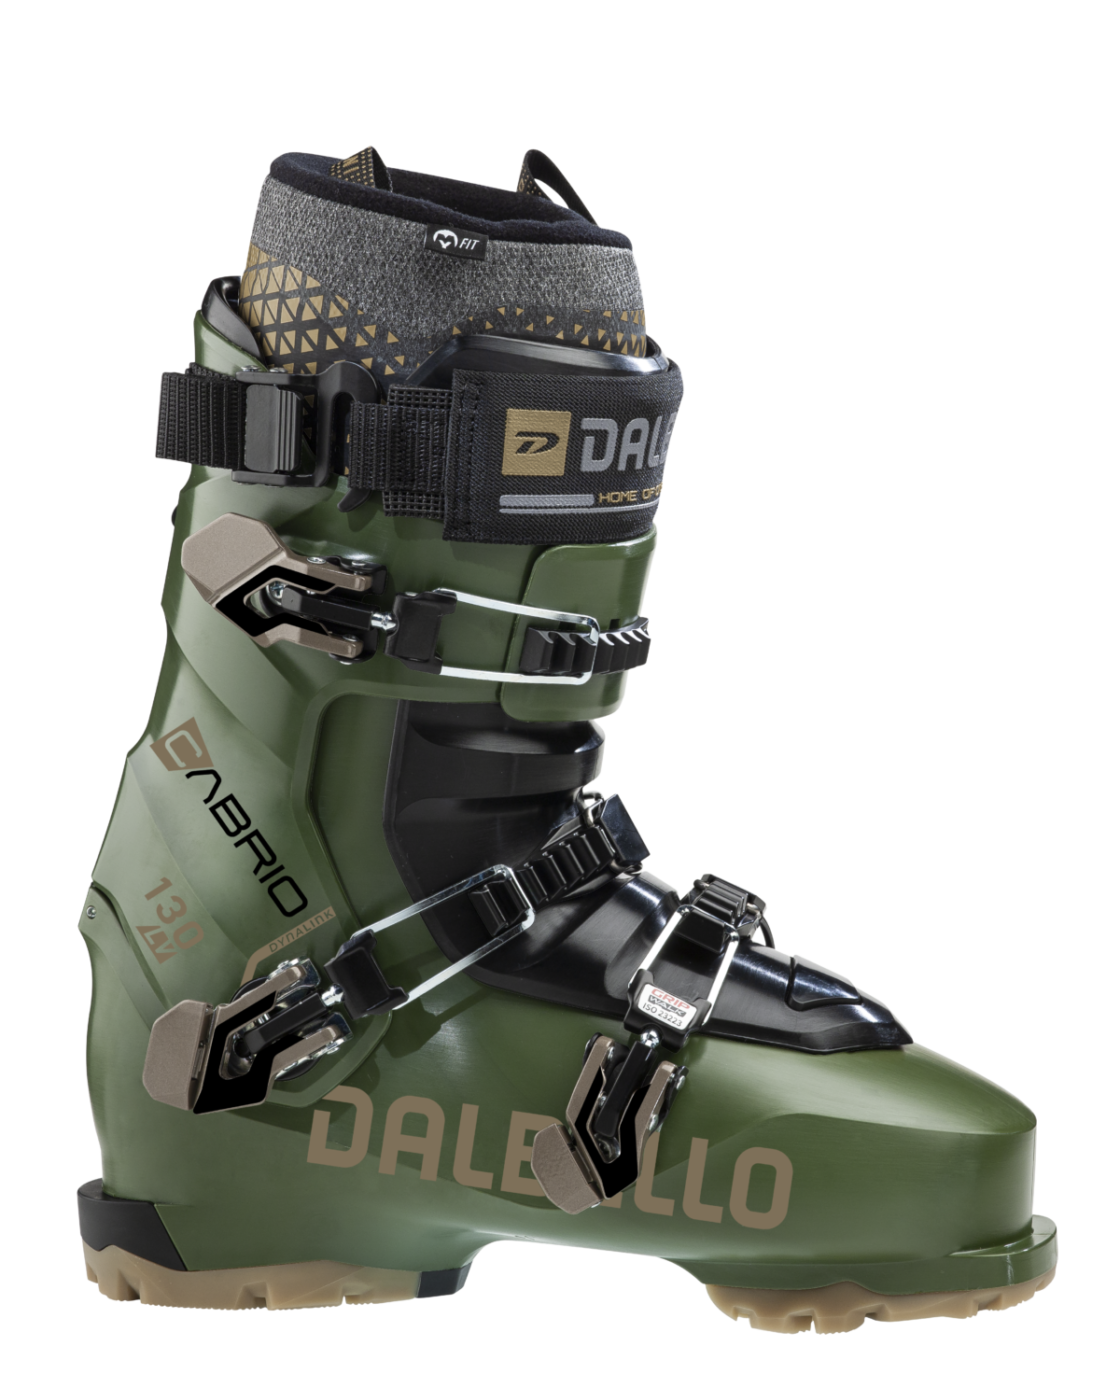
CABRIO LV 130
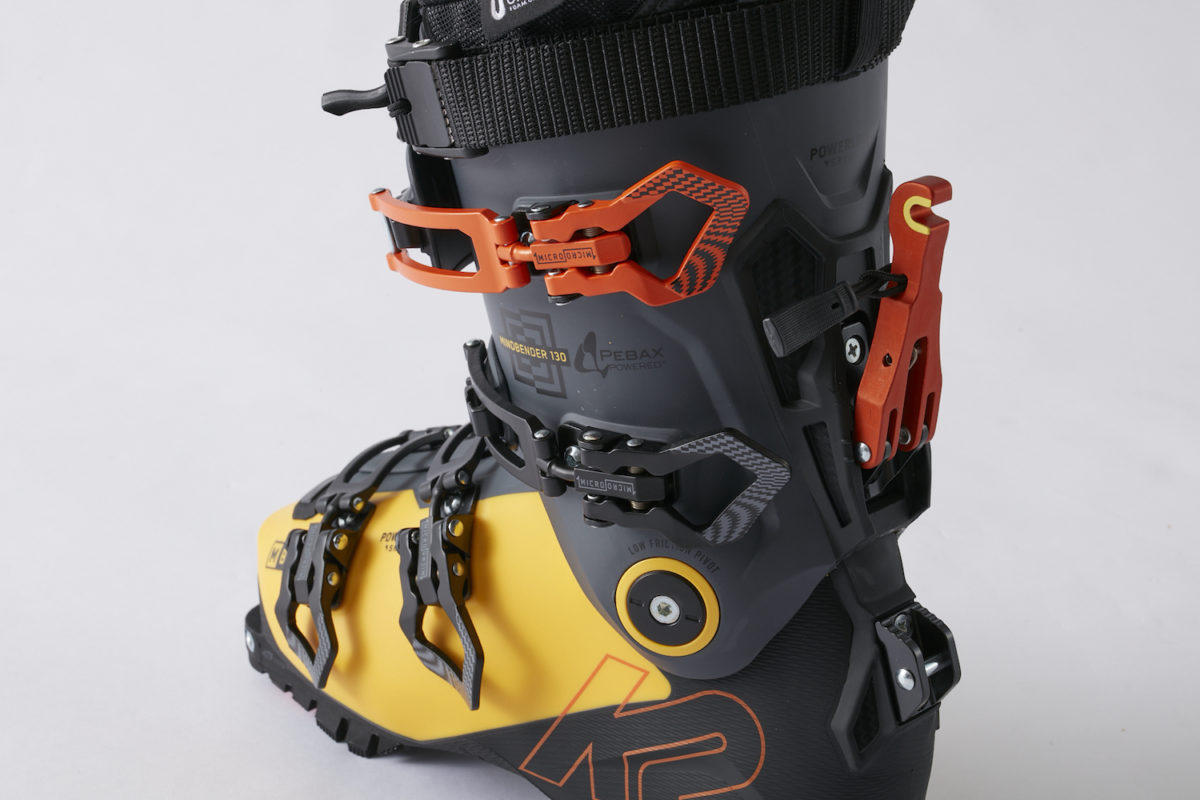
POINT 3 | Shell material
The shells of most ski boots are made of polyurethane (PU), which provides the stiffness needed to transmit power and the supple flex (flexibility and resilience) needed for turning
The shells of lightweight touring boots are often made from polyamide resins, such as Pebax and Griamide (also known as Grilamid). Because they are harder and lighter than polyurethane, they allow for a thinner shell and a lighter overall weight. They are also valued for their ability to maintain their hardness even at low temperatures
POINT 4 | Last width
A "last" refers to the shoe shape. The narrower the last width, the stronger the hold, and the wider the last width, the more comfortable it is. Race boots are generally in the 90mm range, and freeride boots are generally in the 100mm range. If you are prioritizing warmth in the backcountry, for example, a wider last width is recommended
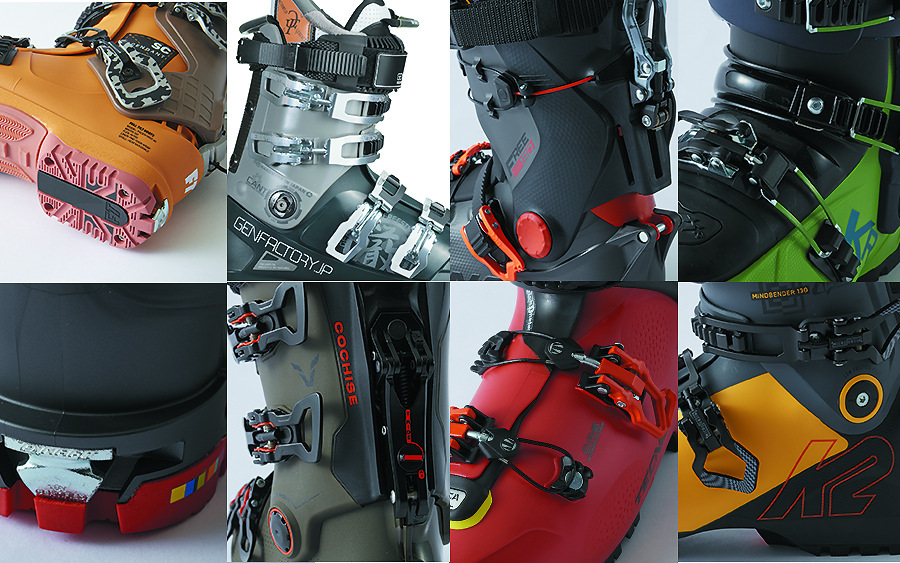
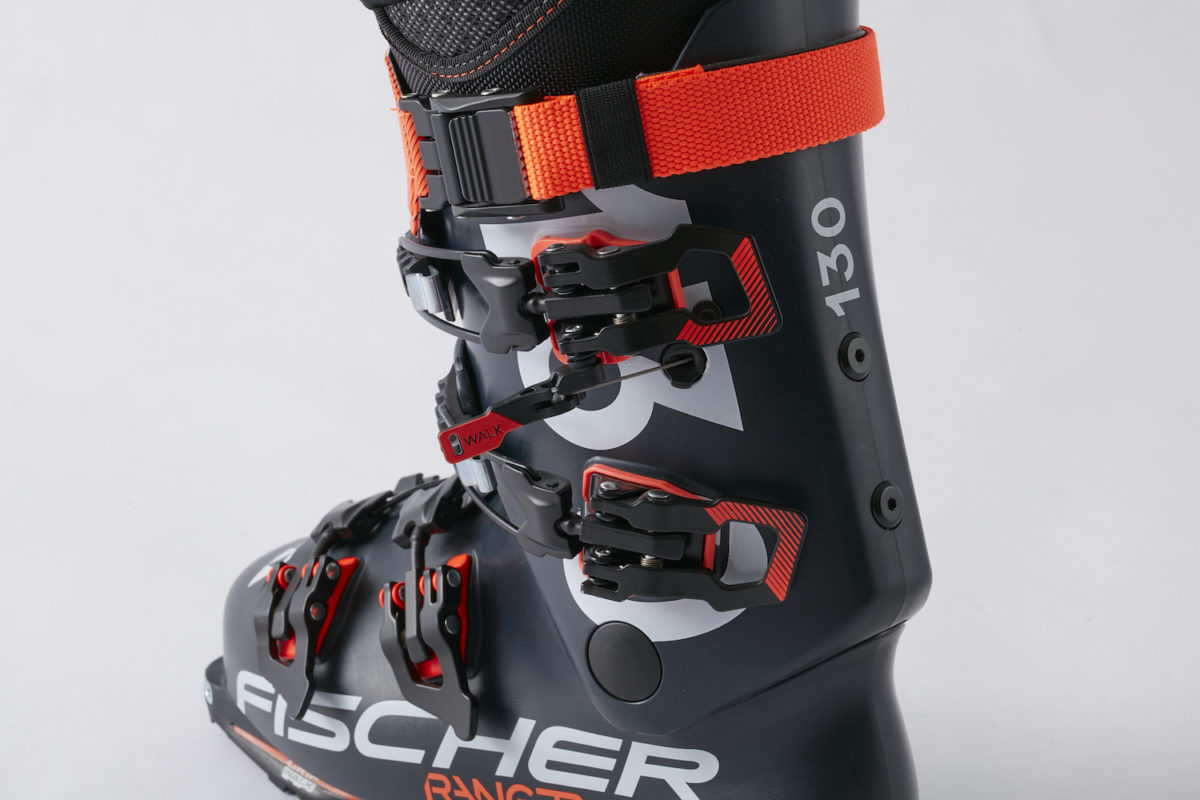
POINT 5 | Differences in buckles depending on shell structure
The number and position of buckles is also considered very differently between two-piece and three-piece shells. Two-piece boots, which require a firm hold all the way to the toes, often have four buckles that tighten from the toes to the ankle. On the other hand, three-piece boots prioritize hold from the heel to the arch area, with a placement that leaves more room in the toes. This has the advantage of preventing pain caused by the toes getting jammed together when landing from a jump, and reducing the risk of your toes getting too cold in low temperatures
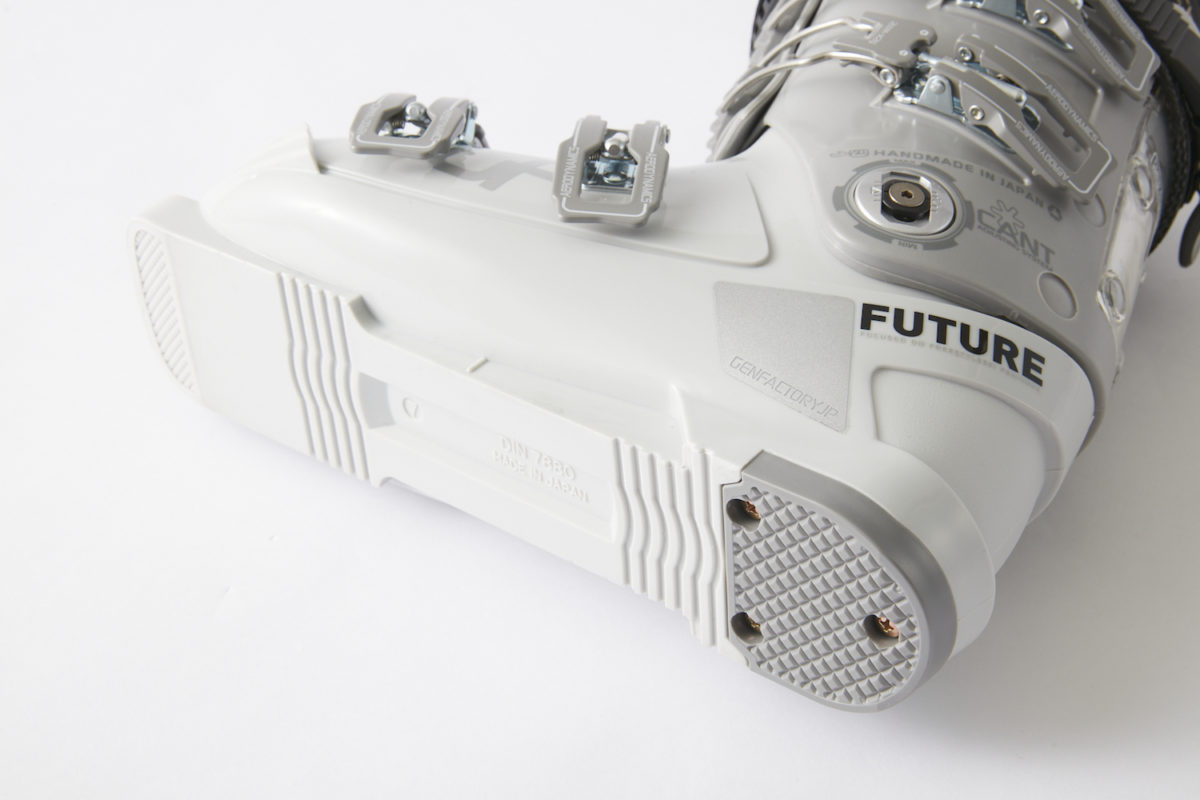
POINT 6 | Three types of sole shapes
There are three main types of soles. There are two international standards: the Alpine Boot standard (ISO 5355) and the Tour Boot standard (ISO 9523). In addition, there is a growing trend of GripWalk soles, which are compatible with safety bindings despite being touring boot standards. Aside from GripWalk soles, bindings other than those conforming to their respective standards are not compatible because the height of the welt and the shape of the sole differ. Even if they can be attached, the binding's original holding and releasing functions will not work properly, making it very risky, so it is best to avoid using them.
*Please refer to this page for information on binding compatibility.
[Alpine Standard Sole (ISO 5355)]
This is the flat sole of a conventional ski boot. It is basically only compatible with alpine standard bindings.
[Tour Standard (ISO 9523)]
Sole equipped with easy-to-walk-in rubber blocks and rocker. The toe welt height is higher than that of alpine standard soles and is not compatible with alpine standard bindings.
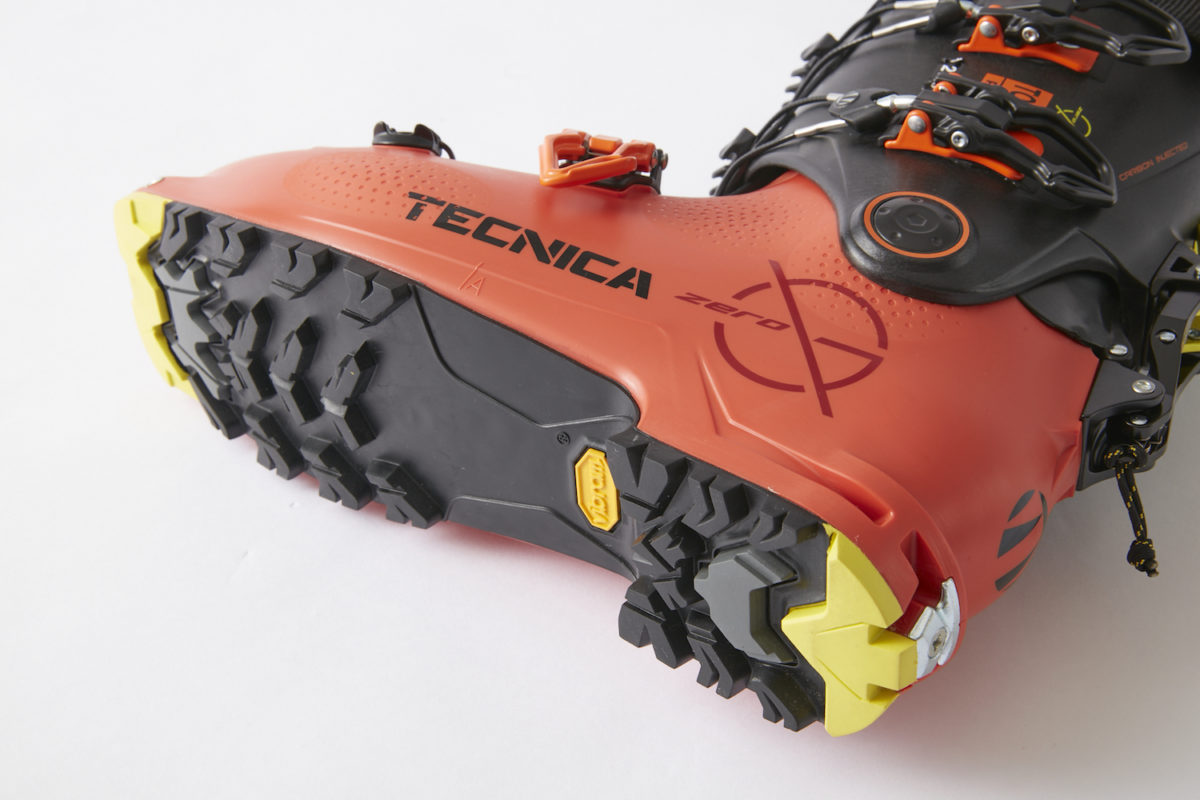
【GripWalk Sole】
A resin plate compatible with the sliding AFD (Automatic Folding Distance) of bindings is placed within the easy-to-walk-in rubber block. Most of these conform to the touring boot standard (ISO 9523).

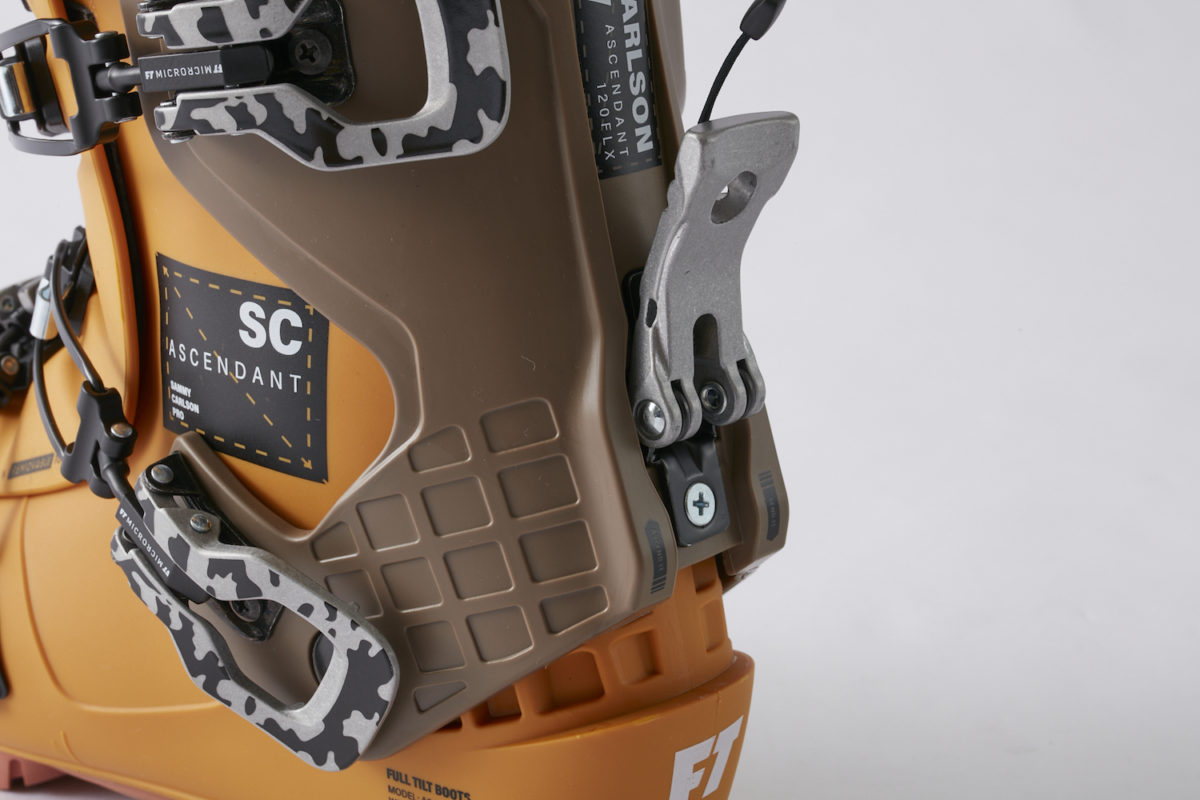
POINT 7 | Compatibility with tech bindings
Tech inserts in the toe and heel allow for tech bindings, which many touring boots now offer, including those with GripWalk soles
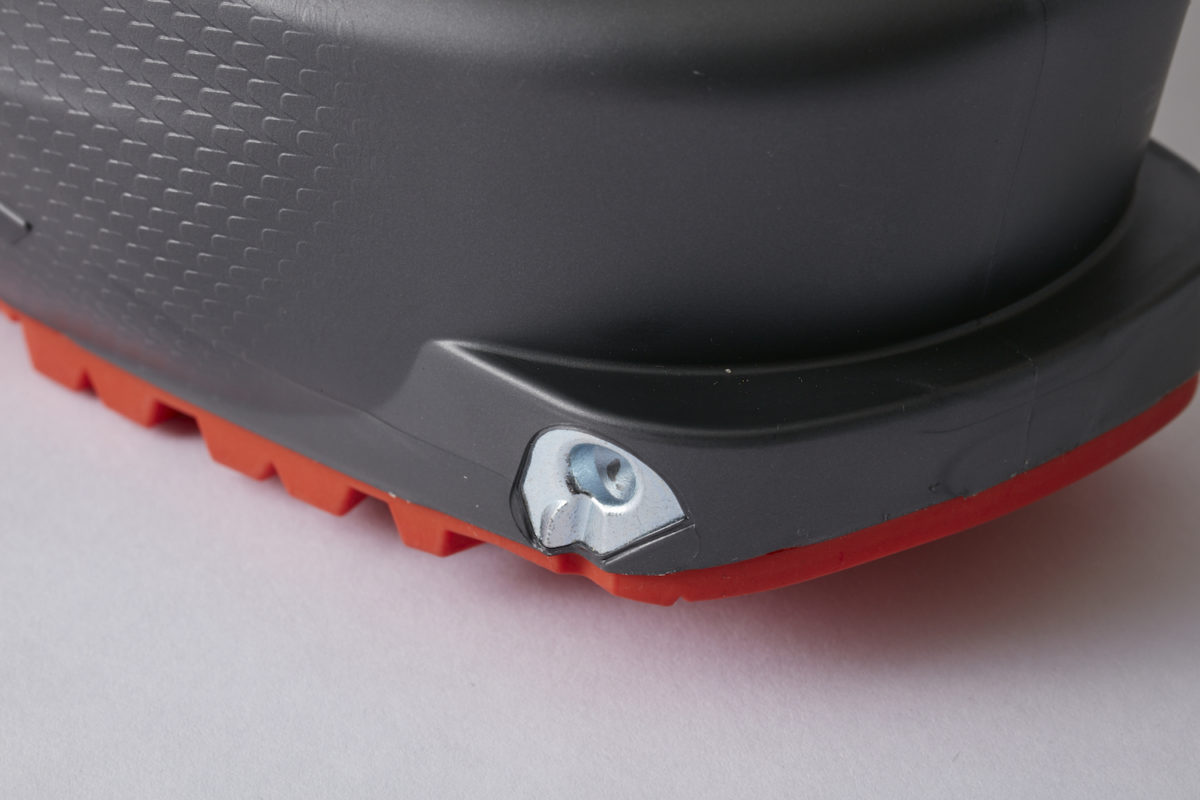
[Toe]
The toe side uses a system where a tech insert located on the edge is secured by being pinned down.
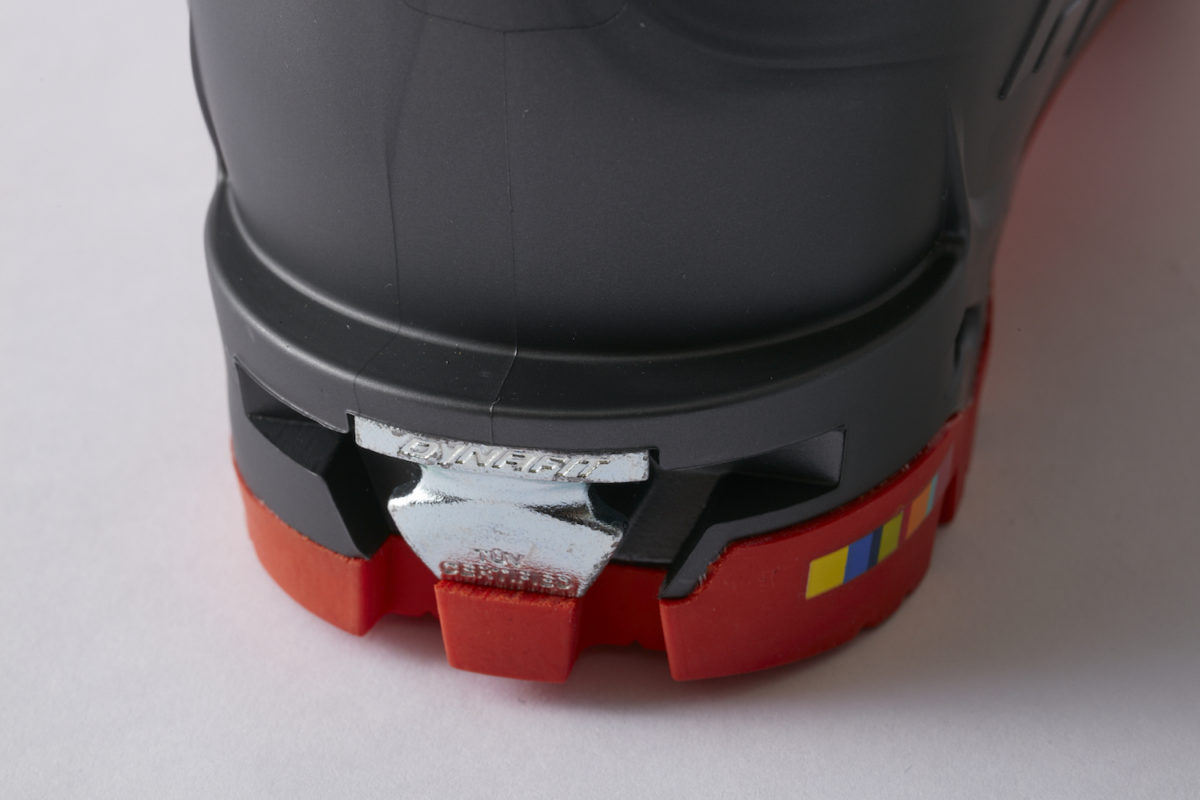
[Heel]
Hook and hold the two bars on the heel piece of the tech binding.
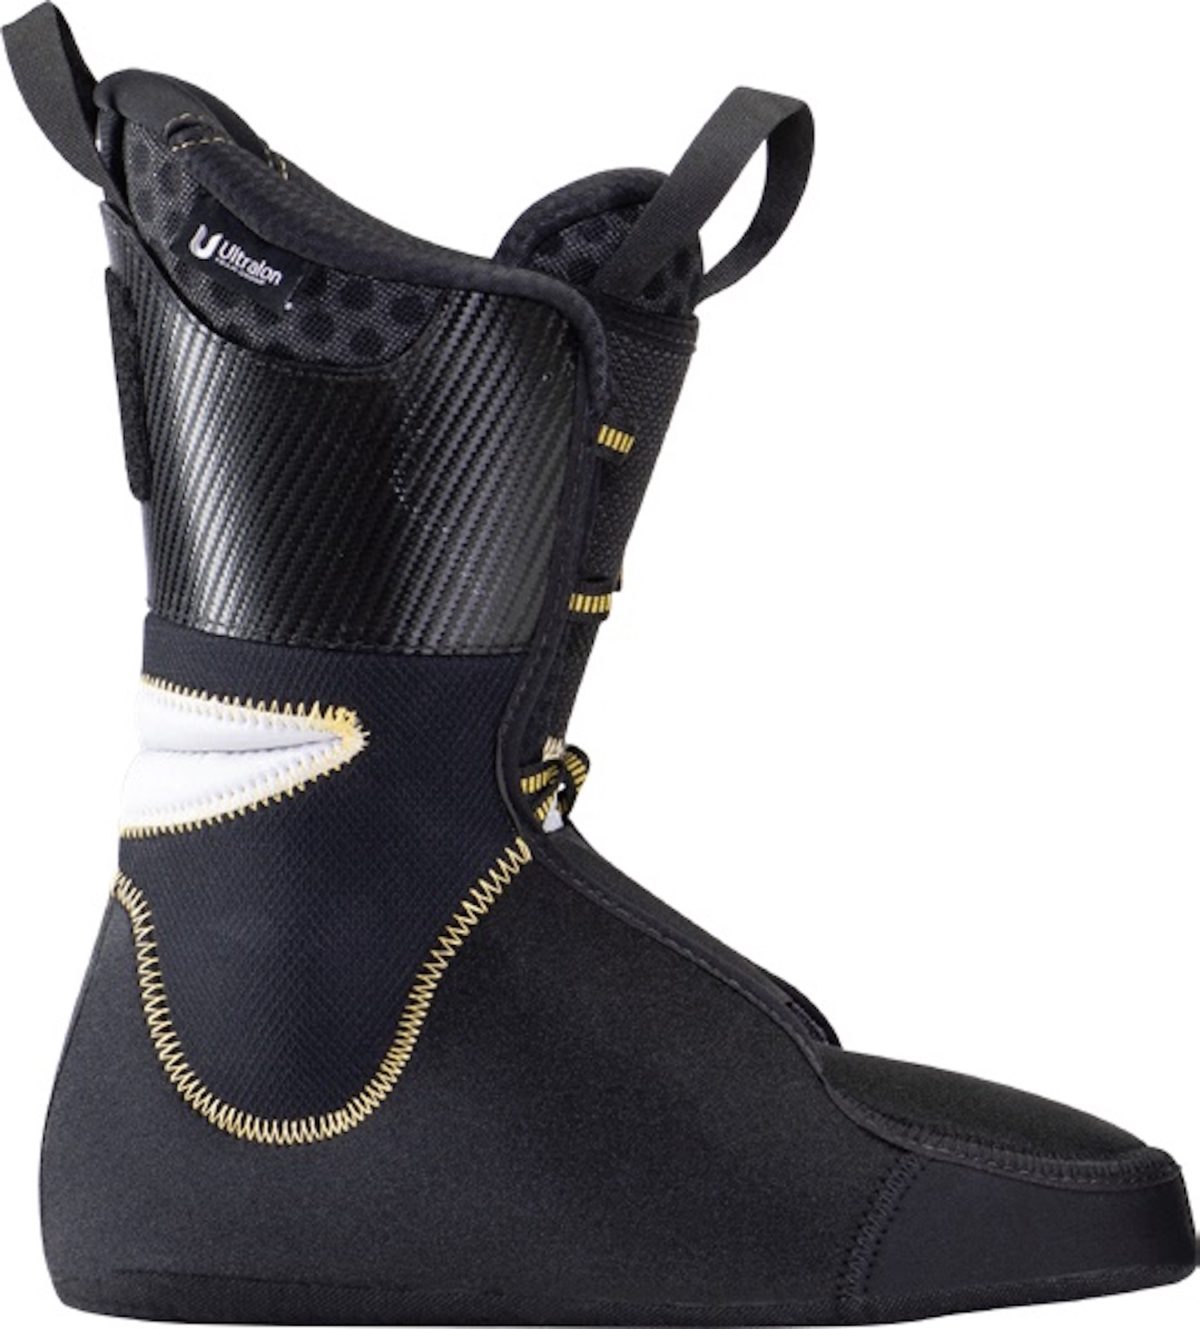
POINT 8 | Inner boots
Many boots now use heat-moldable inner liner (liner). Not only does this dramatically improve the fit, but it also fills the gap between the inner liner and the shell, preventing slippage inside the shell and providing a solid, integrated fit from bare feet to the shell. Another major feature is its high thermal insulation. Furthermore, more and more models are available with heat-moldable shells, so be sure to check them out
[Wrap-type]
The shape that firmly wraps around the ankle provides a snug fit that holds the ankle in place even without fastening the buckle.
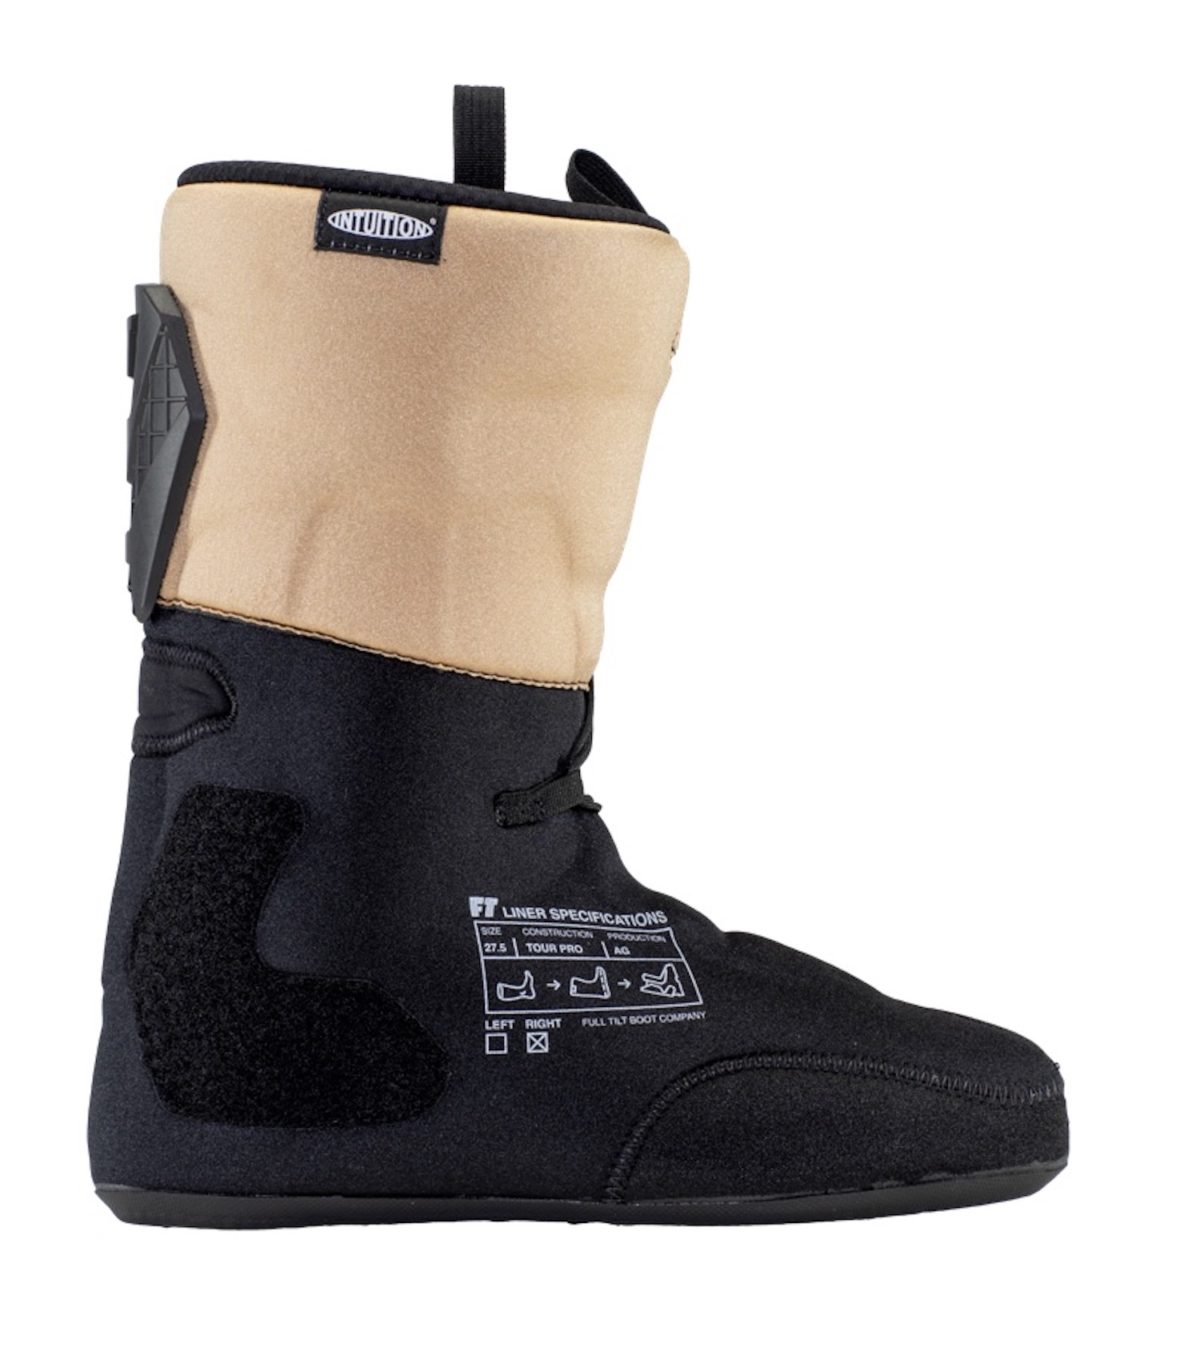
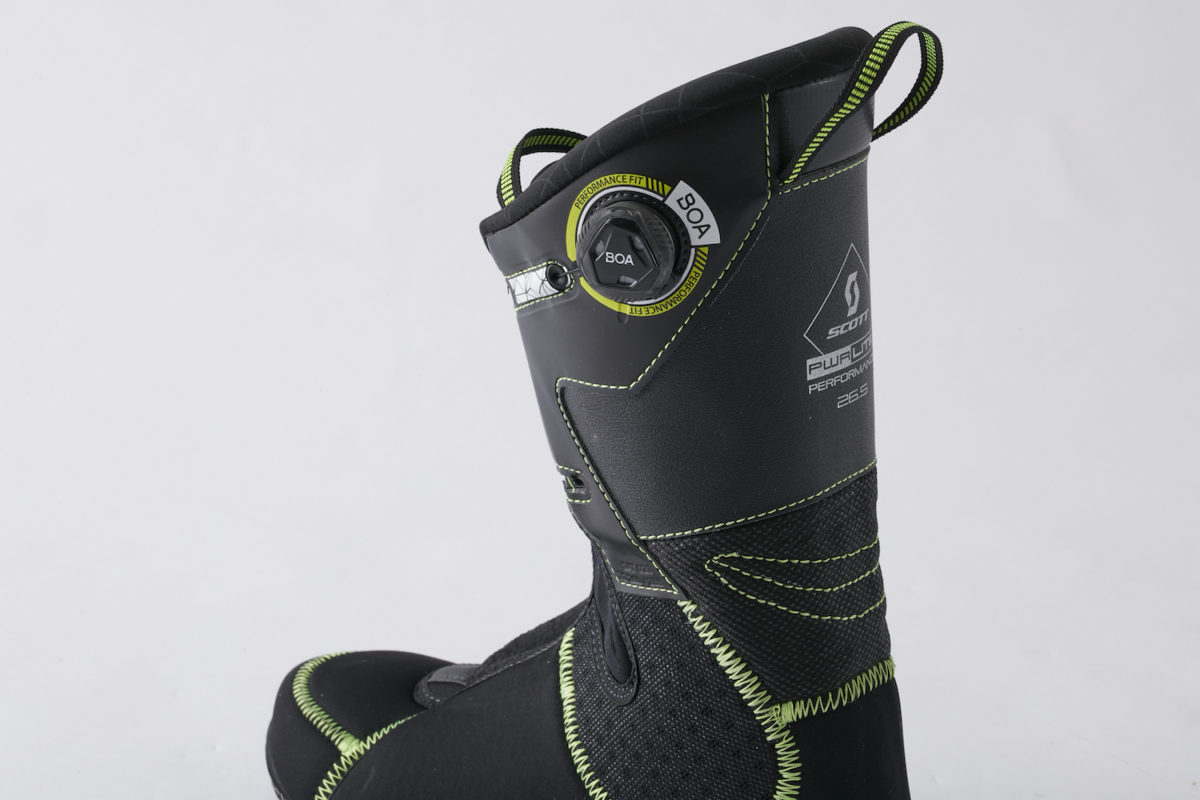
[Tongue Type]
The orthodox inner boot with a separate tongue provides a comfortable fit and follows the ankle movement during turns well.
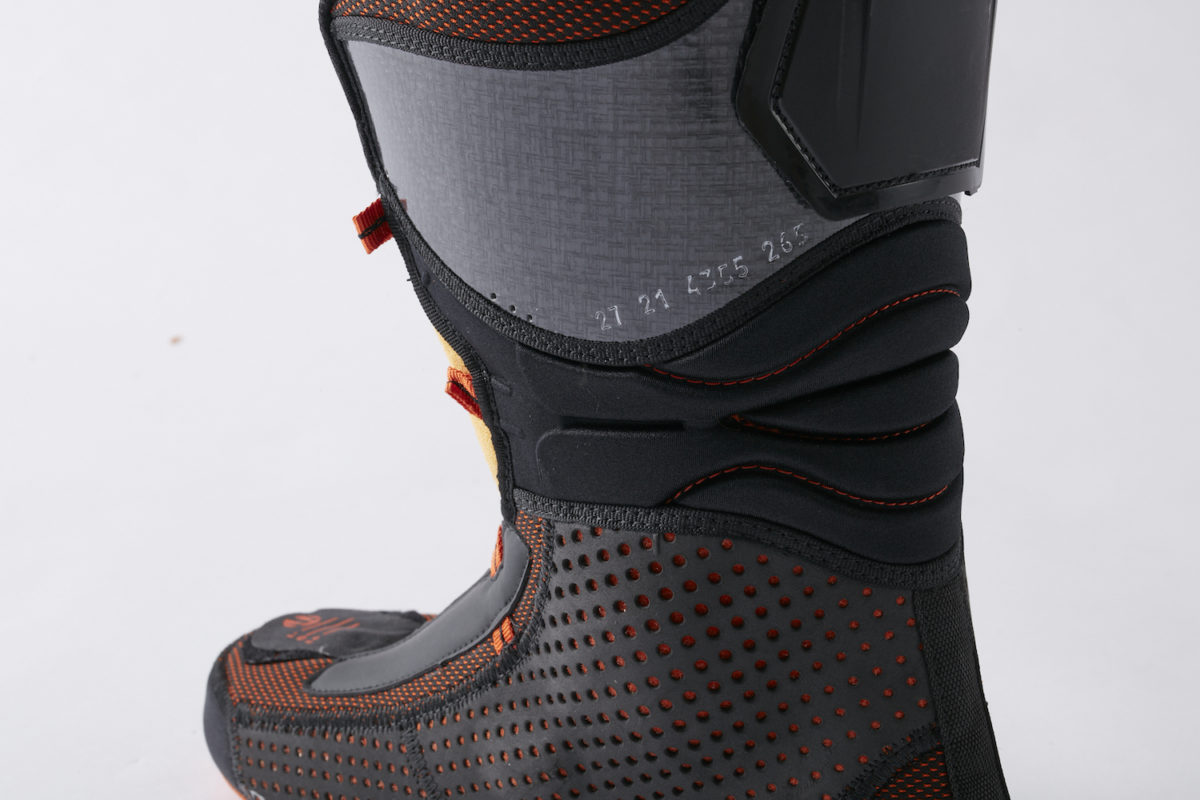
[Insoles]
Three-dimensional insoles that provide a good heel fit prevent foot slippage and are effective in improving performance. Also, commercially available heat-moldable insoles, sold separately, offer tremendous benefits with minimal investment.
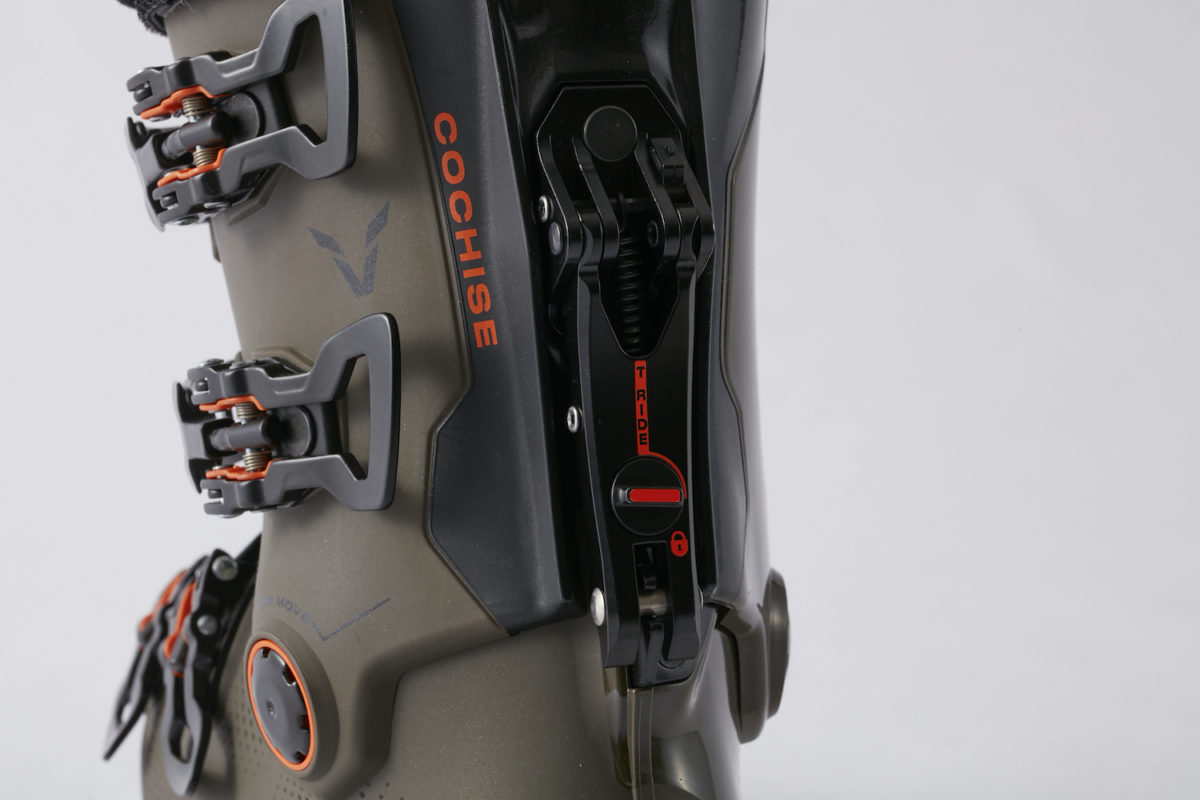
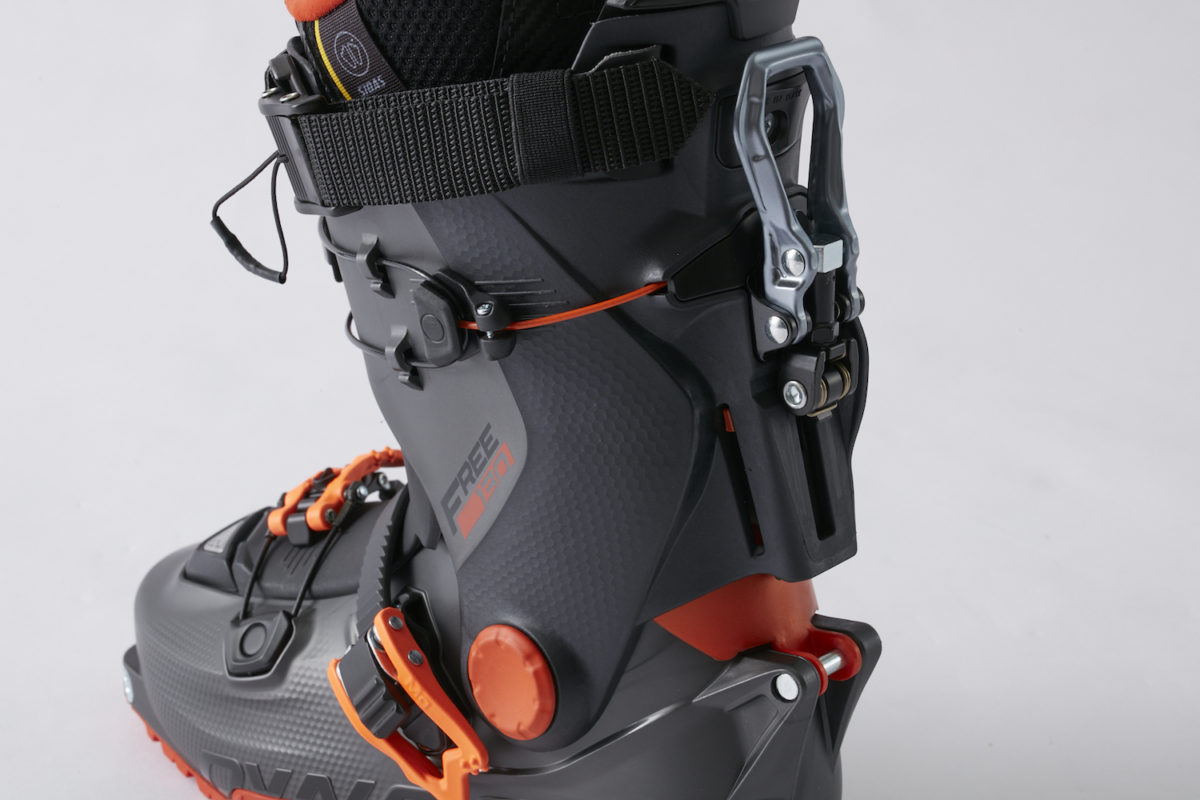
POINT 9 | Walk mode function
Nowadays, many freeride models, not just touring boots, are equipped with a walk mode. When you switch modes, the lock is released and the cuff can move back and forth. While you may not feel much benefit when climbing steep or short climbs, when walking on gentle slopes or flat ground, a wider range of motion in the cuff allows you to take longer strides, resulting in faster and easier movement
In addition to backcountry scenes, there are many other places where this advantage can be utilized, such as when moving around large parking lots at ski resorts, waiting in line for a ropeway, or riding while standing
[Mode Change Lever]
A lever located on the rear of the cuff allows you to switch between skiing mode and hiking mode.
Supervision by Hiroyuki Tsuji (Gen Factory), Ryusuke Miura (MDV Sports Japan), and Tomoya Takahashi (Dynafit)
Text by Chikara Terakura