In addition to the gear you'd find at a ski resort, backcountry skiing requires a variety of other equipment.
Entering ungroomed snowy mountains means climbing in addition to skiing, so regardless of the time or location, gear like that of a light winter mountain climber is essential.
To that end, we visited the "Backcountry Ski Gear Experience" seminar, held at the end of January by Lost Arrow, a retailer of backcountry ski gear from brands like Black Diamond and Scarpa. We've compiled a collection of how-to videos for backcountry beginners, featuring excerpts from the seminar that teaches the proper use and handling of hiking gear and avalanche gear. There are a total of 10 videos.
[Hiking gear]
Climbing skins
, bindings
, ski poles
, ski crampons
, ski boots
[Avalanche Gear]
Beacon
, Shovel
, Probe
, Avalanche Backpack
This time,
we learned about climbing skins. Our instructor, mountain guide Genki Narumi, gave us a lecture on how to put on and take off climbing skins. He also taught us how to do kick turns, the most technical technique in hiking uphill.
Step 1: How to put on climbing skins
Step 2: How to remove climbing skins
Step 3: How to do a kick turn
*The content introduced here is only a part of the course.
・Gear used in this video
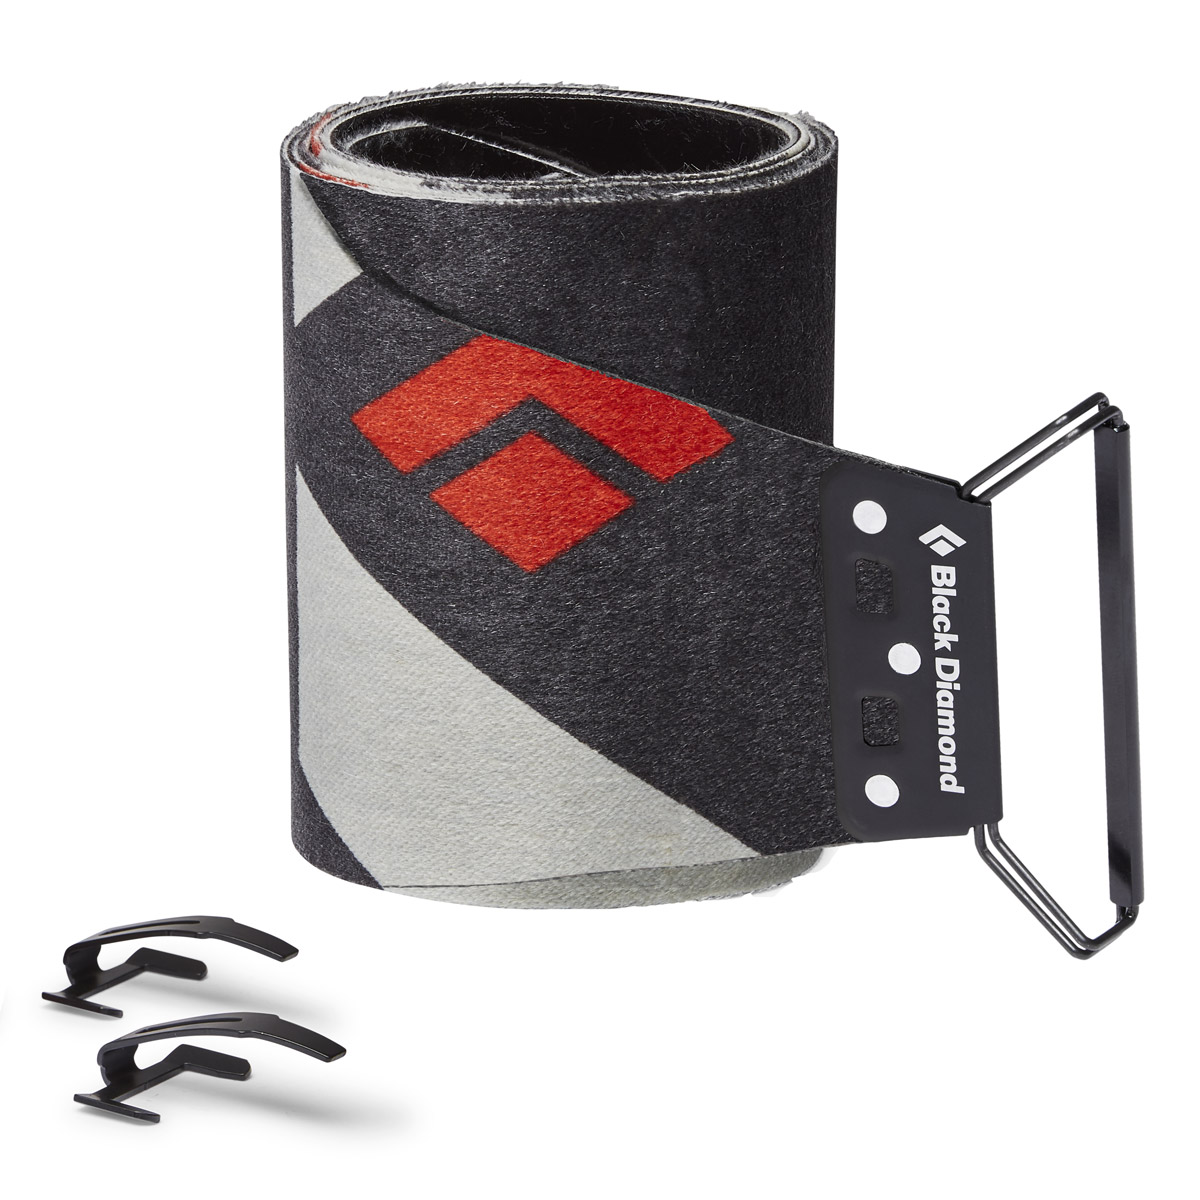
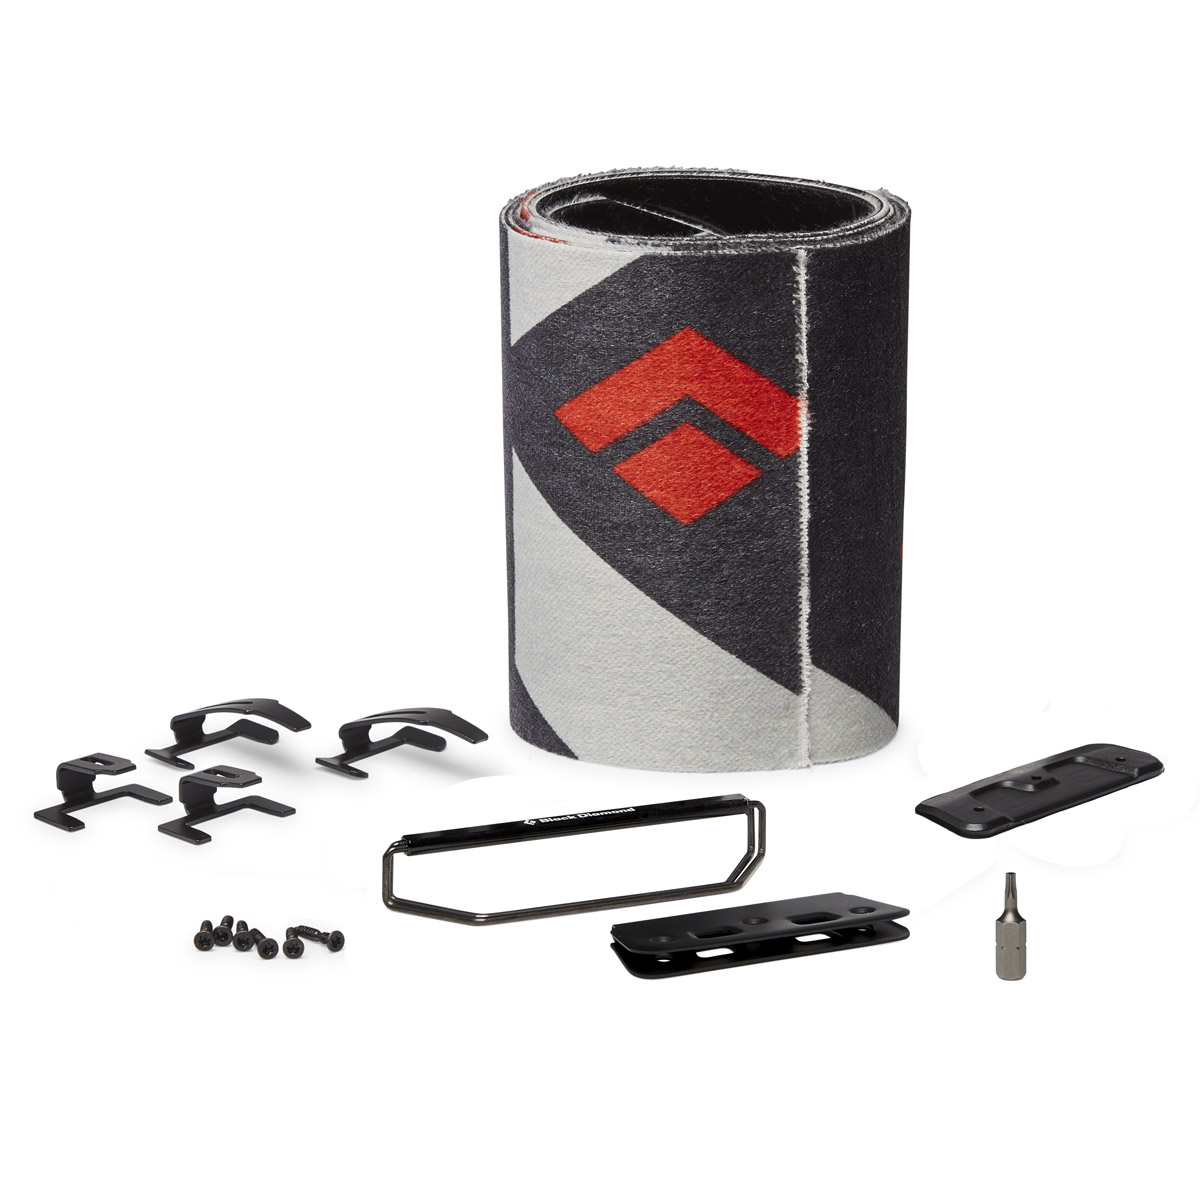
Black Diamond/Glide Lite Mix FL Series
The skin is a lightweight, glide-resistant blend of mohair (65%) and nylon (35%). The hair is treated with a non-fluorine durable water-repellent finish. The adhesive uses Gold Label adhesive for strong adhesion, allowing for repeated reapplication even in harsh environments. It's available in three widths: 110mm, 135mm, and a splitboard-specific (145mm width) version. It's available in four lengths: S = 151-168cm, M = 159-176cm, L = 167-184cm, and XL = 175-193cm
Interview cooperation: Lost Arrow
Filming and editing: Daiki Yoshikawa
Video composition and text: Shinya Moriyama