Photo/ Takanori Ota
One day in February, I, Ai Fukuda, a member of the STEEP editorial team, headed to Nozawa. Up until now, my skiing experience has focused on basic skiing, with little experience in freeskiing or backcountry skiing (BC). I wanted to try out the vast backcountry skiing area, but suddenly heading out alone would be too reckless. I heard about a backcountry skiing course for beginners that teaches you everything you need to know, from the very basics: how to use avalanche gear to how to apply stickers. COMPASS
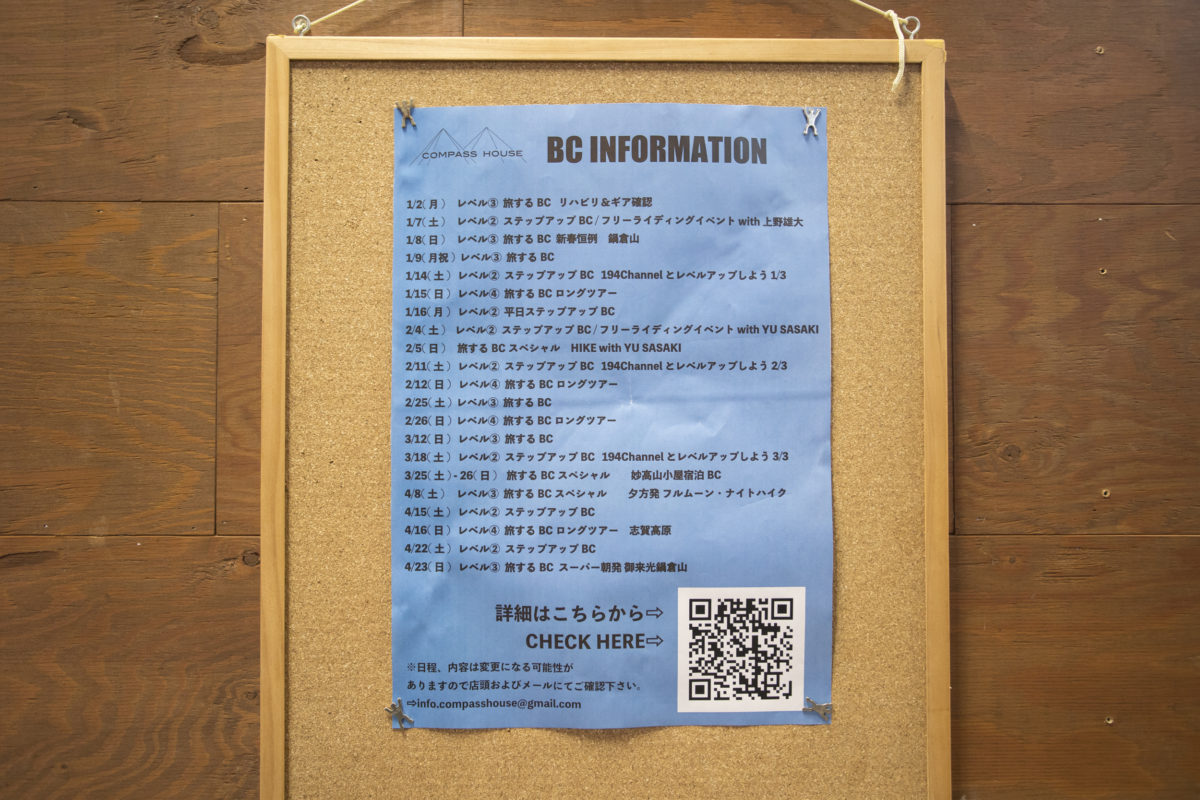
HOUSE, a shop, cafe, and rental facility with three locations in Nozawa Onsen Village, Nagano Prefecture, offers such beginner-friendly courses
. They offer a variety of tours for all skill levels throughout the season, but any tour requires you to first take their "Beginner's Course: Make Backcountry Skiing Even More Fun."
The reason for this is to help beginners to backcountry skiing smoothly integrate into the tour, providing advice on safety and climbing techniques, and providing a place to warm up so they can participate in the tour with peace of mind and enjoyment. It also helps to match the levels of tour participants. For example, if a backcountry skiing beginner were to join a tour for experts, they would not be able to keep up with the skiing and climbing, and other participants would have to wait for the beginners, which would be stressful for both parties. This
can be seen as a way to make the precious day spent at the backcountry skiing more enjoyable.
This time, I will report on the seminar and also share my thoughts as a complete beginner, as well as some information that skiers and snowboarders who want to try backcountry skiing should know
The exciting BC seminar begins
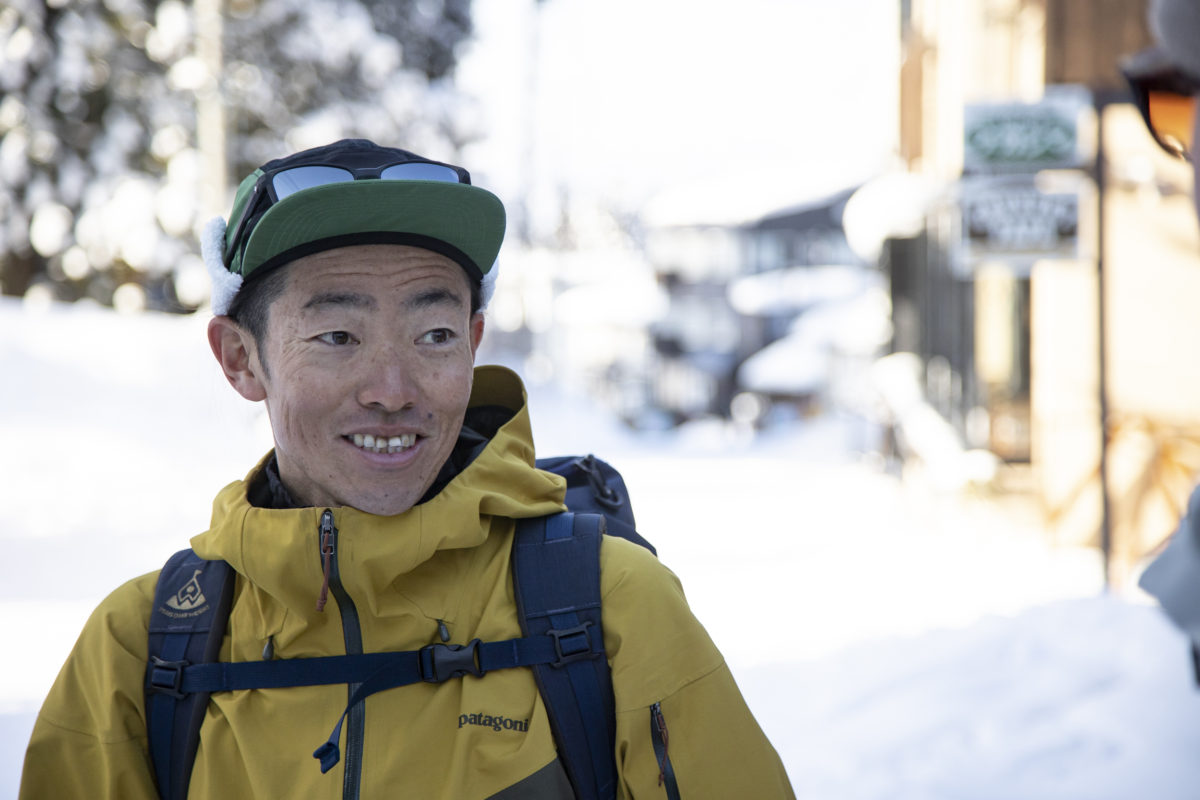
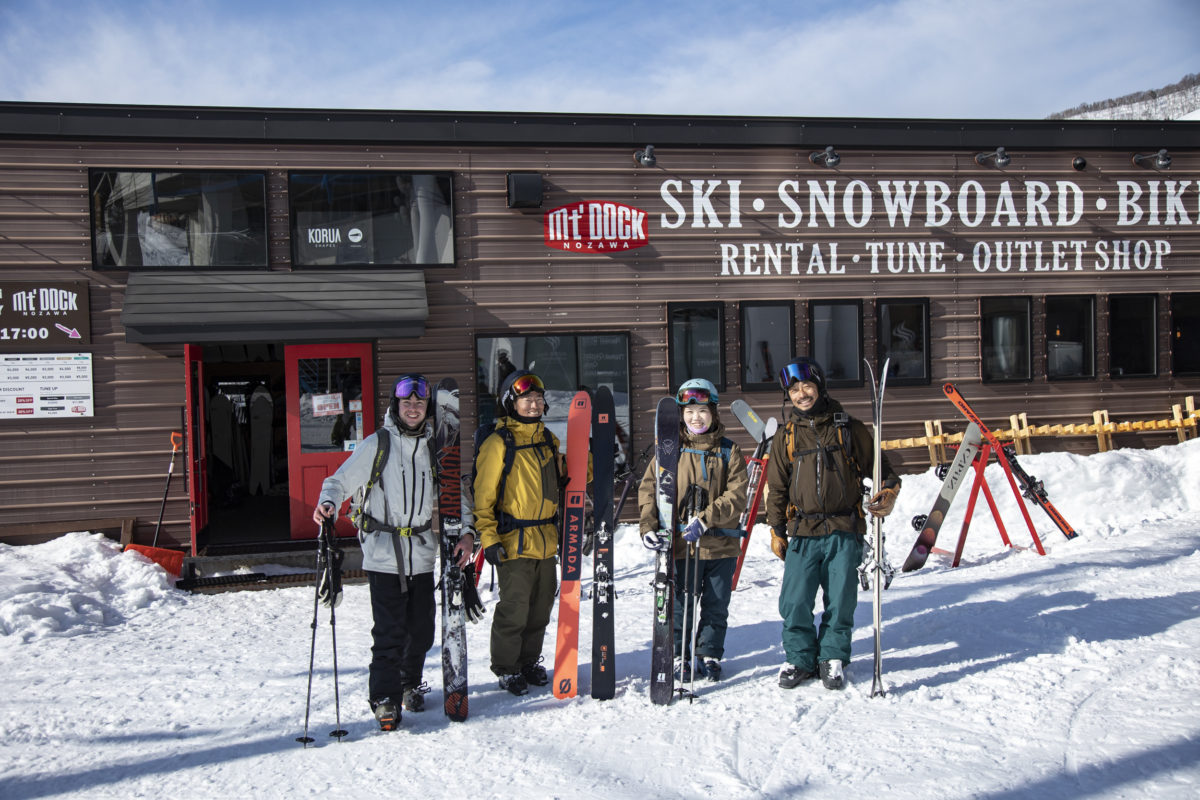
On the day, we gathered at Mt. DOCK, located at the foot of the Nagasaka Gondola at Nozawa Onsen Ski Resort. The participants (target audience) for this event were myself and Lars, a shop staff member from Australia. Neither of us had any experience with backcountry skiing, of course. Our instructor for these beginners was Takaya Kawaguchi of TKY
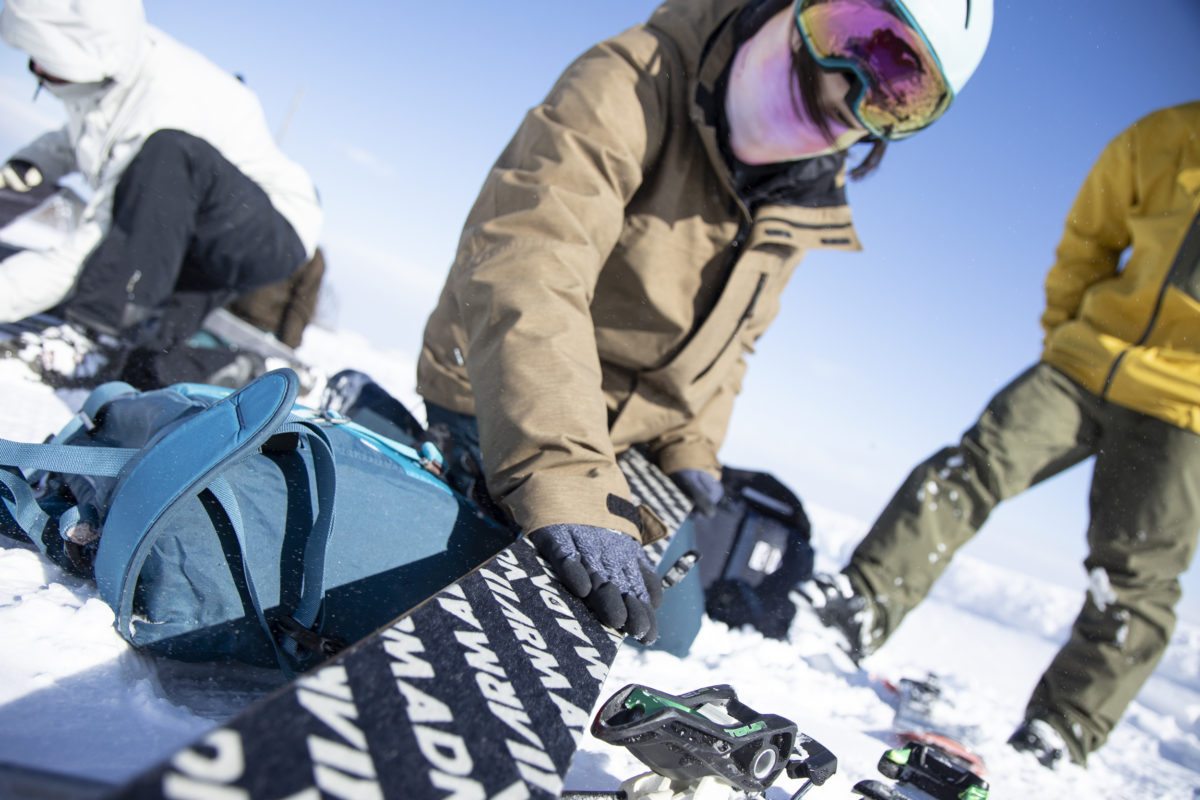
Before leaving, I checked my equipment. When I saw the gear I would be using, I couldn't help but think, "It looks like camping gear," or "What's this thing that makes a beeping noise?" Everything can be rented here. Before buying everything without knowing what it is, it's a good idea to rent it and try it out first
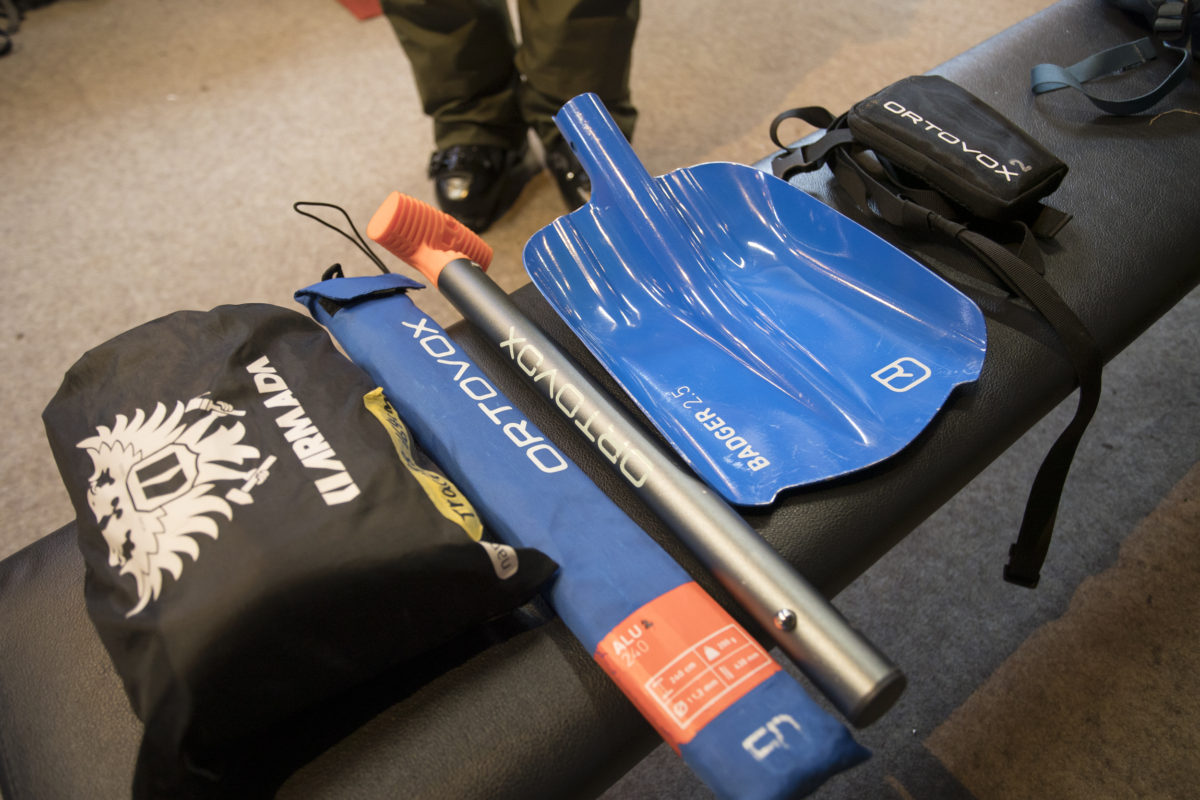
The above items are required for a beginner's course, but since this is also a mini backcountry tour, you should also bring appropriate ski gear. It's best to have bindings and poles with walk mode. If you don't have these, you can rent them. I usually use skis with alpine bindings, so I rented fat skis with bindings that allow walking

Before heading up the mountain, the participants announced their enthusiasm, saying things like, "We'll have fun!" and "We'll do our best!" before heading to the summit
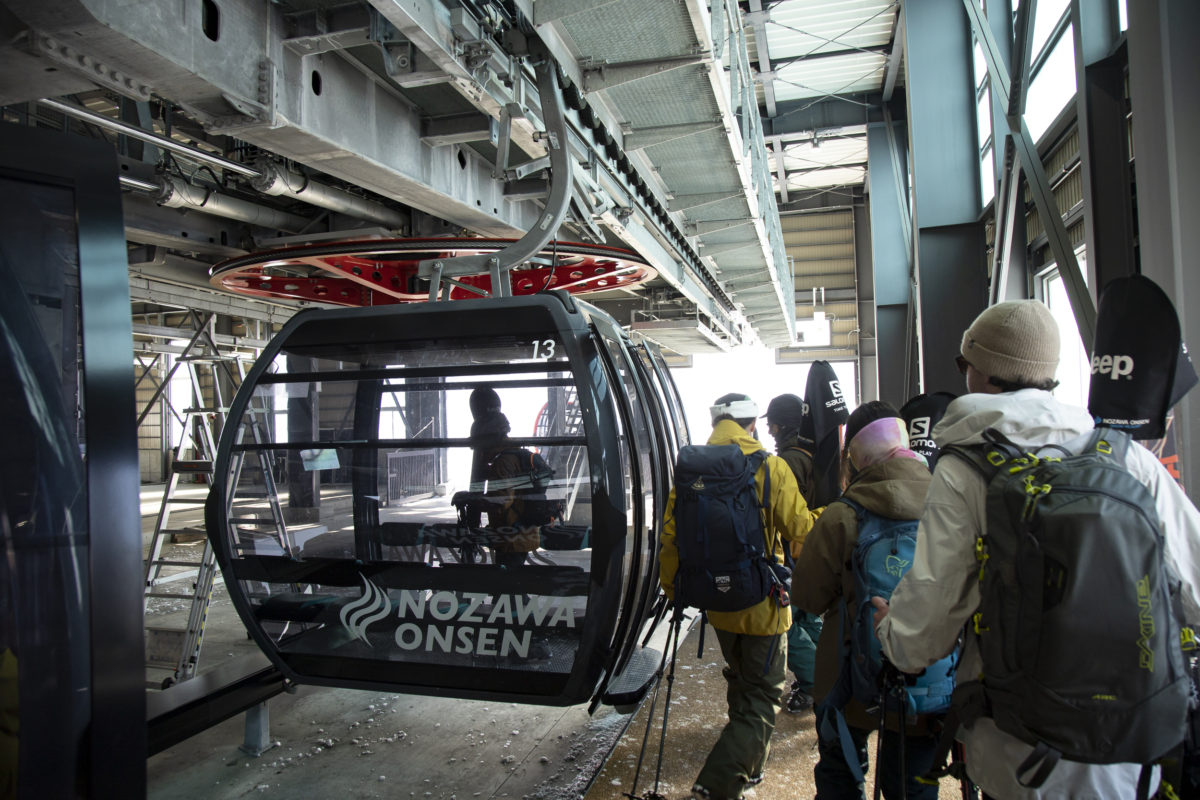
The target spot for the day was guide Kawaguchi's favorite spot. We took the Nagasaka Gondola up and headed to the base camp area.
*A mountaineering registration form is required to enter the base camp area. This tour and seminar hosted by Compass House will file the mountaineering registration form for all participants, so there's no need to worry.
Prepare to hike
The training field is a vast snowy field. Here, we receive a lecture on what to do when actually hiking, such as how to apply ski seals and how to switch bindings to walk mode. This is usually done on an unstable slope, so we first practice on a flat surface so we can apply them quickly here
First, try applying the ski stickers. Cleanly brush off any snow from the ski soles and apply the stickers little by little. If snow gets between the ski and the sticker, it will likely cause the sticker to come off while walking. So apply it carefully and securely. There was wind on the day, and at times the sheet attached to the adhesive side of the sticker was blown away by the wind
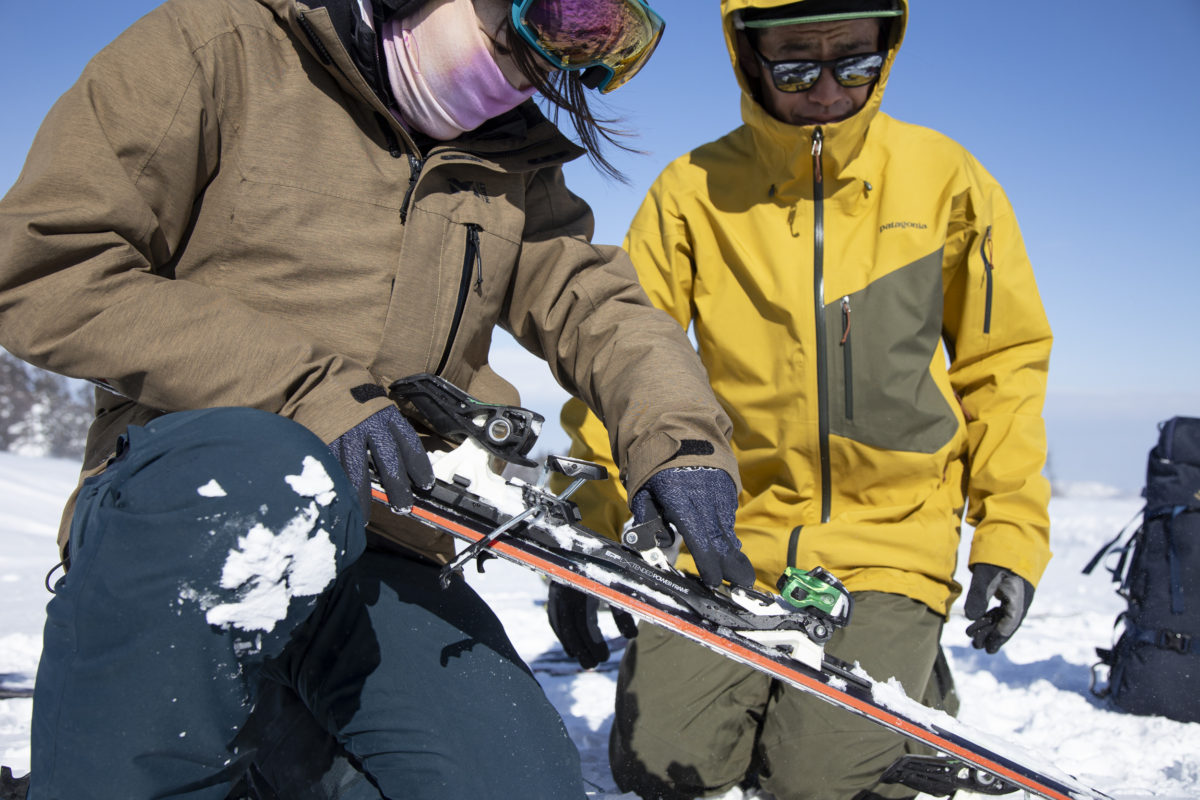
The Frame Tour bindings have both walking and downhill functions, so I learned how to switch modes.
To switch from ski mode to walk mode, simply release the lever. Conversely, to switch from walk mode to ski mode, you press down on the binding and slide it into place. This was my first time doing it, so it was quite difficult.
Switching the lever is hard and difficult. Furthermore, when switching to walk mode, you have to carefully remove the snow from the rail where the bindings attach. It's a difficult task for someone like me who hates to bother, but I thought, "What if it comes off while I'm skiing?" so I carefully practiced repeatedly
By the way, since the boots did not have a walk mode, I walked with the third and fourth buckles on the boots and the power belt almost fully open. The wider the range of movement in the front and back of the boots, the easier it is to walk and the less tired you are. I was told that it is better to use poles that are longer when walking than when you are normally skiing. Adjustable poles are convenient for BC
There is a lot to do. You will be using all the tools for the first time, but you will be taught carefully one by one, so it's okay even if you have no prior knowledge. You can learn each point by attending the training course
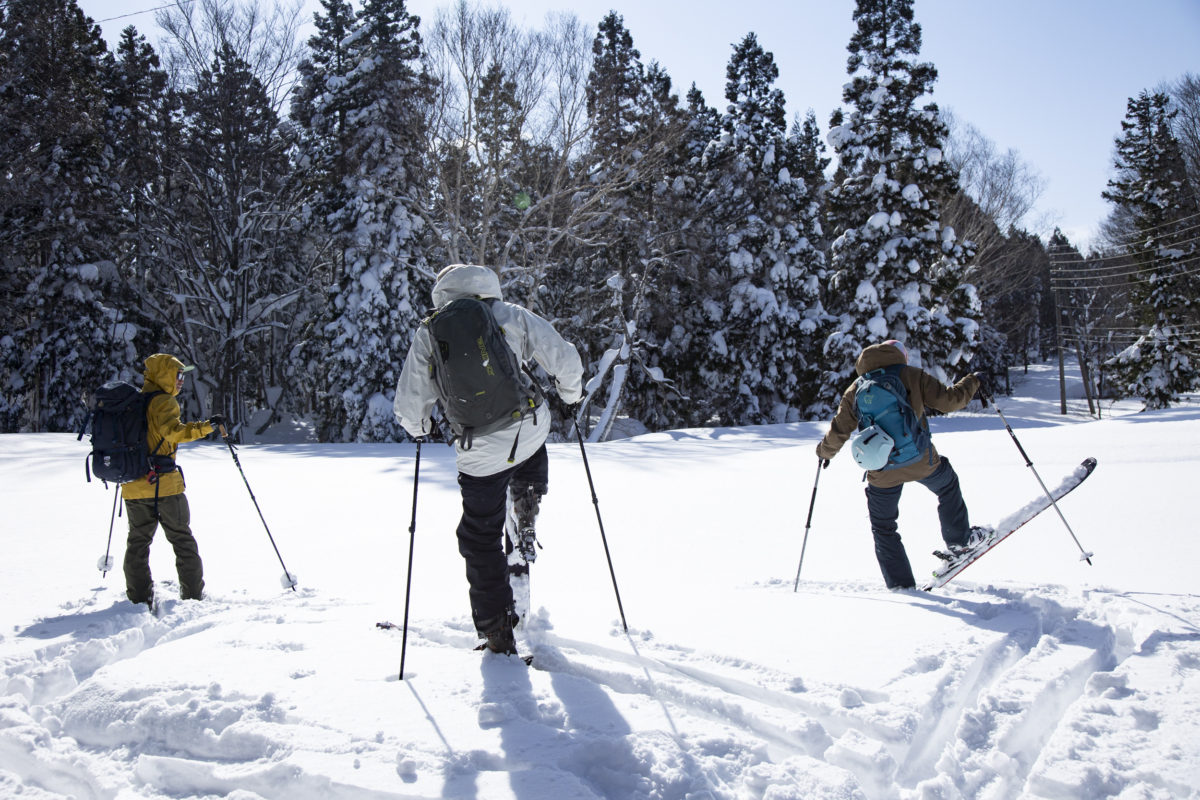
Then, I actually walked across the vast snowy field
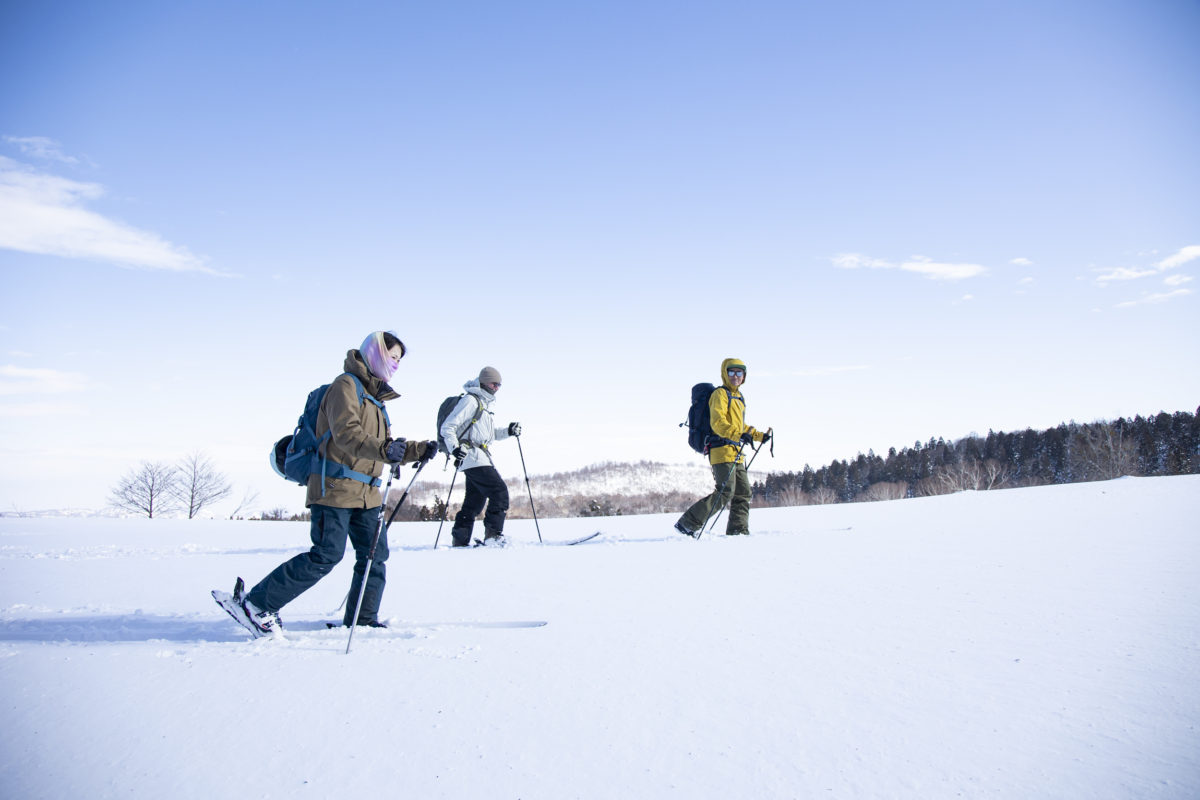
My first impression after walking with skins was, "It feels a bit strange." My skis, which normally glide smoothly, gripped the snow firmly. I walked with my heels off the ground, like cross-country skiing, which was an unfamiliar way of walking, and my hands and feet moved out at the same time, leaving me confused and wondering, "How do I normally walk?" But I kept going
Learn the BC "kick turn"!
The next thing we practiced was a "kick turn." This is different from what people who have taken lessons at ski school or avid skiers who have thoroughly read ski manuals might imagine. The kick turn we've known up until now involves changing the direction of your skis 180 degrees while standing still, but kick turns on a backcountry are quite different.
When hiking up a steep slope, you don't climb straight up to the top, but rather zigzag. This is the technique you need to change direction when doing so.
Click here to see the event
I understood that the basic way to do a kick turn is like this.
Step forward a little further than the point where you want to change direction, spread your legs wide and put your mountain-side foot forward firmly. Fix the foot with the pole in place, put your weight firmly on the forward foot, and pull up the other foot. Pull your heels in, keep your knees close together, and position your skis firmly under your body, aligning them with the forward foot.
Kawaguchi gave two points for beginners.
1. First, don't panic.
2. When pulling in your valley-side foot, lean your upper body forward as if folding it.
I was taught a lot, but kick turns were more difficult than I had imagined. Because my heels would slip off, I couldn't lift the board as I wanted, and I ended up losing my balance in unexpected places. I began to feel a bit uncomfortable, and the thought that crossed my mind was, "I want to walk as straight as possible. I don't want to change direction."
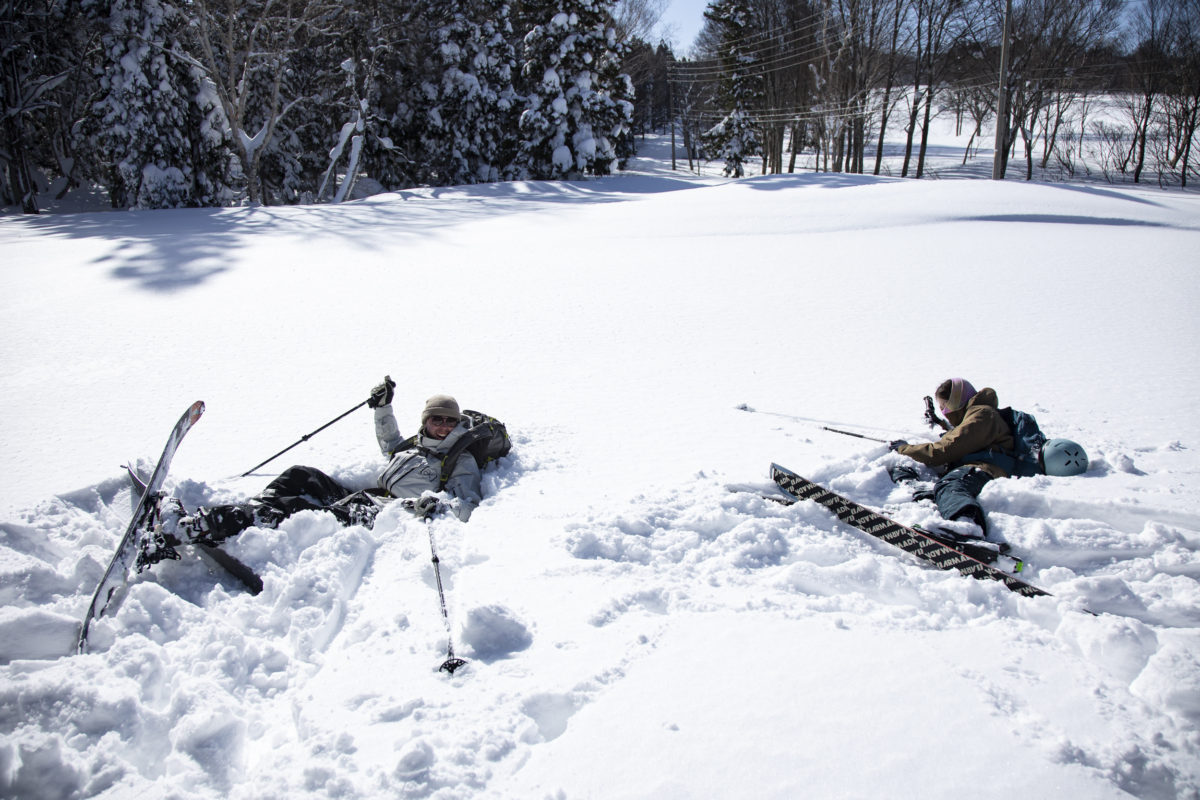
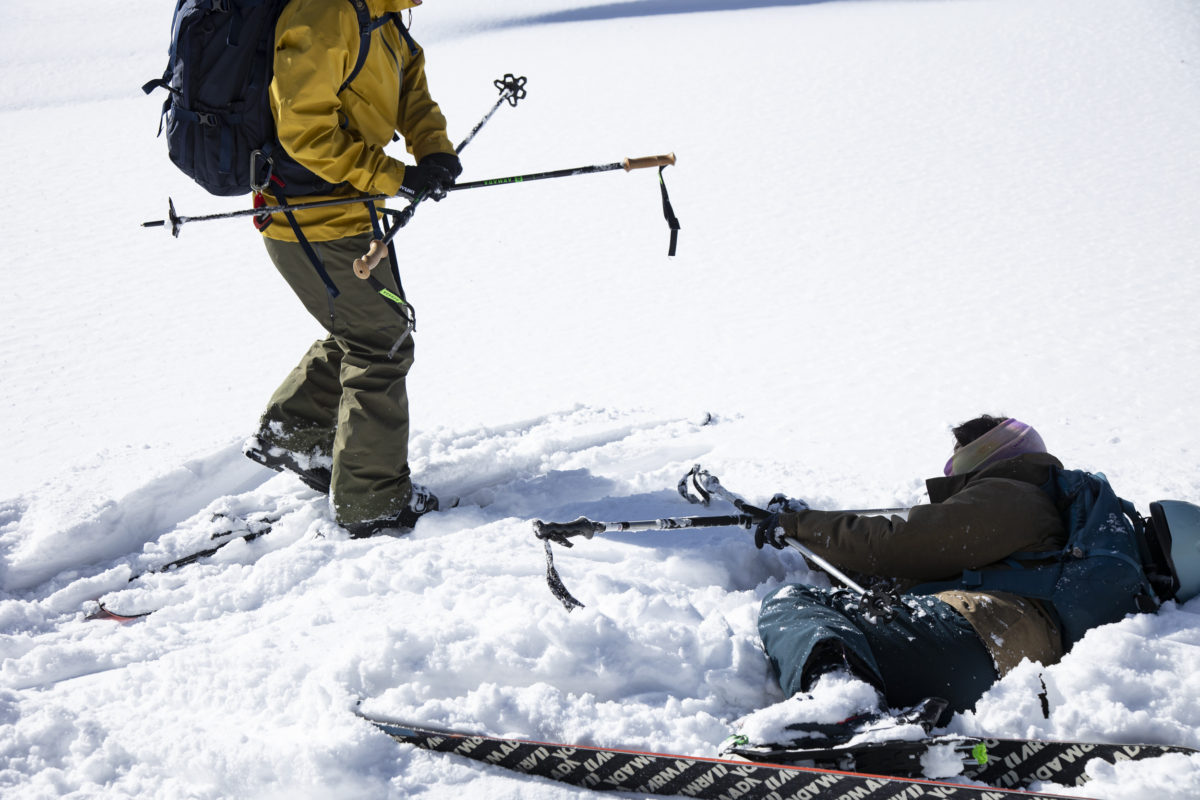
And when I fell, I couldn't get up. Normally, when I fell while skiing, I could recover quickly, but this time it was soft powder. I didn't know how to apply force, and even when I tried to use the snow for support, I was pulled deeper into the depths. It was embarrassing, even though I was a grown adult, to have to be picked up by a guide..
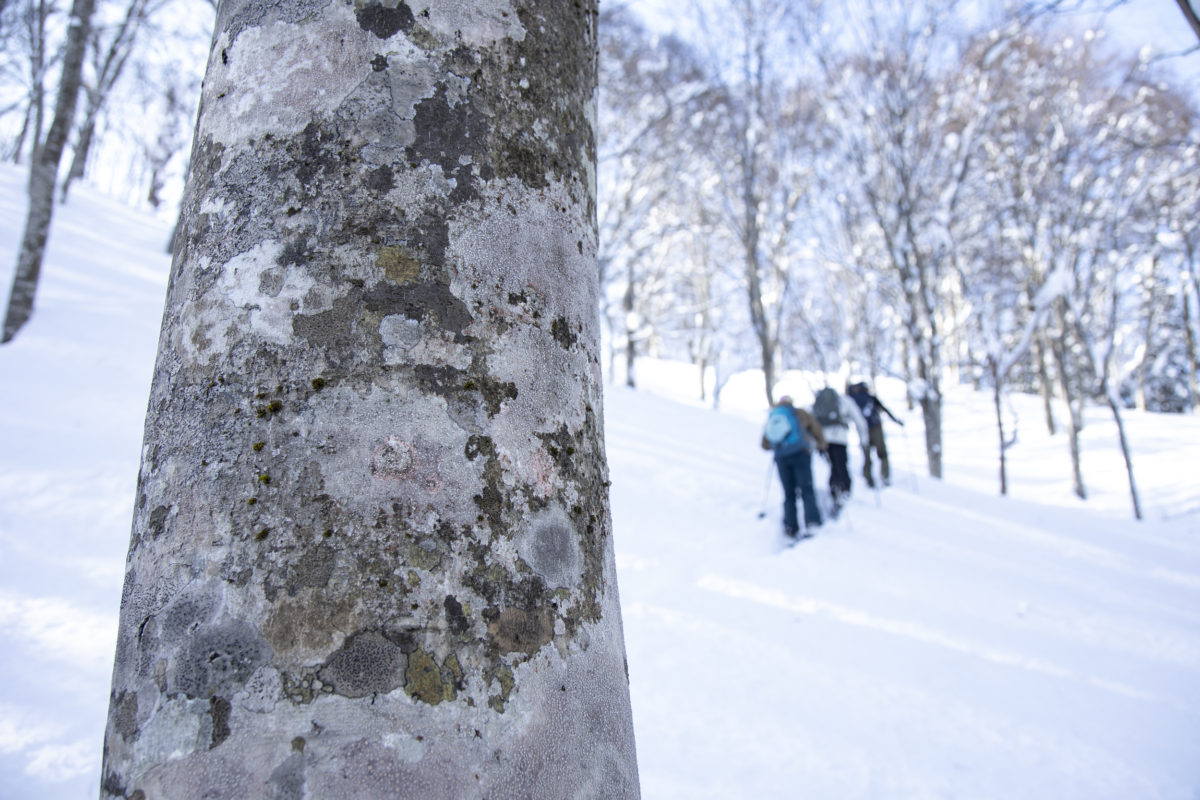
The day of the visit was sunny, allowing for views into the distance, and even though we continued to walk through the deep snow, it was still a visual treat. Of course, the snow wasn't packed down, so if you walked in boots you would get stuck in them. Walking through the forest, where the only traces left were animal footprints, gave us an indescribable feeling of comfort and a mystical view that is unique to BC
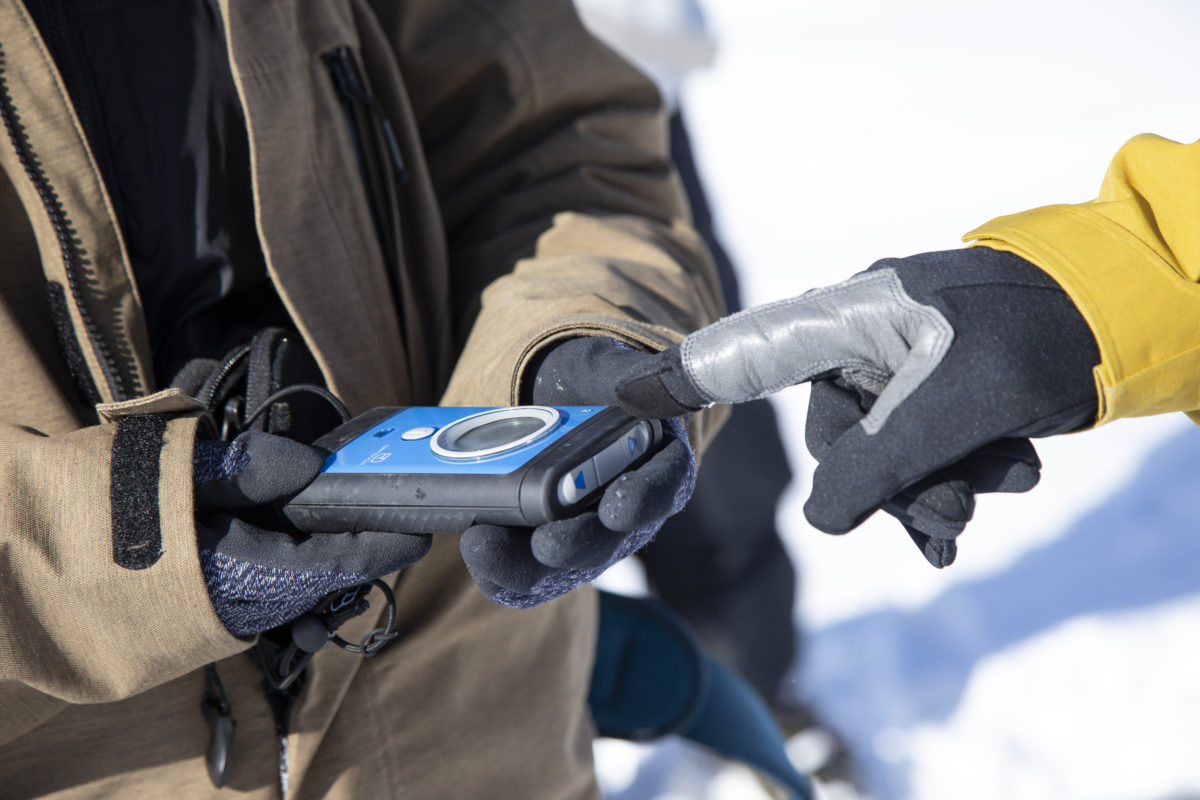
Avalanche gear training is also practical
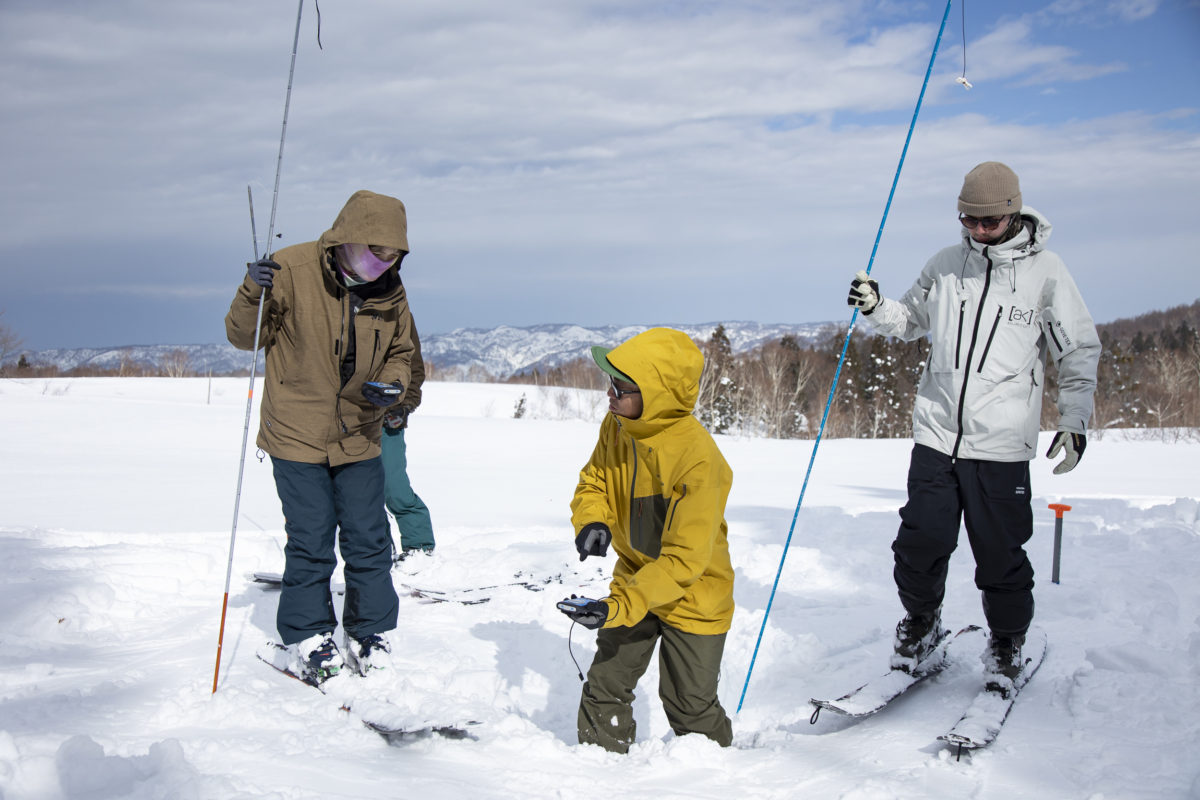
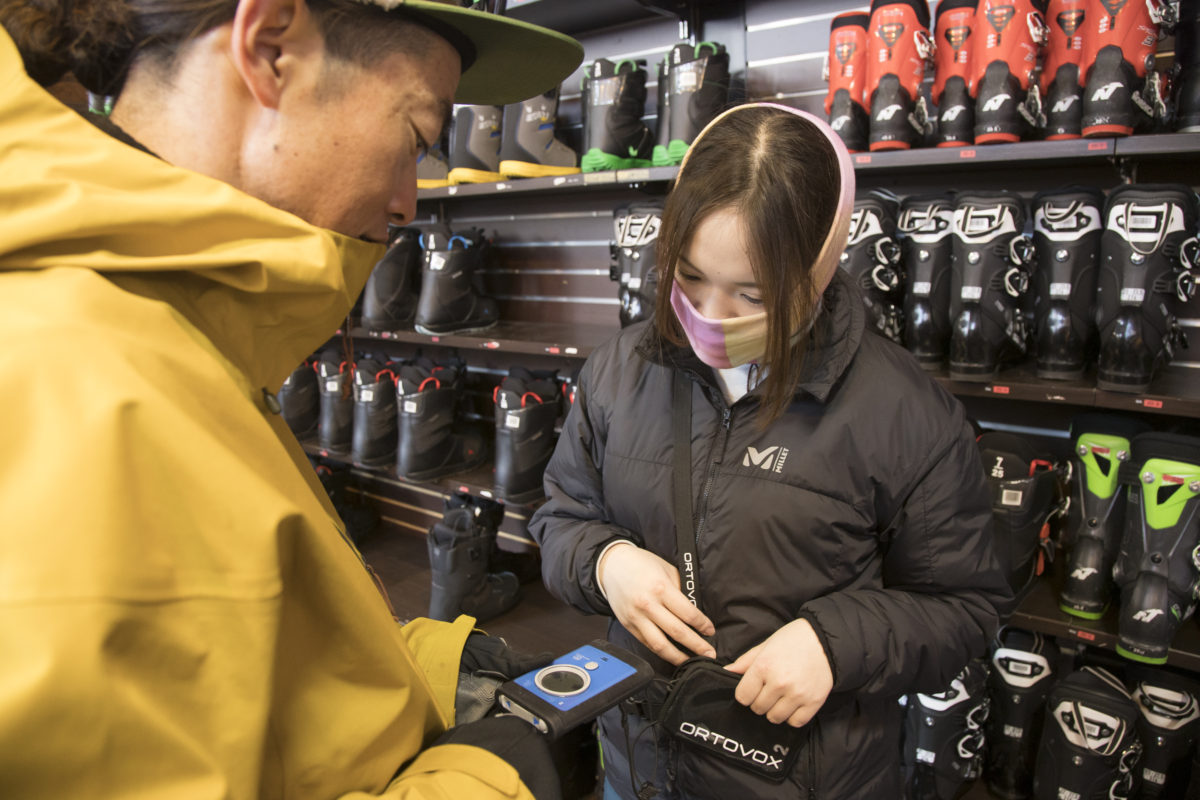
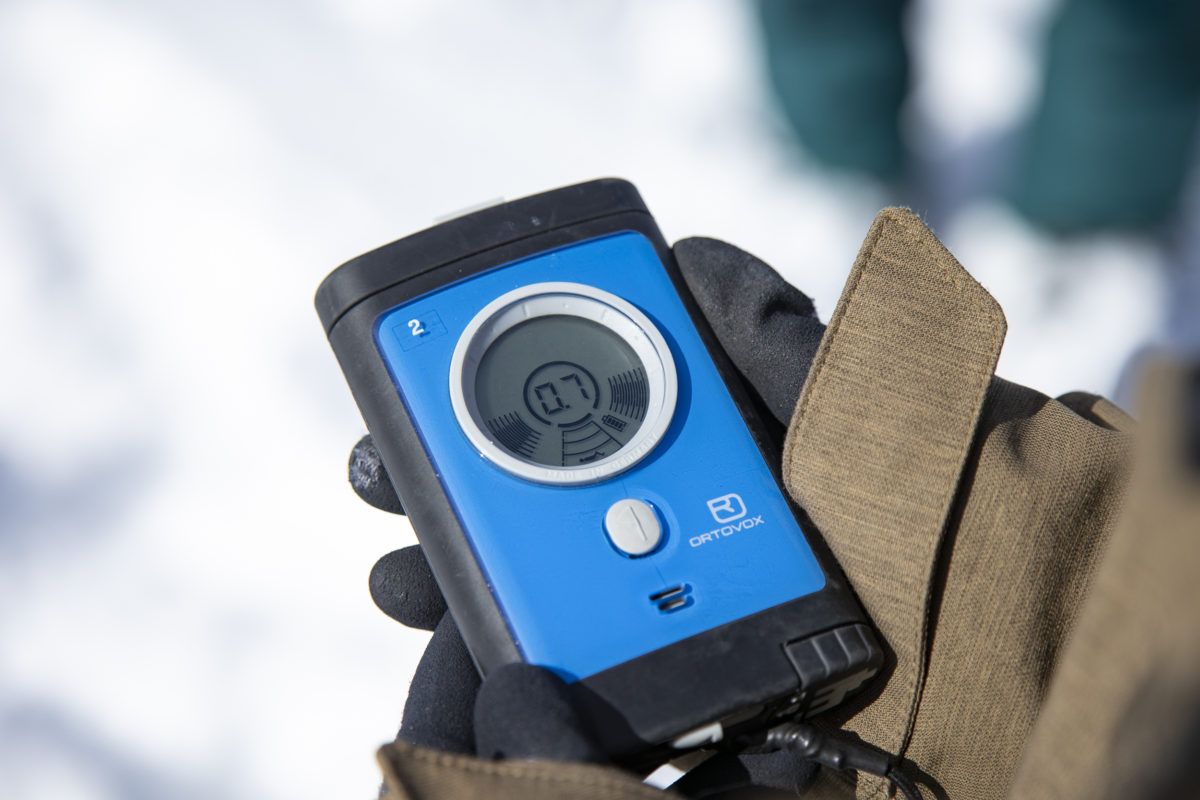
Next came the practical training session on avalanche gear, also known as the "three sacred treasures" of BC. Using the beacons that we learned how to use at the beginning, the lesson simulated an actual avalanche accident and involved finding and digging up a buried beacon
"An avalanche has occurred and our comrades have been buried! Please find them quickly!"
At Kawaguchi's voice, we switched our beacons into search mode. The beacons display the location (distance and direction) of the transmitter, so we aim to find it...
But at this point, Kawaguchi was actually playing a trick on the other accompanying members, who were not participants. They couldn't determine the location of the transmitter, and the display changed from showing forward to showing backward, causing them to go around in circles.
Normally, when switching to search mode, all members present are required to switch into "search mode." However, because one of the accompanying members didn't switch, the search point never was determined.
This is a real-life scenario that can happen, and we can learn from it at the training course.
I had no idea that the probes I was handling for the first time could be assembled in one go, and as I was assembling them one by one, someone urged me, saying, "Your teammates are already there! Hurry!" If it were a real emergency, I wouldn't be able to get away with saying, "I didn't know that." I keenly felt that these types of training sessions were extremely useful
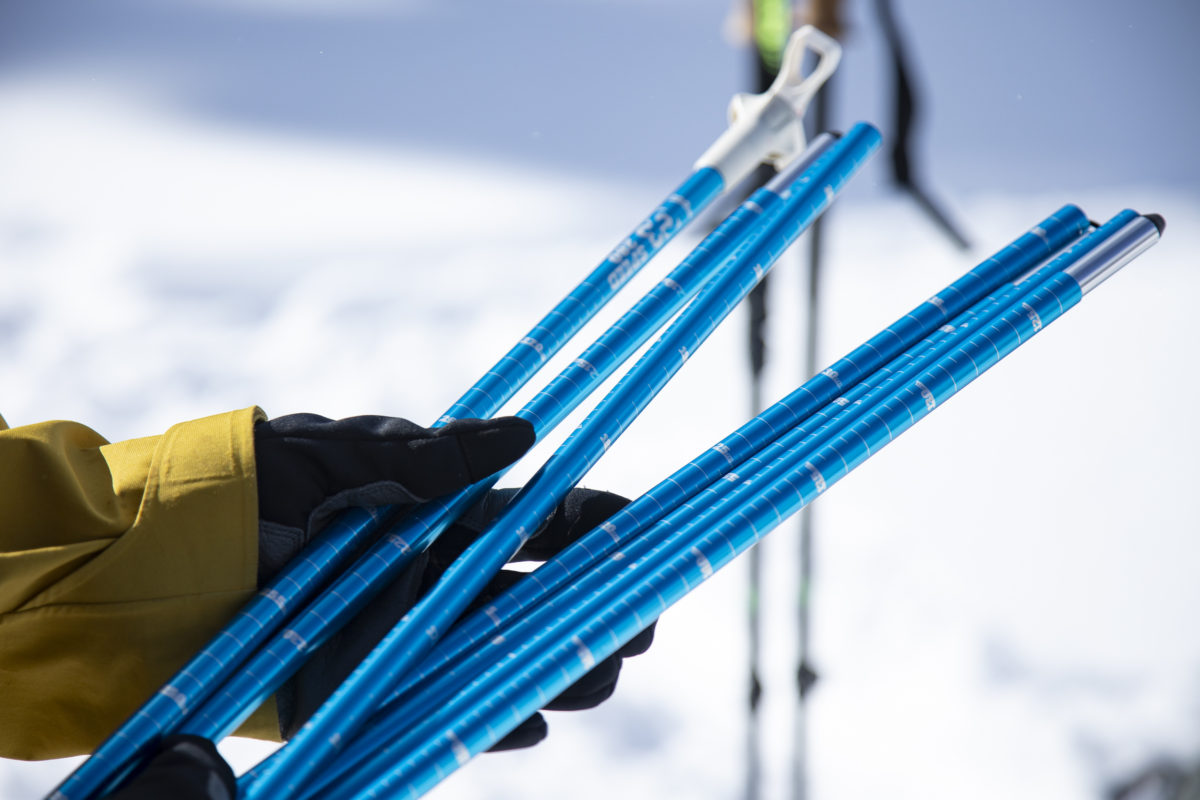
You learn how to use each piece of gear and master it. There are many things you won't understand until you actually get your hands on it. The book is easy to follow even for complete beginners, and the instructions are fun and include examples, so I would definitely recommend it to anyone who wants to try BC
Beginner Mini BC Tour
Normally, the beginners' lesson ends here, but this time we decided to try out a few runs as a special tour. We moved to Kawaguchi's target spot and said, "Let's go!"
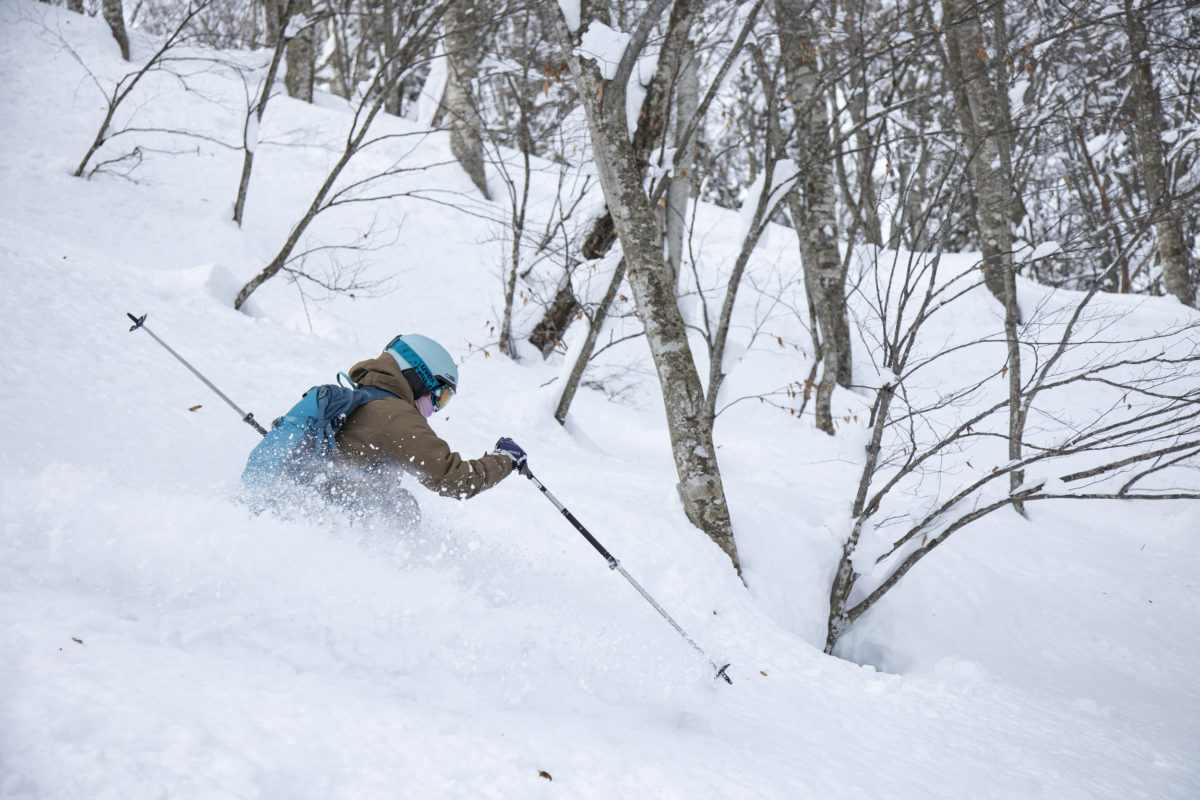
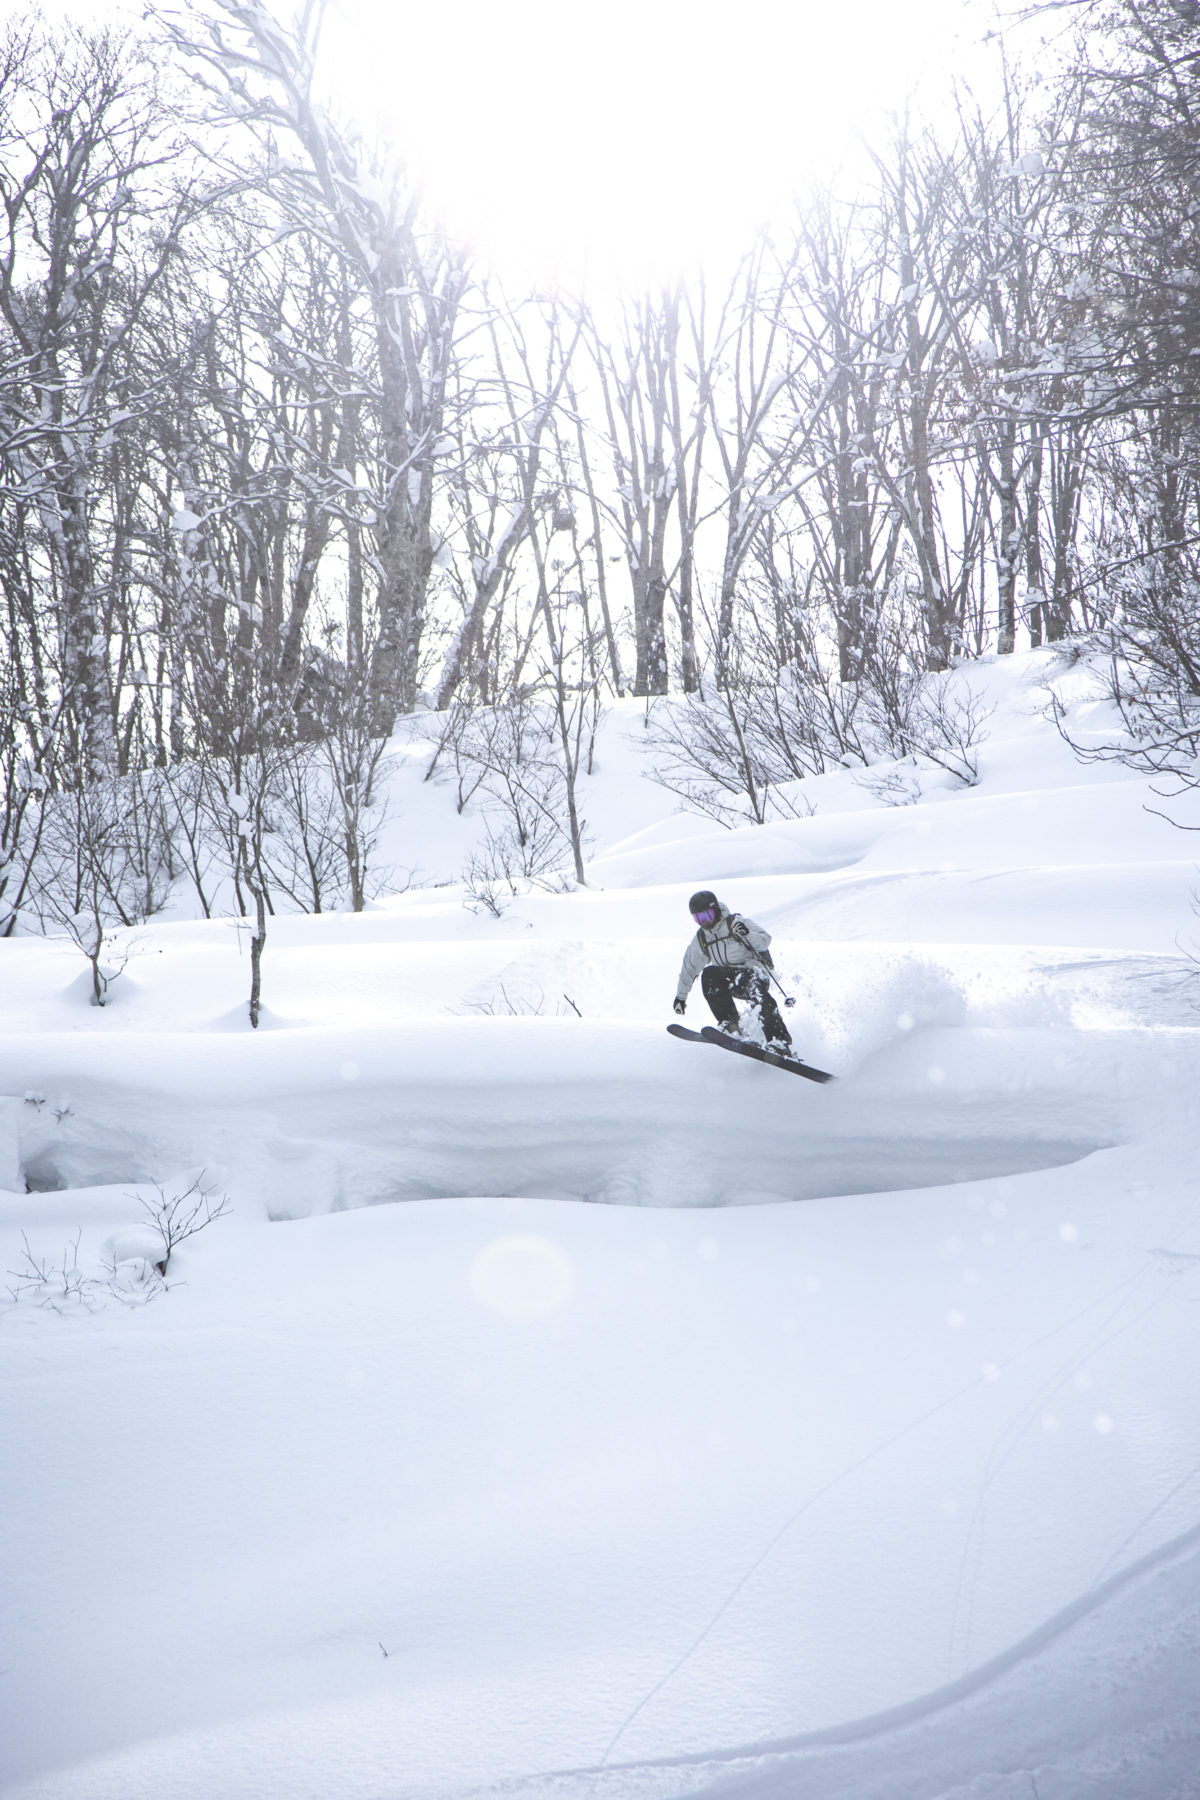
It was practically my first time skiing down a backcountry slope. I was nervous. To be honest, it was just like the fear of a roller coaster. I used to be scared of roller coasters when I was little, but now I'm addicted to the thrill of it, and my first time down a slope was just terrifying, like being a child again. There had been
snowfall until noon the previous day, so there was still powder on the north slope. Naturally, since it was backcountry, there was no track on the slope where no one had skied. As I started to ski, I gradually started to think, "Huh? This might be fun," but I couldn't stop properly and ended up falling and getting buried in the snow...
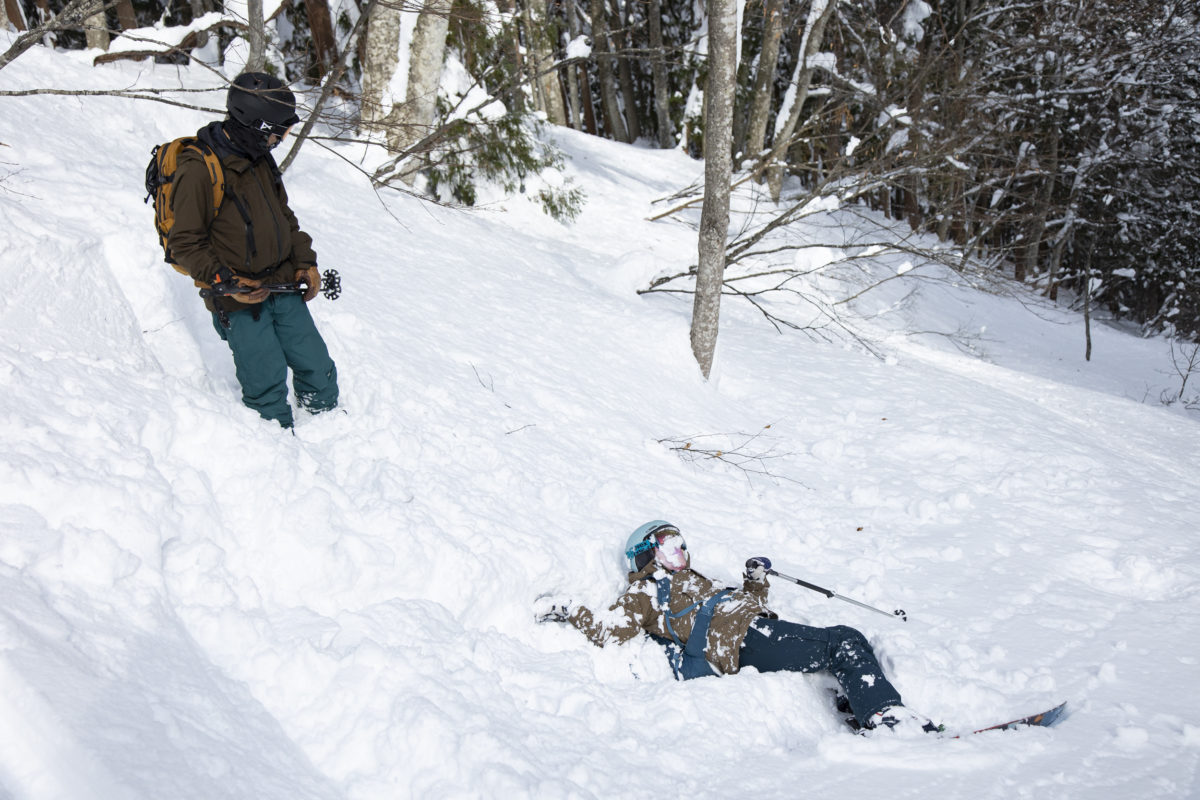

I was overwhelmed by everyone's skiing. I want to ski coolly, not fall and get buried in the snow... I'll have to practice properly from now on. With this thought in mind, the fun, slightly difficult tour continued for a little while longer

I was tired because I was not used to the movements, but I felt a pleasant tiredness, like after a good workout. The weather was good, so the tour was all the more enjoyable. This made me want to take part in the next step. It was my first BC tour and I felt like I wanted to continue
I wish I had this! Things even beginners should prepare
This was my first time participating in a tour, and I'd like to list the things I thought, "I should have brought that!" or "I wish I had that..." Most of the items were things I personally needed, but I hope this will also be helpful for people who are starting BC in the future
sunglasses
I had forgotten about this because I was only thinking about "skiing." Normally, goggles would be enough since you'd be riding the lift, but skiing only takes a few minutes. The time spent preparing for the climb and climbing itself is overwhelmingly longer. And the day of the interview was sunny. In addition to the direct sunlight, the glare from the snow would have damaged my eyes. Next time, I'll definitely bring this essential item with me
Beanies and caps
I also forgot this item because I was only thinking about skiing. It's important to keep your luggage as light as possible, but it's also something you want to remember to bring. The place where I received the avalanche gear training also had nothing to block the wind, so I was hit directly by the wind and felt cold. I'll add this to my packing list too
Layering
More than just the things you need to pack, layering is an essential thing to think about. Until now, I've been of the "Layering? Anything is fine as long as it's not cold" type of thinking, so I'd been wearing everyday clothes like heat tech and a hoodie underneath my gear, but on this tour I really felt that way. More than just cold, I felt hot! I sweated a lot, and not being able to take my clothes off was very stressful. The scary thing after sweating is getting cold. The stress on your body from being hot or cold can ruin your whole day. I really understood why highly functional innerwear is necessary
According to our guide, Mr. Kawaguchi, the most important thing is to have layers. Instead of buying cheap layers, you should wear good quality ones
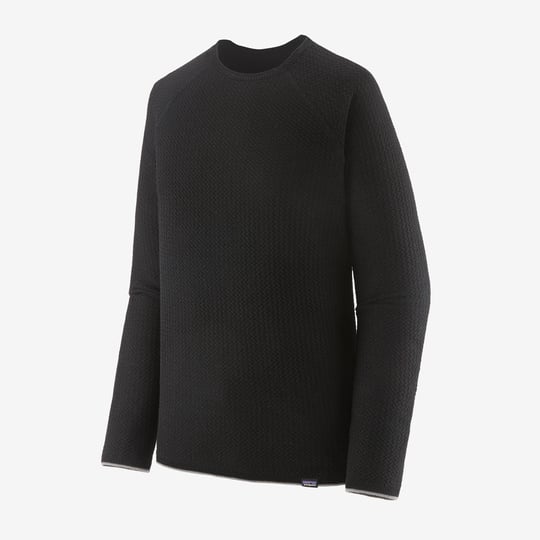
By the way, when I asked Kawaguchi what he would recommend, he replied, "Patagonia's Capilene Air base layer." Made from a highly breathable blend of 51% merino wool and 49% recycled polyester, it's moisture-wicking, quick-drying, and odor-resistant, making it the perfect item for BC
Product introduction on Patagonia official website: https://www.patagonia.jp/shop/mens-capilene-air-baselayers
backpack
What I realized on this tour was that I had to take things in and out more than I had imagined. I had a lot of bulky items, like helmets, outerwear, and avalanche gear. I realized I wanted to get a backpack that was easy to access and had a lot of storage space. I especially wanted one that could hold a helmet, or one that could be attached to the backpack. Hanging a helmet from the straps of a backpack is a real nuisance when walking
boots
This time, I rented skis, bindings, and poles, but I brought my own boots. After walking and climbing repeatedly all day, the inside of my boots were actually quite worn out. I had originally fitted them tight for use in tests and competitions, so my feet were numb when I came down the mountain. I could have easily kept my alpine boots, but I also needed to change into boots with a bit more room
These are the items you should have. I think renting other hard items is enough for beginners. I think that as I get to know the still deep world of BC little by little, I will find something that suits me. I would like to learn about the items that guides and experienced people use and recommend, and gradually gather gear that is unique to me
Nozawa Onsen Ski Resort is a popular destination for skiers of all genres, both from Japan and overseas. Located at the base of the resort, COMPASS HOUSE offers not only beginner courses but also many tours for all levels. For more information, click here.
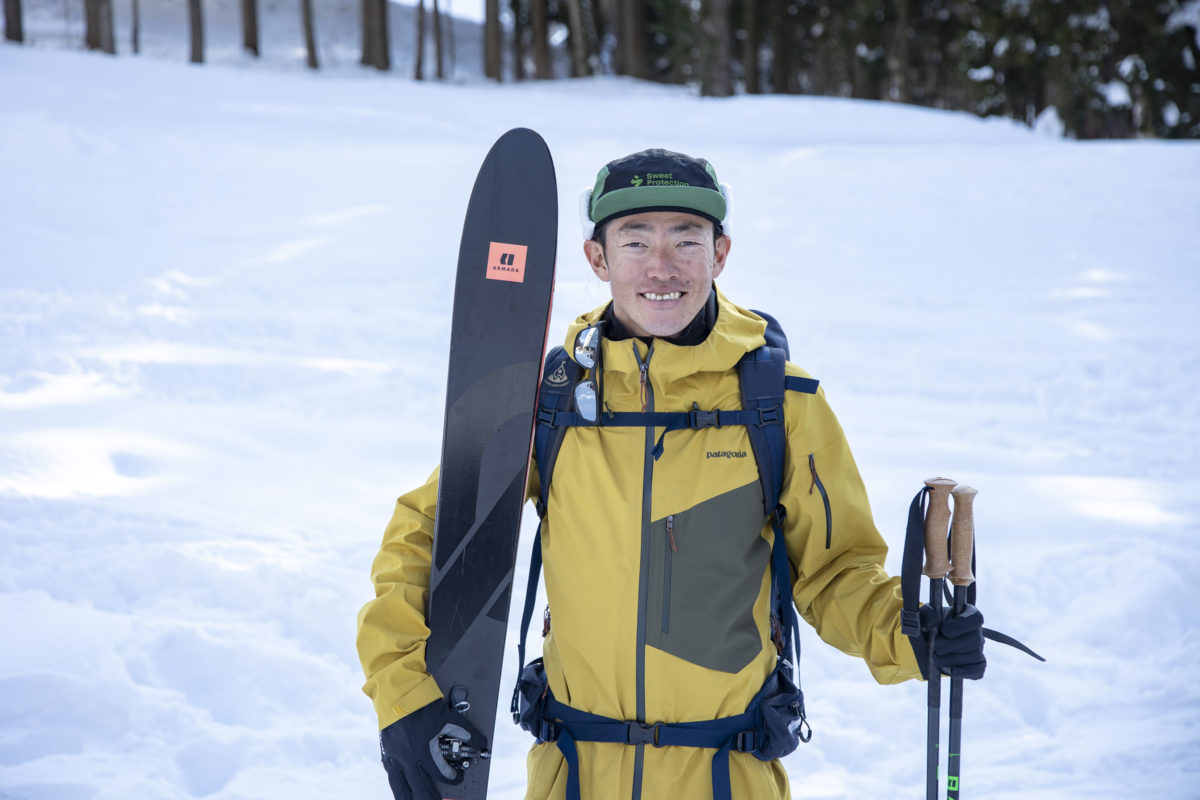
<The person who taught me this time>
Kawaguchi TKY Yaya
He took a leave of absence from university to train in freestyle skiing, experiencing the world-class skiing experience while living in Whistler and Banff, Canada. That spring, a solo ski trip to the Yukon and Alaska changed his perspective, and he began to focus on ski travel rather than park riding. He has visited over 50 countries with skis and surfboard, including a round-the-world road trip. His curiosity leads him to travel to remote areas and encounter ethnic minorities. He
also organizes BC tours and events in Japan to share the joy of skiing and travel. He is the leader of the travel planning project ShareTavi. He is the main guide at Nozawa Onsen COMPASS HOUSE and a JMGA-certified BC ski guide. (National English Guide-Interpreter Qualification, General Travel Agency Handling Manager Qualification, General Itinerary Manager Qualification, Rishiri Fuji Ambassador)
Instagram: @tky_travel_skier
Interview cooperation: COMPASS HOUSE, Nozawa Onsen Ski Resort