Stickers are a must-have item in the backcountry. Following on from the overview, we'll look at how to use them in practice.
Whether you've never used them before or are a regular user, make sure you're using them correctly.
Click here for the overview
If you buy a sticker
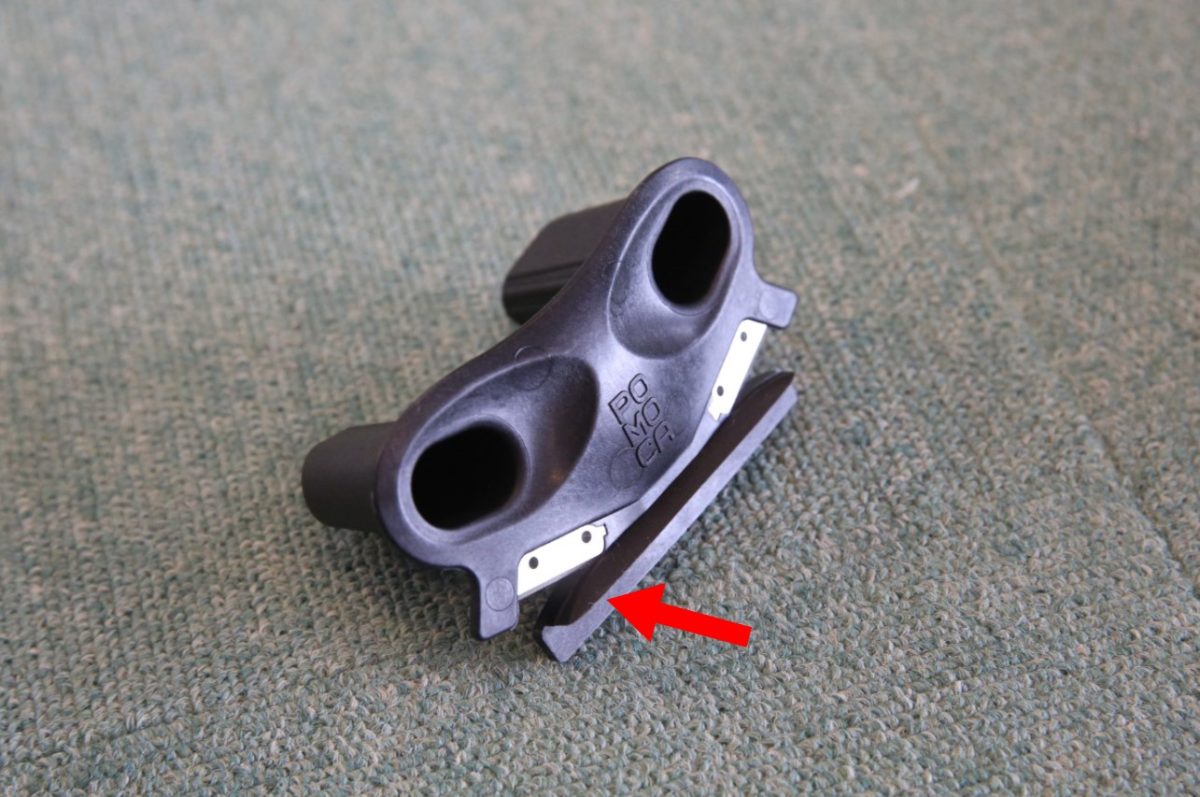
The example below is for POMOCA, but when you purchase a sticker, it generally comes with a set of items packaged like the one below
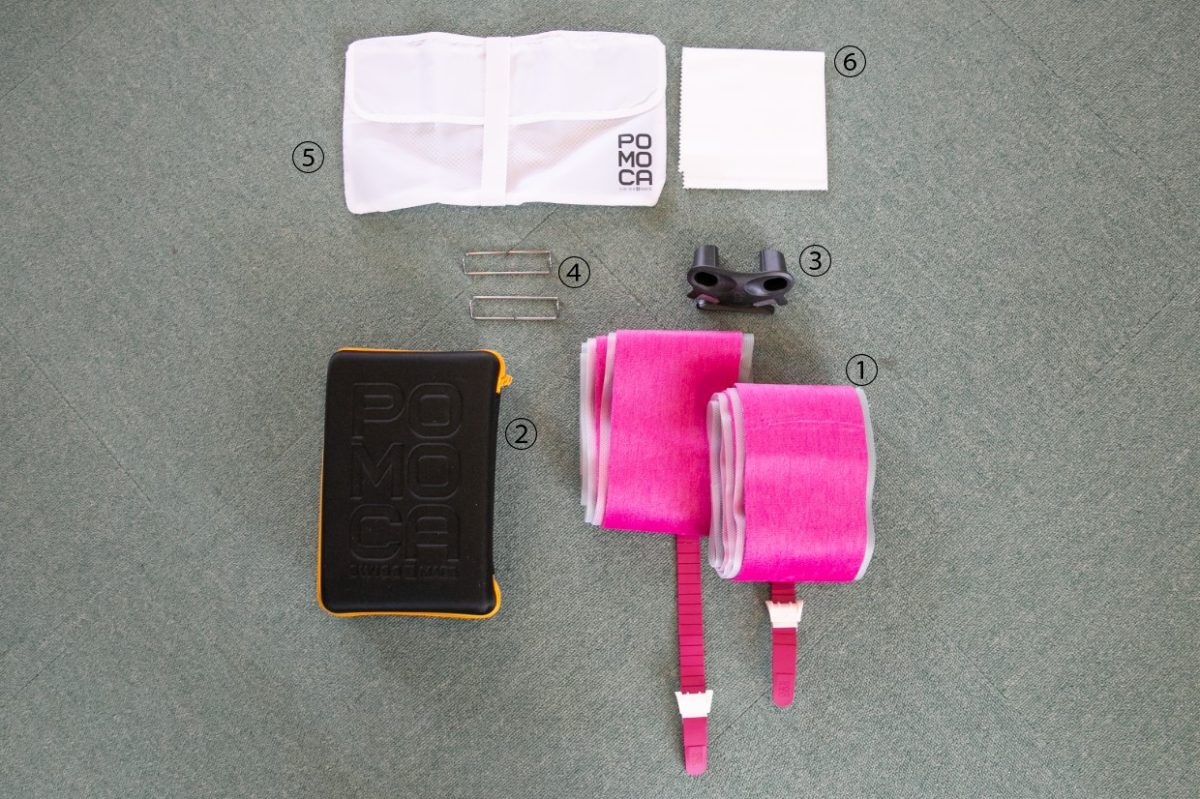
1. Seal body (with cheat sheet)
2. Hard case
3. Seal cutter
4. Spare stopper for nose
5. Seal case
6. Moisture removal sheet
Number 1 is the sticker itself. Number 2 is the hard case that contains all items 1 to 6. You will almost never take this to the mountains, so I recommend using it as a storage case for something. Number 3 is a cutter for cutting the stickers to fit your ski size. I will explain how to cut them later. Number 4 is a spare nose stopper. Number 5 is a soft case that you can use when going to the backcountry or storing your skis in the summer. Number 6 is a sheet to wipe off moisture from your skis when attaching the stickers
Once you've purchased the stickers...cut them first
When you buy the skins, they won't fit the size of your skis, so you'll need to cut them accordingly. A good
guideline is to cut them so that one ski edge is sticking out. If the edge isn't sticking out while walking on the skins, the edge won't bite when you walk sideways on the slope and you won't be able to walk.
Therefore, the skins need to be cut so that they only cover the running surface.
If you buy them at a store, they will usually cut them for you, but if you buy them online, you'll need to cut them yourself. Follow the steps below to cut them.
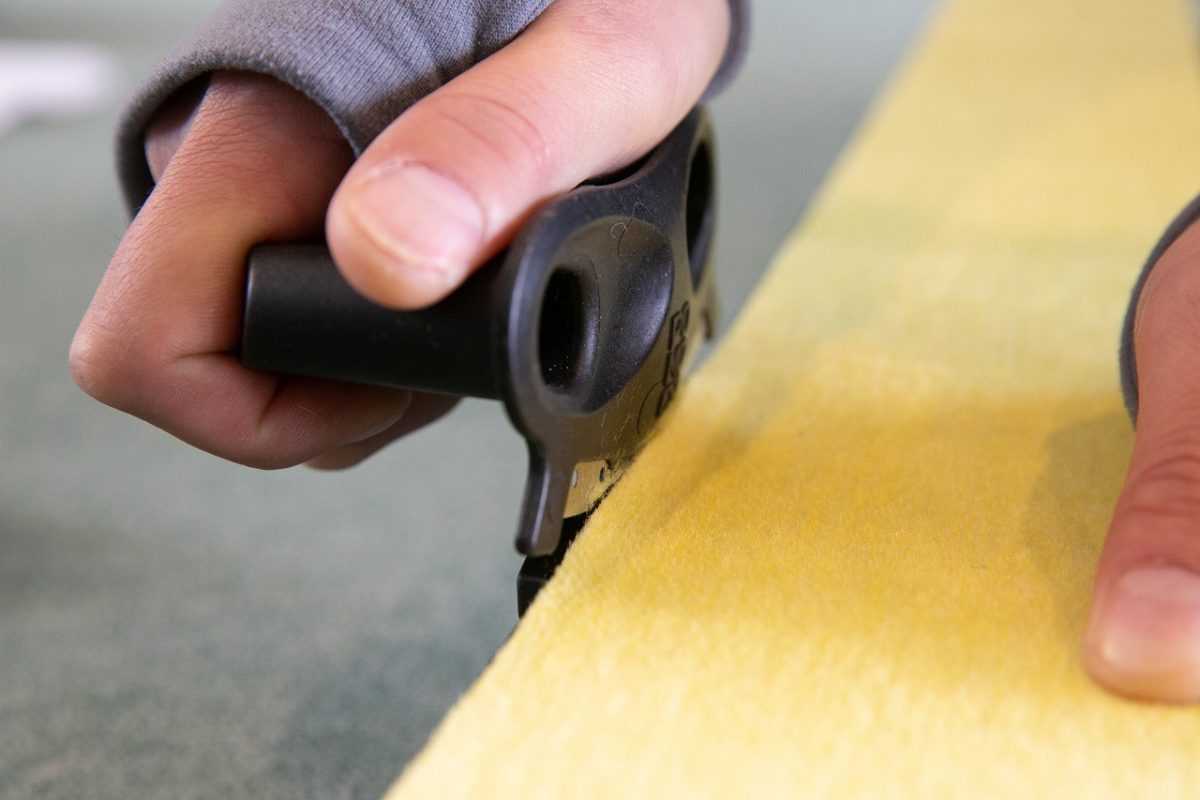
First, hook the stoppers onto the nose and tail, leaving the sides hanging out. Make sure the hanging parts are even on both sides
Use the sticker cutter in the photo above to cut the sticker. Simply place the part indicated by the red arrow between the base and the sticker, and cut from the nose to the tail. This will allow you to cut one edge
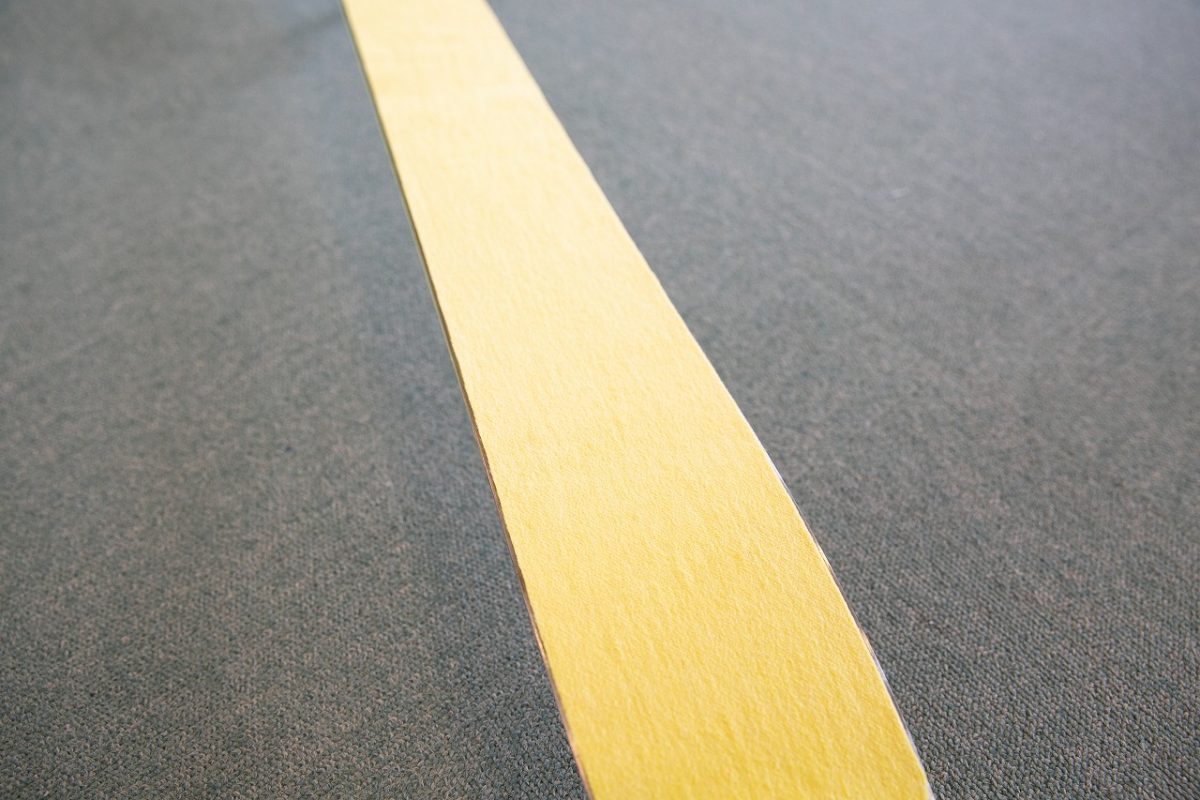
Then, use the glue part of the cut off excess sticker to remove any hairs on the cut surface. That's all there is to it, do this on both sides of both boards
How to install the seal
Once you have cut the stickers, you should install them right away. Before heading up the mountain, let's review the installation
Now, check out the video to see how to wear it correctly
1) Fix the nose stopper and stick the sticker on the nose side so that one edge on each side is exposed
2) Now, apply the sticker from the tail side, leaving one edge of the sticker exposed so that it does not wrinkle. When doing so, firmly smooth the entire surface with your hand so that there are no gaps between the sticker and the running surface
3) Attach the stopper on the tail side. Please refer to the video to see how much tension is applied at this time
It may seem simple when written down, but it's actually a delicate process. The only way to get used to it is to do it a few times. Once you get used to it, you'll be able to put it on in about 30 seconds per foot
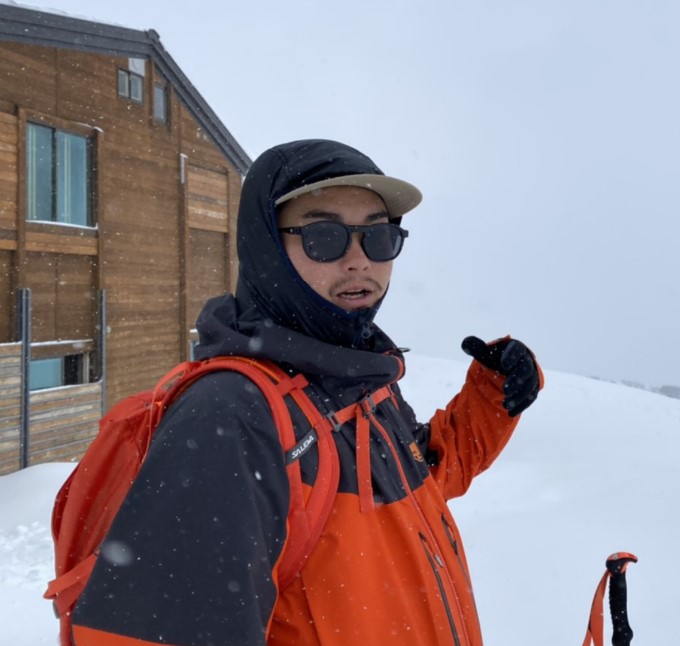
Wearing it on a snowy mountain
Now, let's try using them on the snowy mountains. But before that...
In the case of POMOCA stickers, POMOCA products are designed so that glue can be stuck together. Therefore, there is no need for cheat sheets (protective sheets) on site. This transparent, lightweight sheet is easy to lose on site, so it is best to leave it at your accommodation or in your car.
There is one thing you should do during the preparation stage. This is a folding method called "accordion folding" that makes it easier to attach the sticker to the board. Let's take a look at this video
Store cheat sheets rolled up with the glue-adhering side facing inward, otherwise they will get dusty and cause problems with the glue
Now you're ready to go!
Once you have your accordion-folded stickers, head to the site and see how easy it is to use the accordion-folded stickers
Regarding the storage location for stickers on snowy mountains, it is usually fine to store them in your backpack, but in cold environments such as midwinter where the glue may freeze, you can store them inside your clothing to prevent them from getting cold from body heat
It may feel a bit stiff when skiing, but it will prevent it from freezing and is a good storage method to remember as it makes it easier to take out and increases mobility

Now you know the basics of how to use skis so you won't have any trouble on snowy mountains. All that's left is to practice and master the technique. Enjoy an even more enjoyable skiing life!
The person who taught me
Tomoya Takahashi
is the Japanese sales representative for Dynafit Pomoca. He loves skiing and fishing. He is currently using remote work to help manage his family's inn. In the summer, he spends his time fishing and gathering wild vegetables, transitioning from the hustle and bustle of the city to a simpler lifestyle.
Cooperation / Rexxam Co., Ltd