

What would you think if you heard that you could build your own skis?
You probably won't get it
That's because only the most obsessive DIY enthusiasts or a select few top pros who can create signature models can do that; there's no factory anywhere that can do that for everyone. In other words, I've never seen a service like that before. What
if you could get the shape, weight, and performance you've always dreamed of? How would that change the way you enjoy skiing? Just imagining it makes me incredibly excited.
Well, that's the only thing I've heard
The day has come when you can create your own unique pair of skis with your own hands
A place where you can make your own original board
What made this possible is a small garage brand located in Minamiuonuma City, Niigata Prefecture: VOLTAGE Design. It would be more accurate to say they "used to be" a garage brand.
They were a ski and snowboard brand based in Minamiuonuma, but now they've become a "manufacturer," developing their own equipment and creating original boards.
Nagai, the company's representative and a mountain guide, had a thought while out in the field every day:
"If I could ski on my own skis, every day would be so much more enjoyable."
Development of the original skis and snowboards began in June 2021, a little over a year ago. From there, they rapidly acquired the technology through repeated trial and error, and before the arrival of last winter, they were able to create prototype original skis. Now, the technology has evolved even further, and they have reached a point where they are impeccable in terms of graphics, performance, and finish
They have now started a service that allows ordinary users to create their own original skis
This not only allows you to make your own skis, but also gives you the experience of seeing the actual ski-making process and participating in the work. Being able to see the ski-making process is a unique and valuable experience
So, with all that in mind, the editorial team decided to go and create our own completely original skis.
This time, let's take a look at the entire process.
Preparing the board materials
Voltage Design skis are built with what's known as a sandwich construction, so let's keep that in mind as we move forward
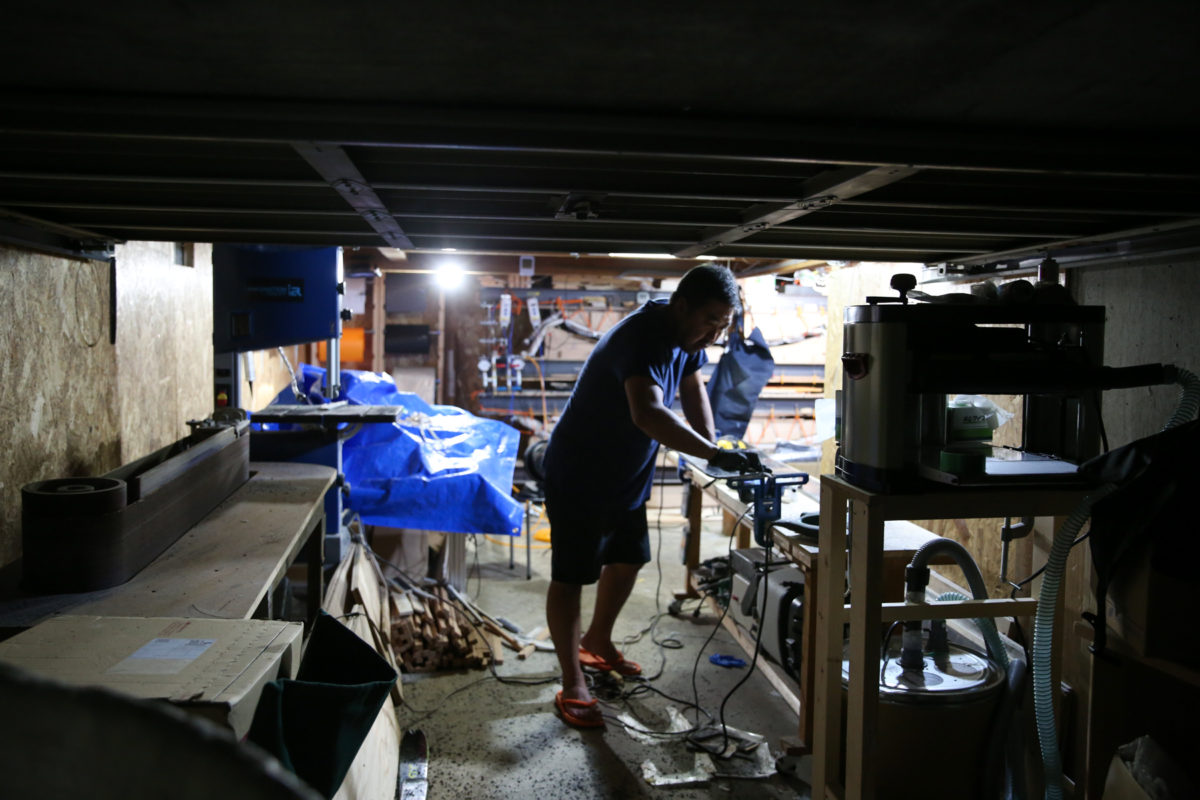
First of all, the main material used to make skis is wood. Skis are made by combining different types of wood, each with its own unique characteristics, in the right places. Types include poplar, cypress, bamboo, etc
The ski that is made up of this combination is called the core. The role of this core affects the stiffness, rebound, and weight of the ski, and is a major factor in determining the ride feel
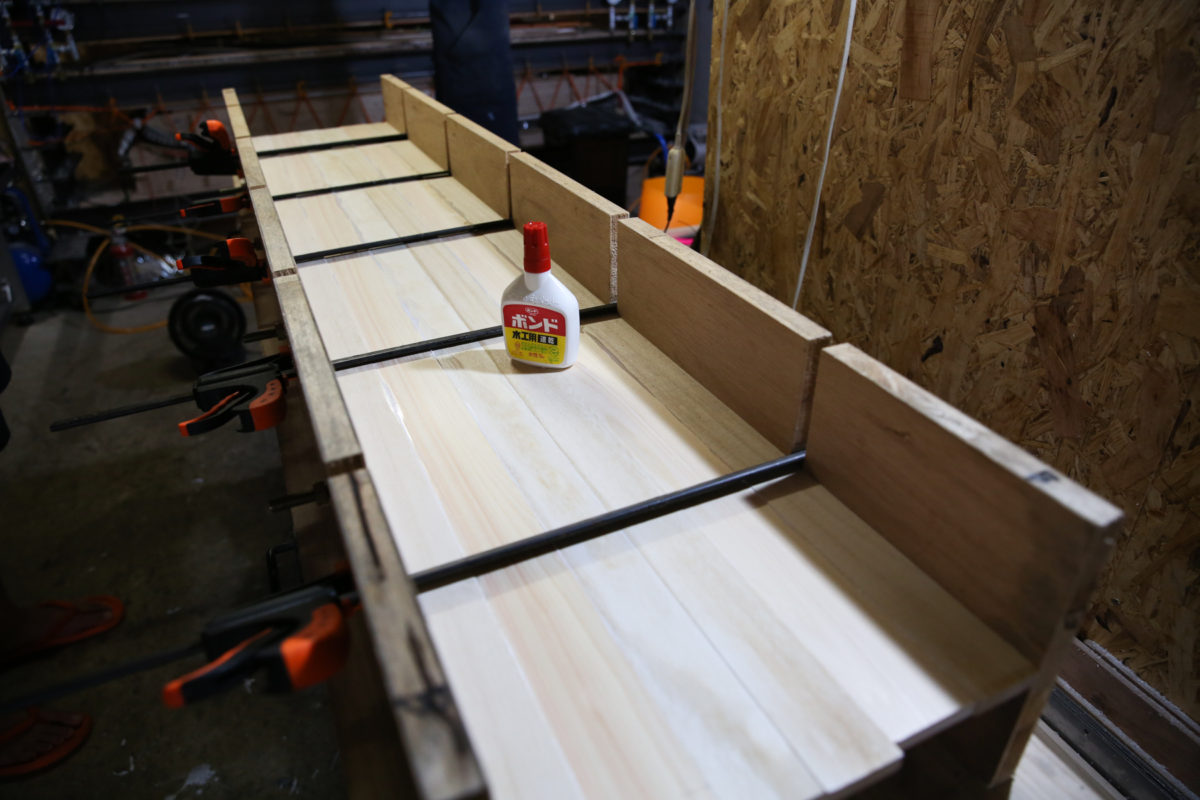
Voltage Design's planks primarily use locally sourced cypress wood, with paulownia wood on both sides.
This is because the cypress has just the right amount of hardness, and the paulownia's lightness creates a combination that results in a plank with appropriate stiffness and a lightweight feel.
While various types of wood are available, the brand is committed to using only these two types.
This is because they have decided to use locally sourced or domestically produced materials when making their planks. This is intended to stimulate domestic demand and reduce CO2 emissions from transportation.
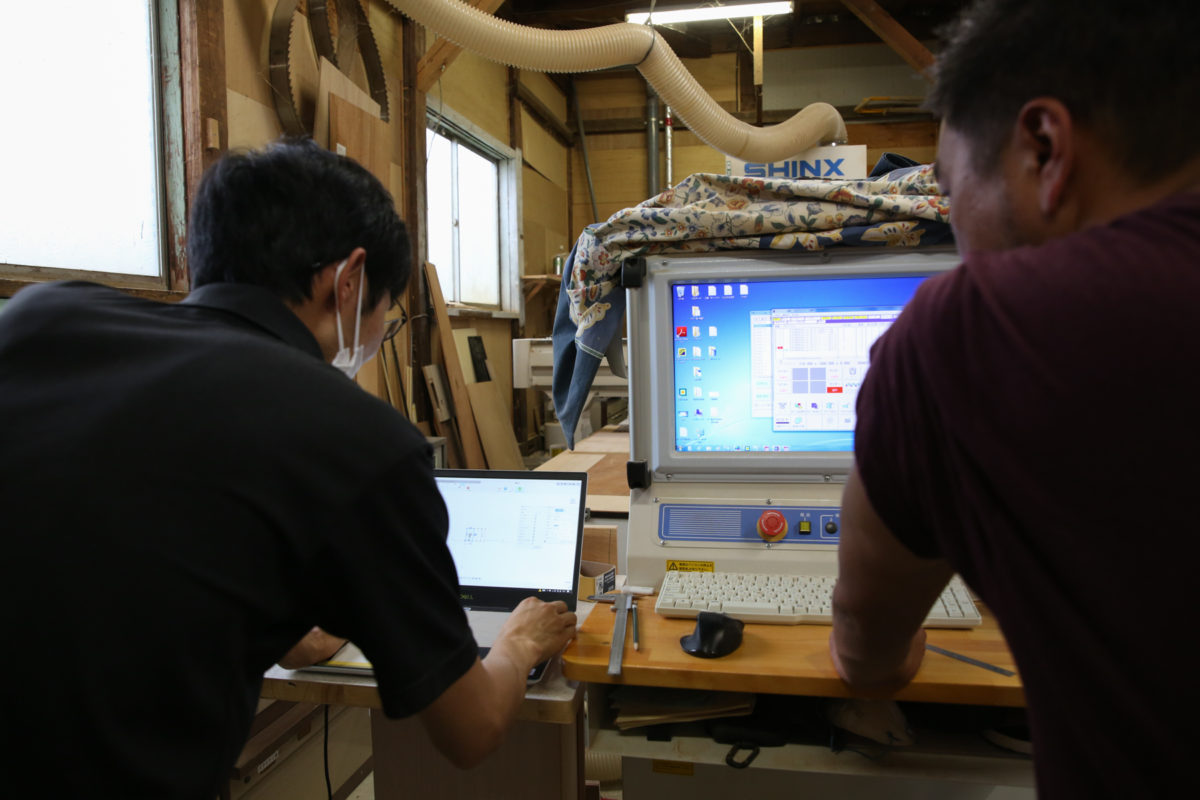
While the pieces of wood are being glued together, I'll use design software and CAD software to design the skis.
This time, since I'm going to make them anyway, I'm going to try making skis with a shape I've never seen before.
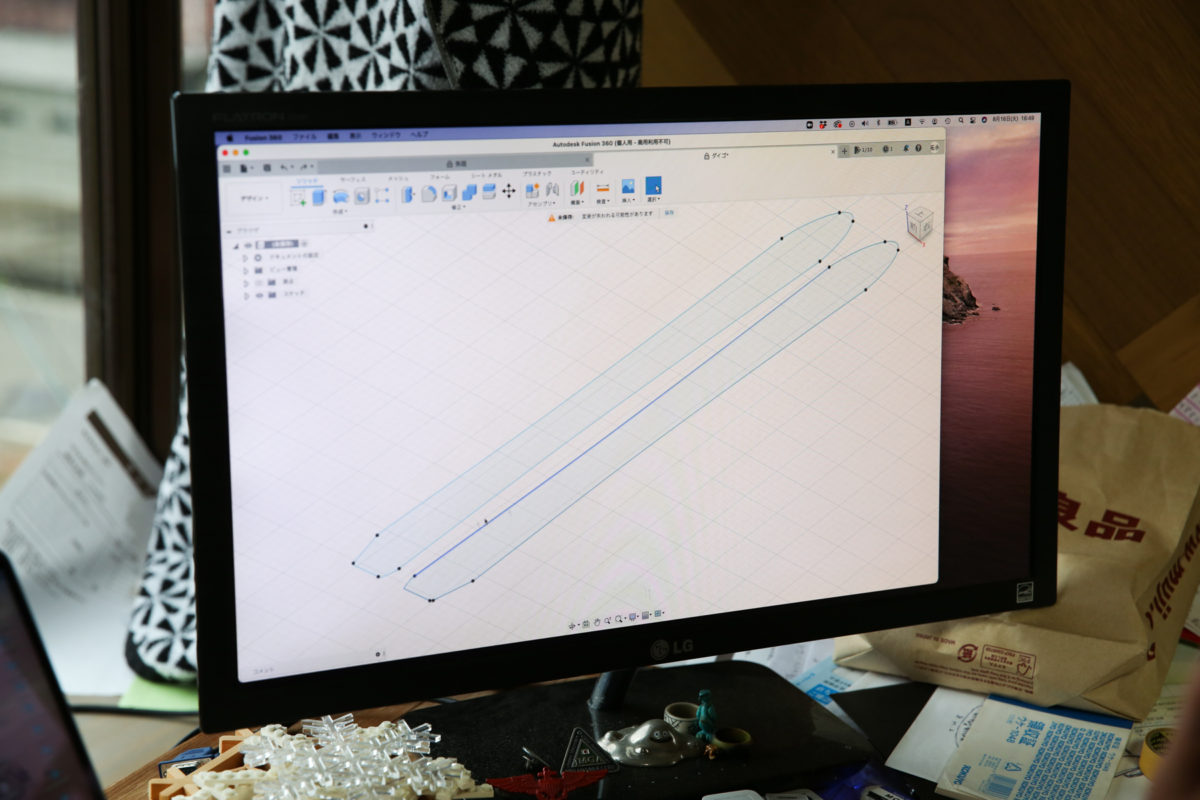
In general terms, the board has a center width of 116cm, nose width of 148cm, tail width of 137cm, and a total length of 178cm, and is designed for powder skiing and cruising on the slopes. I designed the nose to be pointed (a personal aesthetic preference for visual appeal), and the effective edge of the tail to be longer on the inside of the board and shorter on the outside. This is because I wanted to be able to push the edge firmly when turning with my back foot, and to have good edge release when turning with my back foot, improving maneuverability. This is entirely experimental, and I won't know if it will work until I actually try it out on the snowy mountain
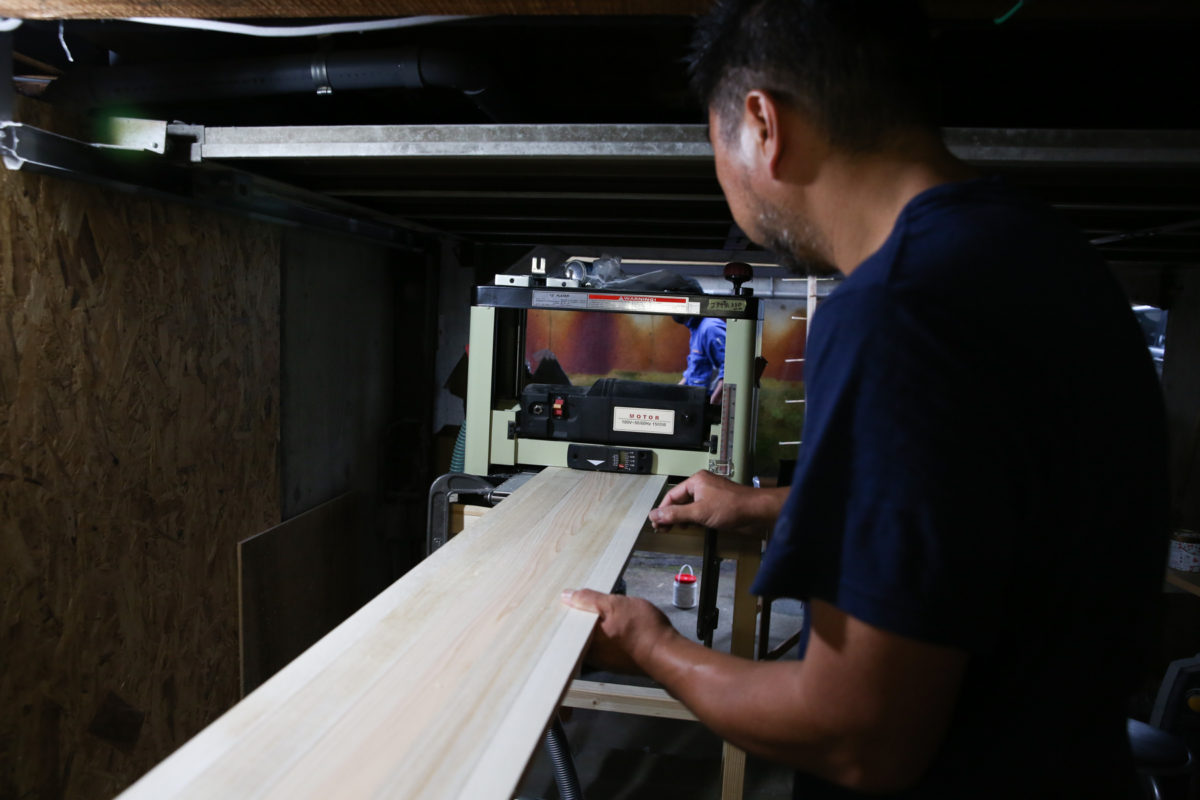
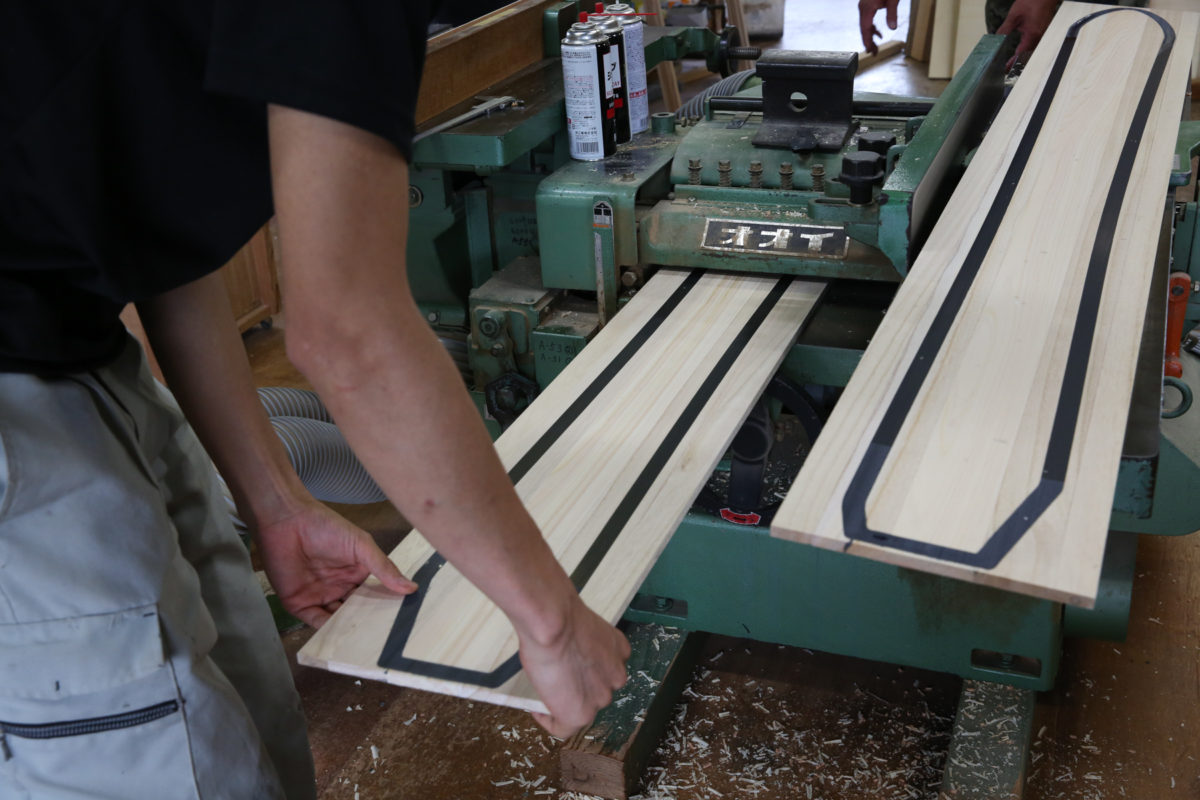
Once the design is complete, the wood is glued together. The core that has just been glued together varies in thickness, so it is shaved down to an even thickness using an automatic planer
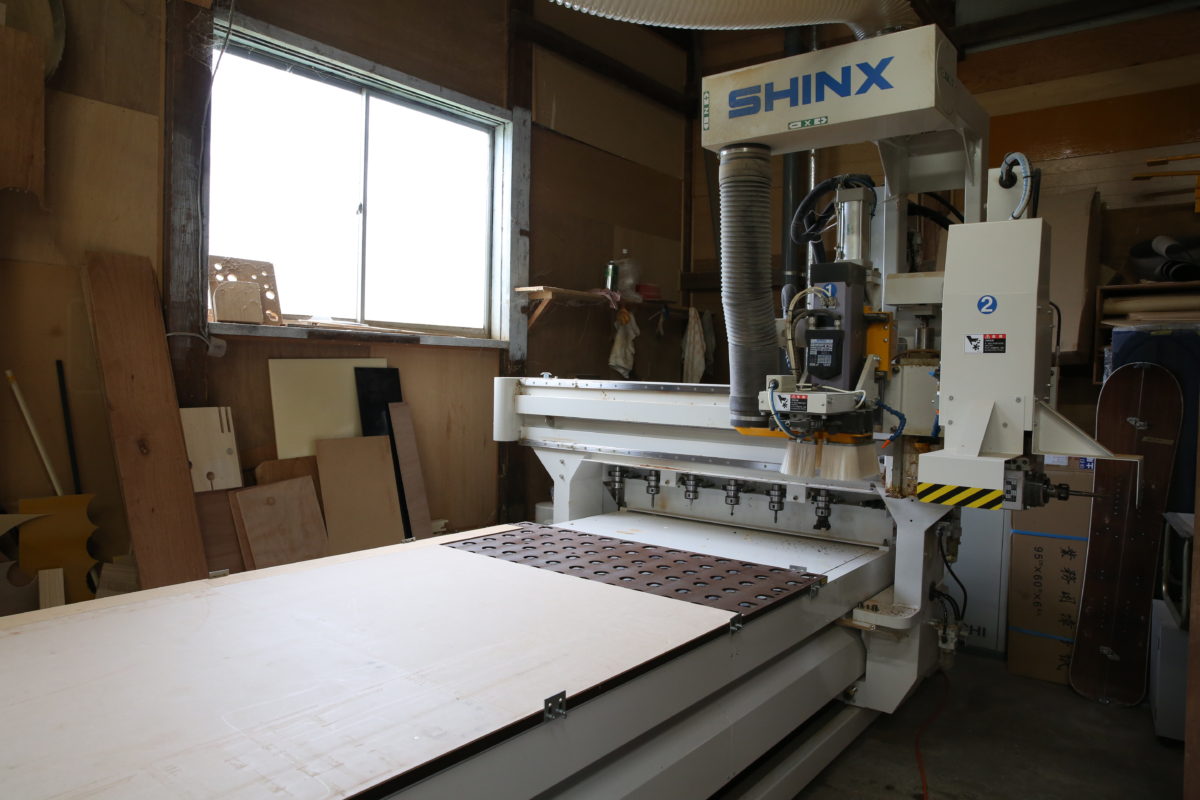
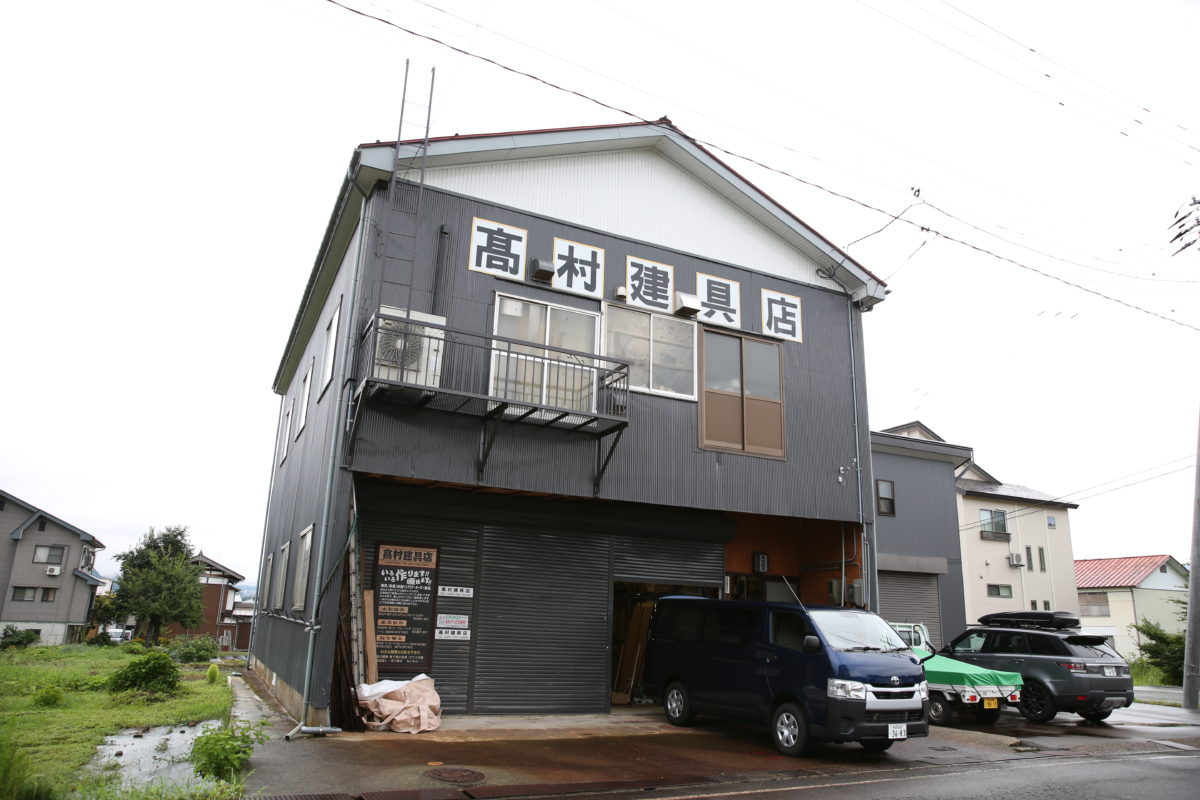
Once the thickness is uniform, I take the drawing data to a local joinery shop and have them cut grooves on the outside according to the design I created earlier. I also have them make a template that will serve as the basis for the designed board. The sole, top sheet, and reinforcing materials will be shaped according to this template, so even though the materials were prepared separately, they can be stacked together perfectly in the end.
Incidentally, large manufacturers, because they produce a certain volume, make molds instead of templates.
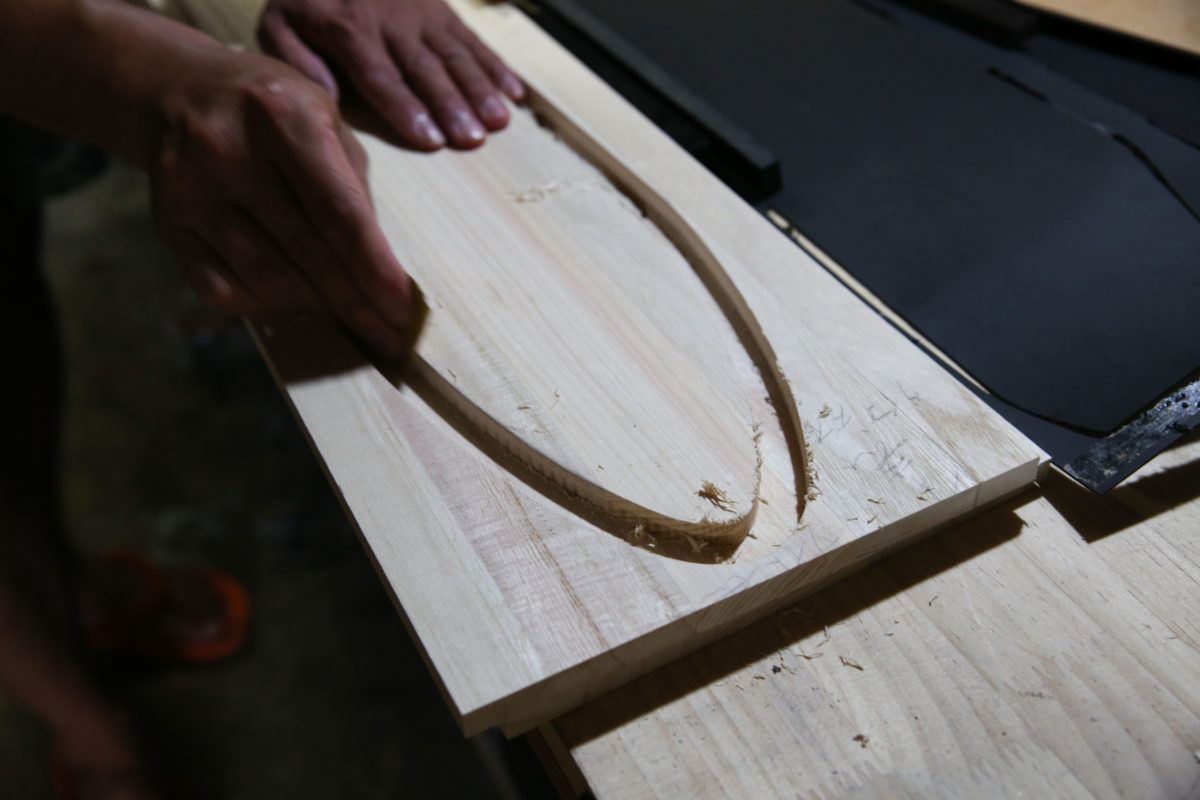
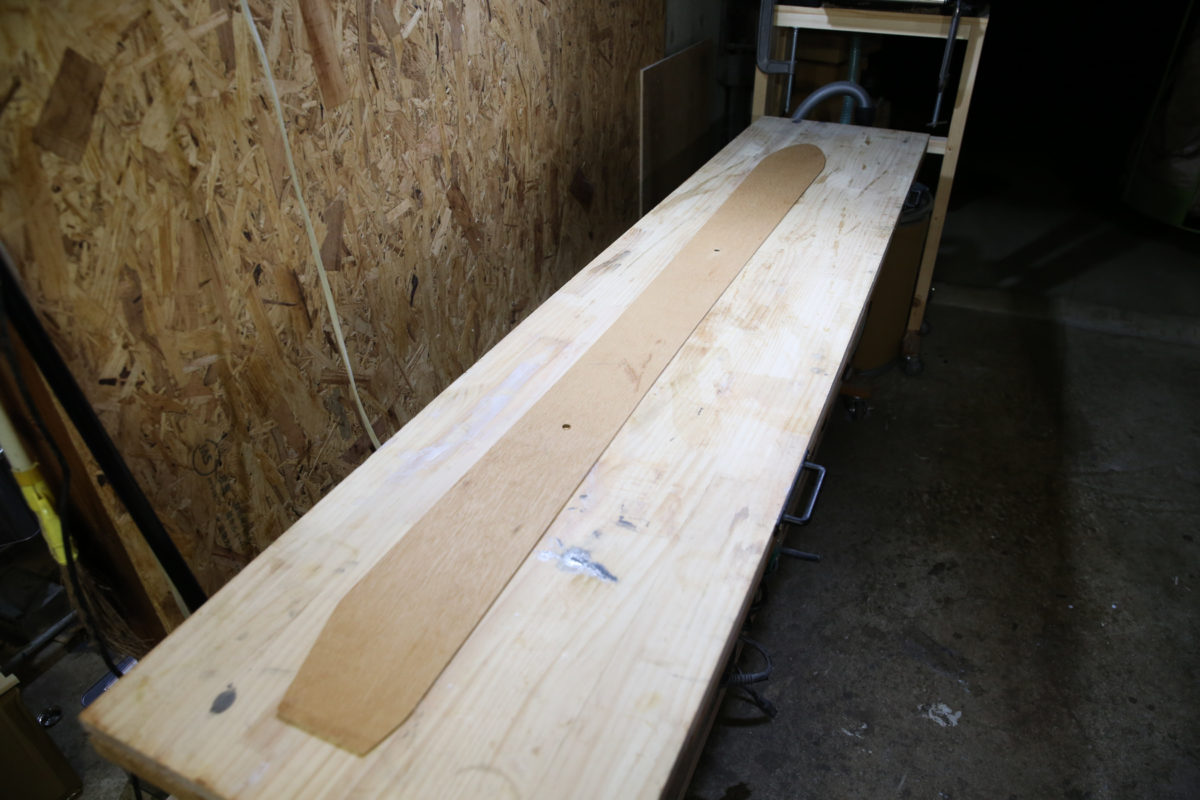
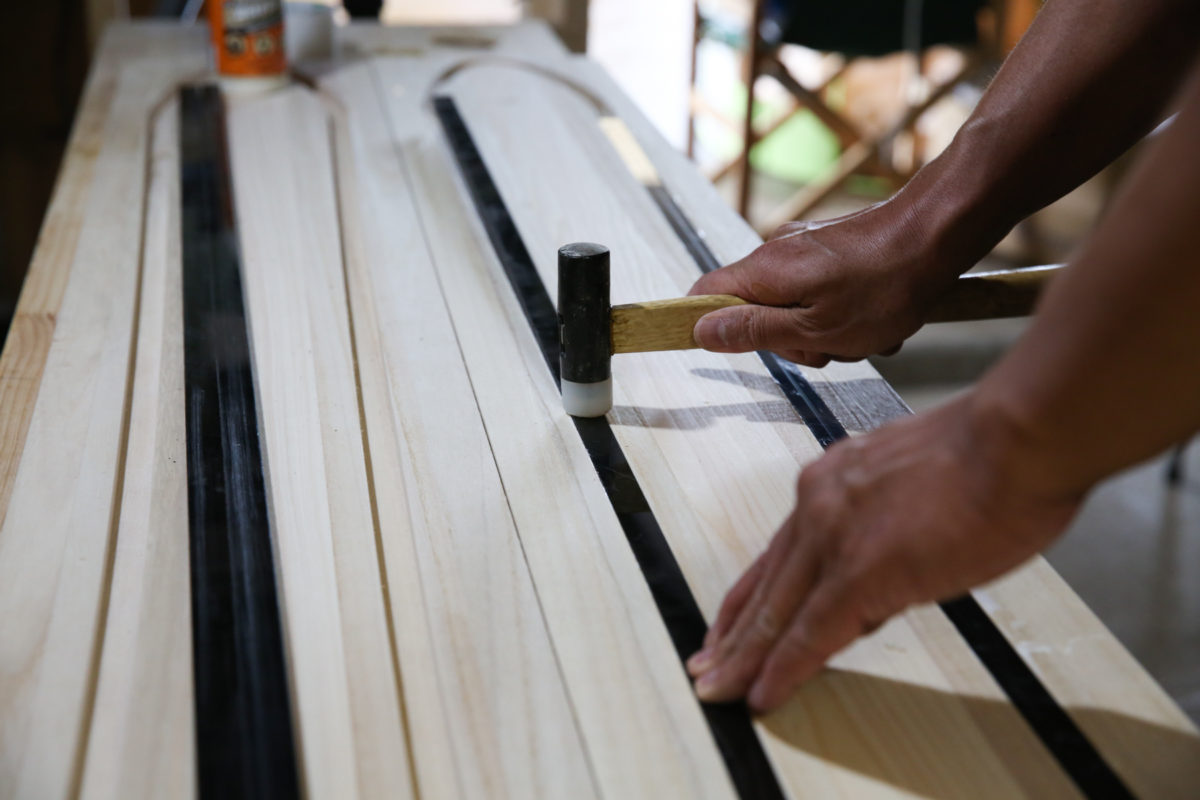
Next, ABS resin and urethane foam are placed in the grooves made by the joiner. This becomes the sidewall. The role of the sidewall is to improve edge grip. Almost all manufacturers use similar materials for this ABS resin, so there are not many differences. The ABS resin is placed about the length of the effective edge, and the tip of the nose and tail is filled with urethane foam. This is because it is easy to process and to cut costs

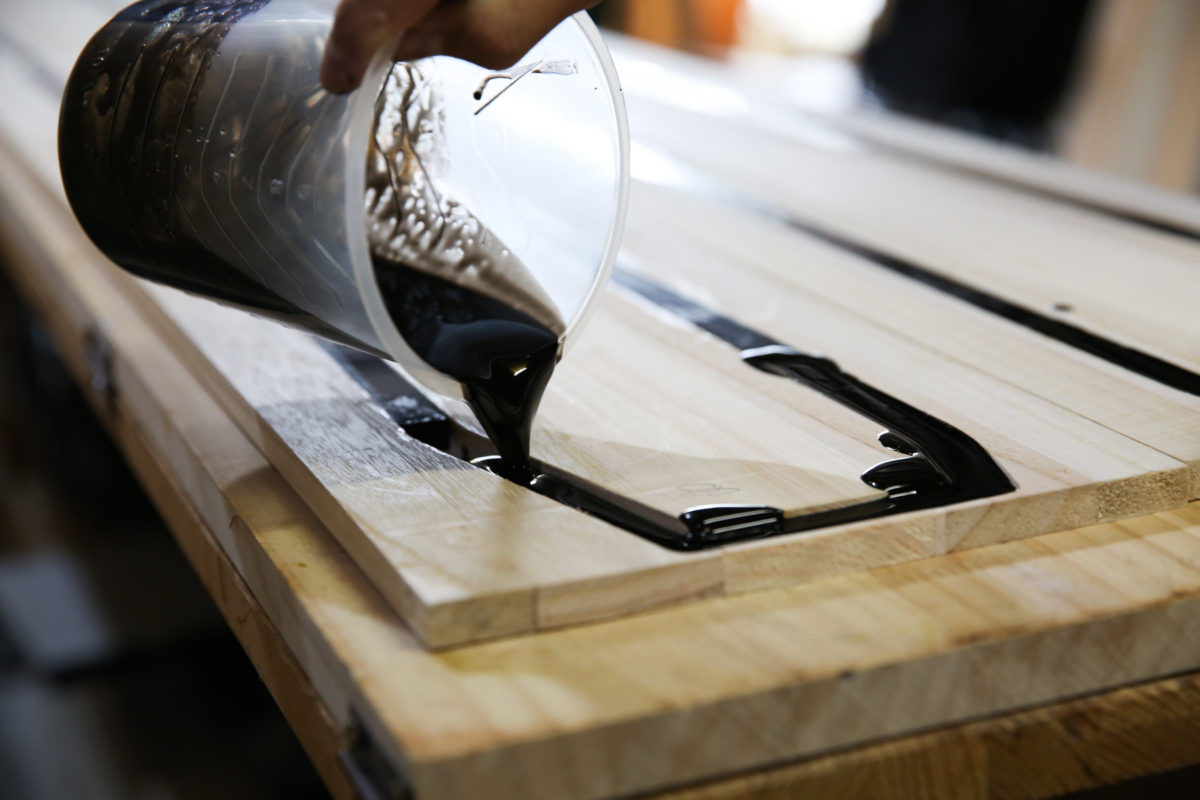
Once the urethane foam has hardened, we move on to the next step: cutting out the sole. The sole is made from a 40,000 molecular weight sintered sole sourced from a domestic factory. The higher this number, the better the gliding performance. 40,000 is on the high side. This is because we want to create something with excellent gliding performance
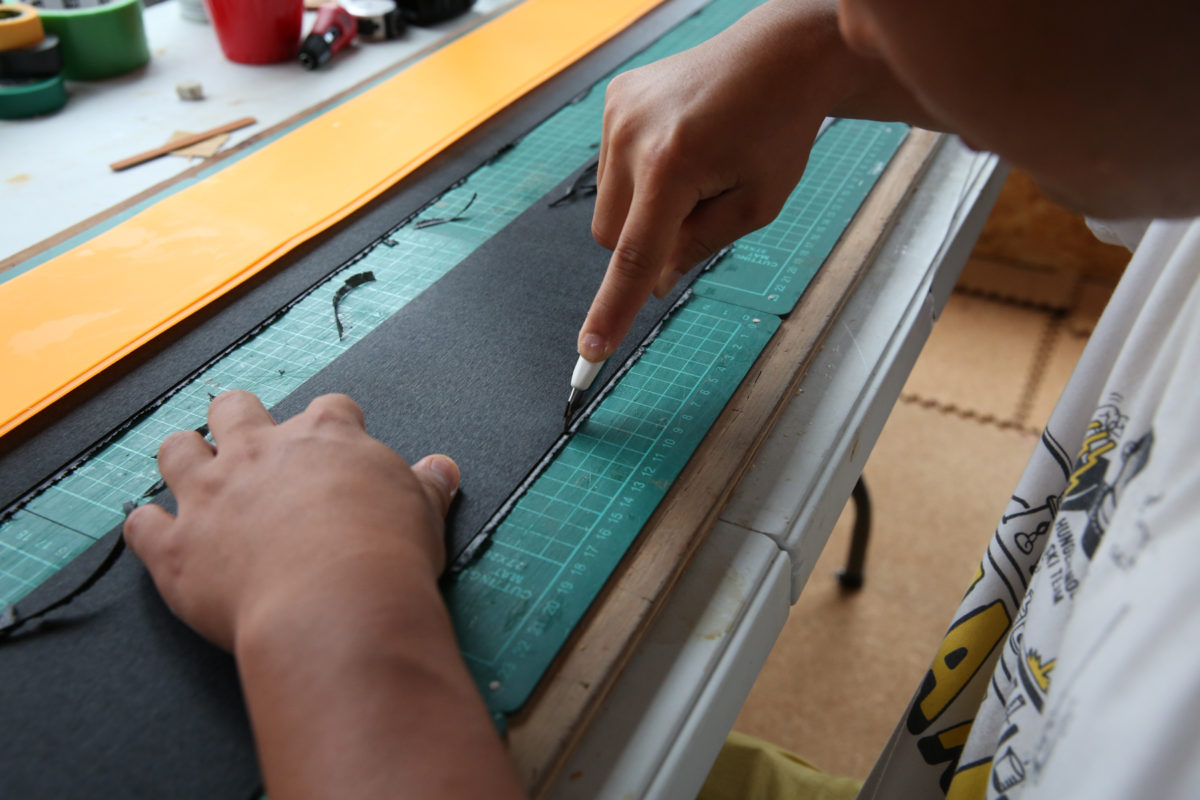
Once the foamed urethane has hardened, the skis are sent back to the joiner. Here, an automatic planer that can be controlled to within a fraction of a millimeter is used to make the skis as thick as possible to achieve the desired final thickness. Once the thickness is adjusted, the next step is to thin out just the nose and tail. As you know, skis are thick at the base, but the nose and tail are thin to improve maneuverability
Next, we move on to edge processing. We use steel edges procured from an edge company in Joetsu City, Niigata Prefecture. We bend a single long edge by hand. Bending it along the subtle curve of the board is more difficult than it looks. This is then fully wrapped from the tip of the nose to the tip of the tail
Once you have the edges, it's time to design the graphics for your skis. This is completely up to you. You can use your own photos or drawings, or leave them blank. You can add any words you like, or whatever you want. Just make sure you give your skis their own unique look
Up until now, the main focus has been on preparing the materials, but from the next page onwards, the ski making will reach its climax