

Assembling the materials
From here, all of these elements come together at once, leading us closer to the highlight of ski making.
So, we fit the bent edges into the base and glue them in place.
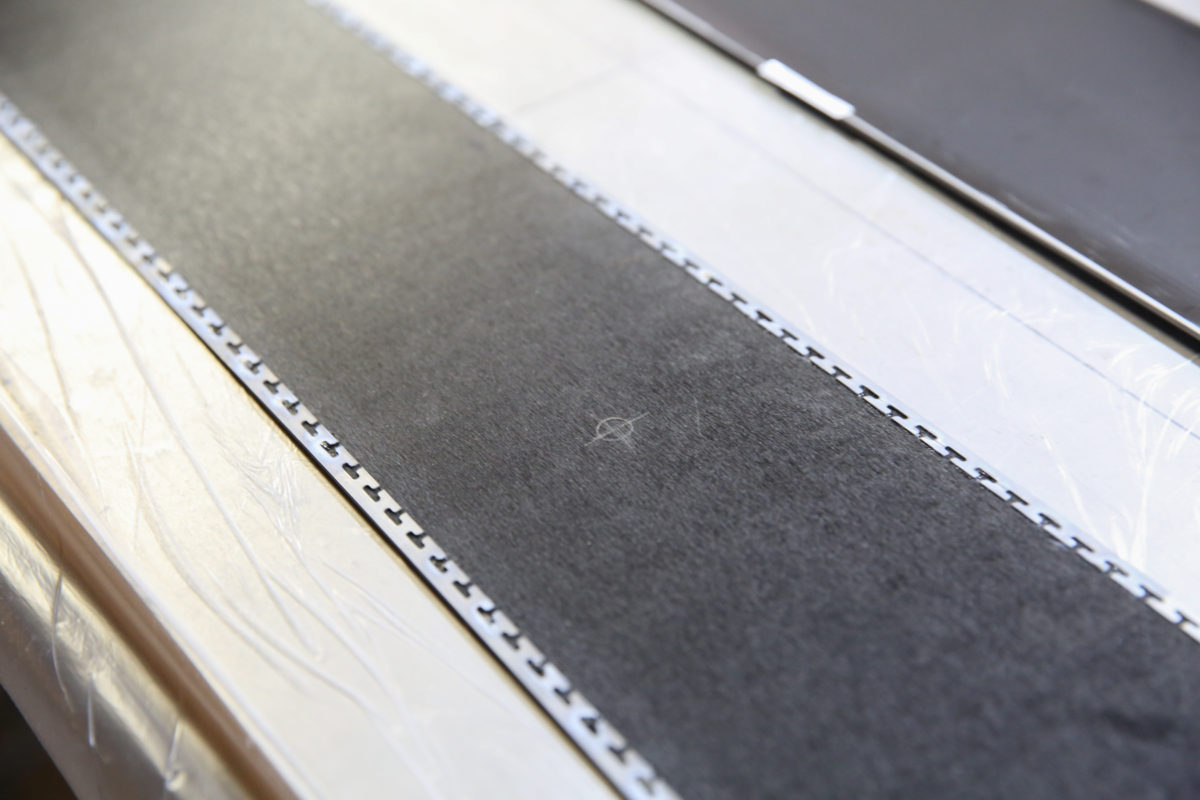
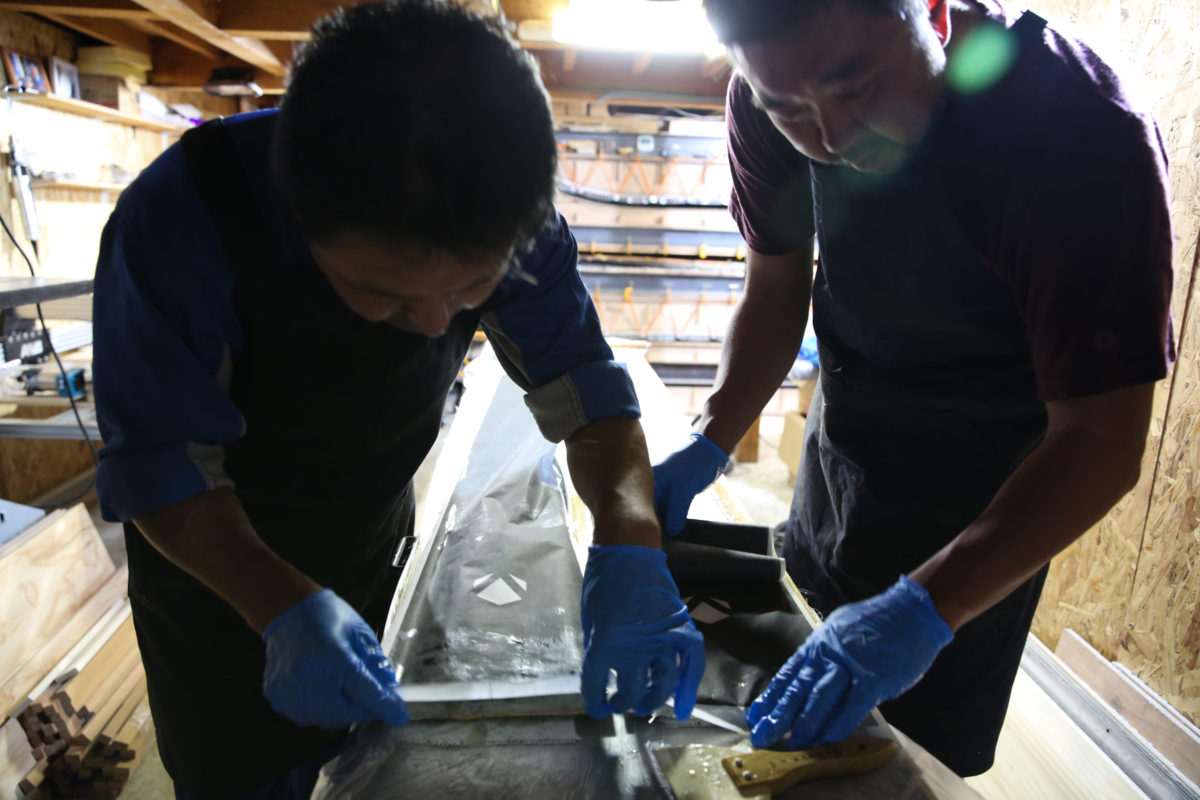
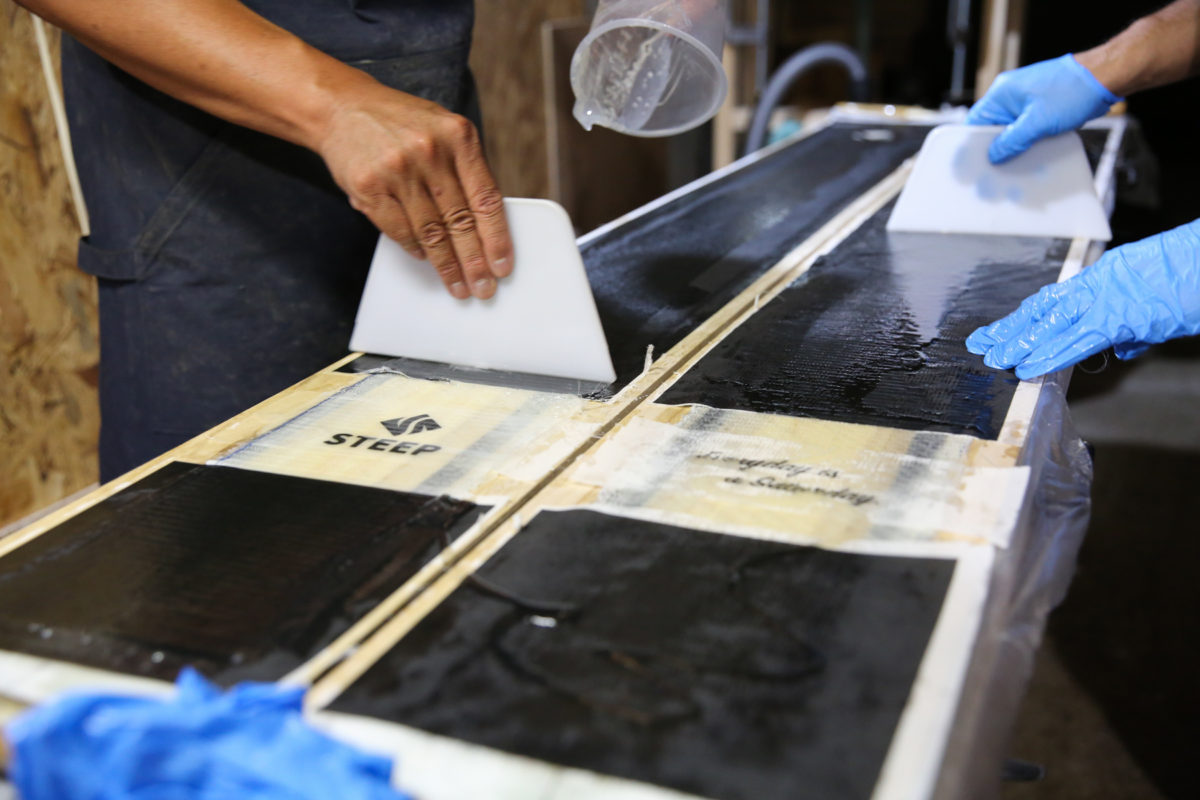
Resin is applied on top of that and fiberglass is then layered on top. By the way, resin is "epoxy resin." It is not familiar to men, but it is often used in women's nail art. The resin used this time is a two-part resin made by mixing a base resin and a hardener. This will bond and harden over time
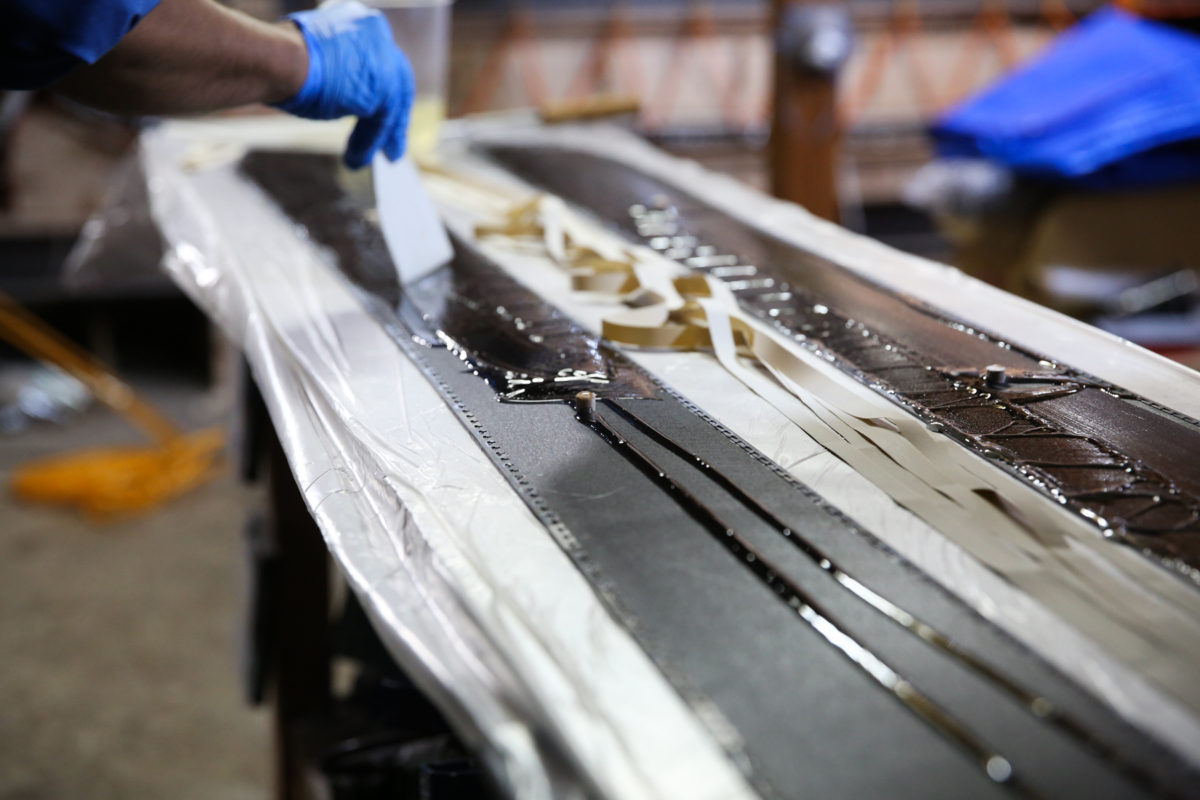
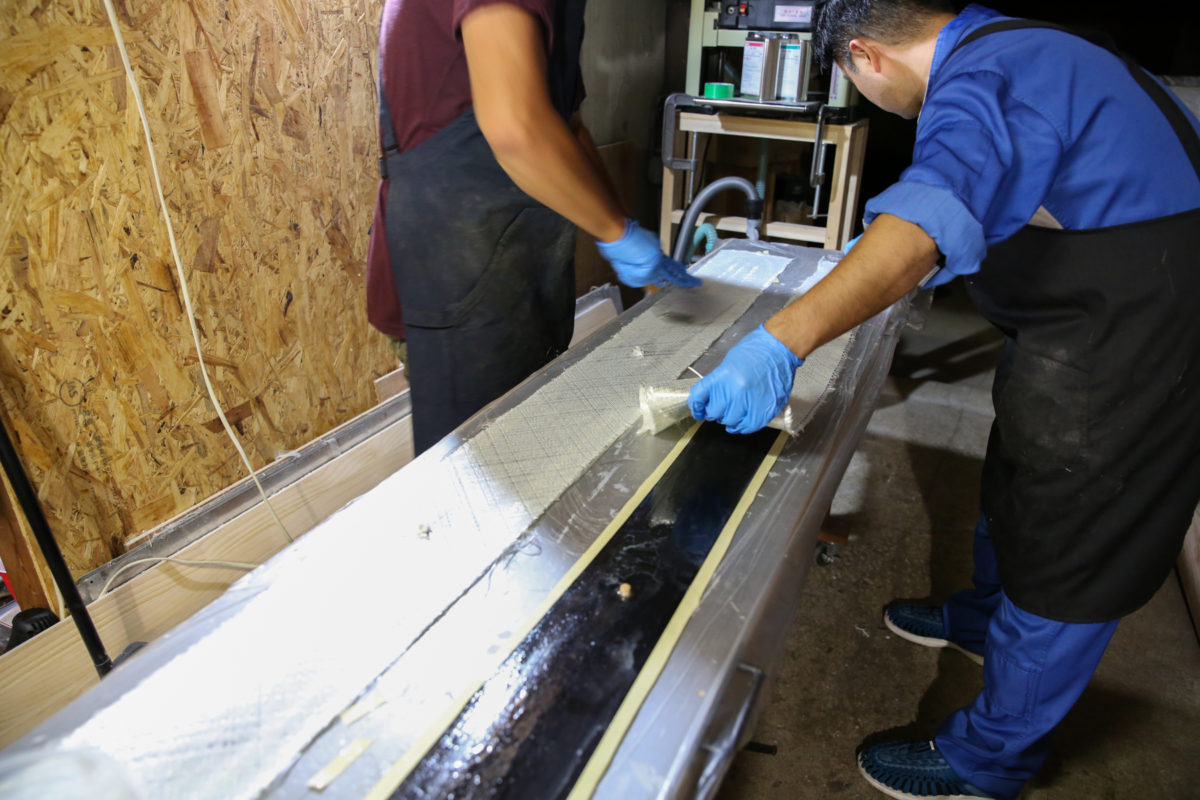
Once the resin is evenly applied, a layer of core material is placed on top. Then, more resin is applied. Then, another layer of fiberglass is placed on top of that and more resin is applied. This process is called layering
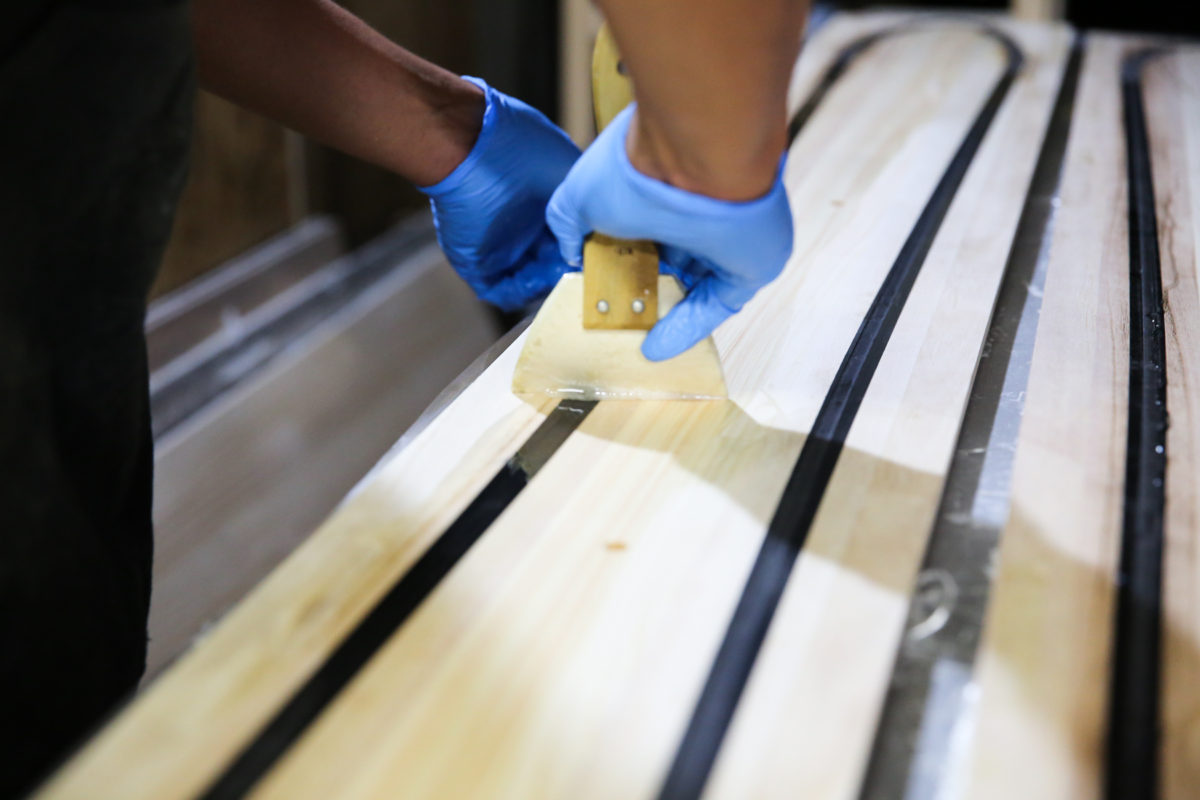
During the process of layering fiberglass, reinforcing materials such as carbon fiber or titanal can be added.
The advantage of the sandwich structure is that even if the thickness increases due to the addition of reinforcing materials, it can still be pressed. This means that even if you pack various materials into it, it can still become a ski.
In making this ski, I wanted to experience the natural flexibility and hardness of wood as much as possible, so I used only fiberglass as a reinforcing agent. Up until now, I've only ridden skis that incorporate advanced materials, so I wanted to try a ski that was closer to the natural feel of wood. Incidentally, fiberglass acts like a spring, giving the ski just the right amount of rebound. The brand basically sandwiches two pieces of fiberglass above and below the core material, but depending on your preference, you can even omit it
After laying down the second layer of fiberglass, place the graphic you just printed on top and then lay down the top sheet on top of that
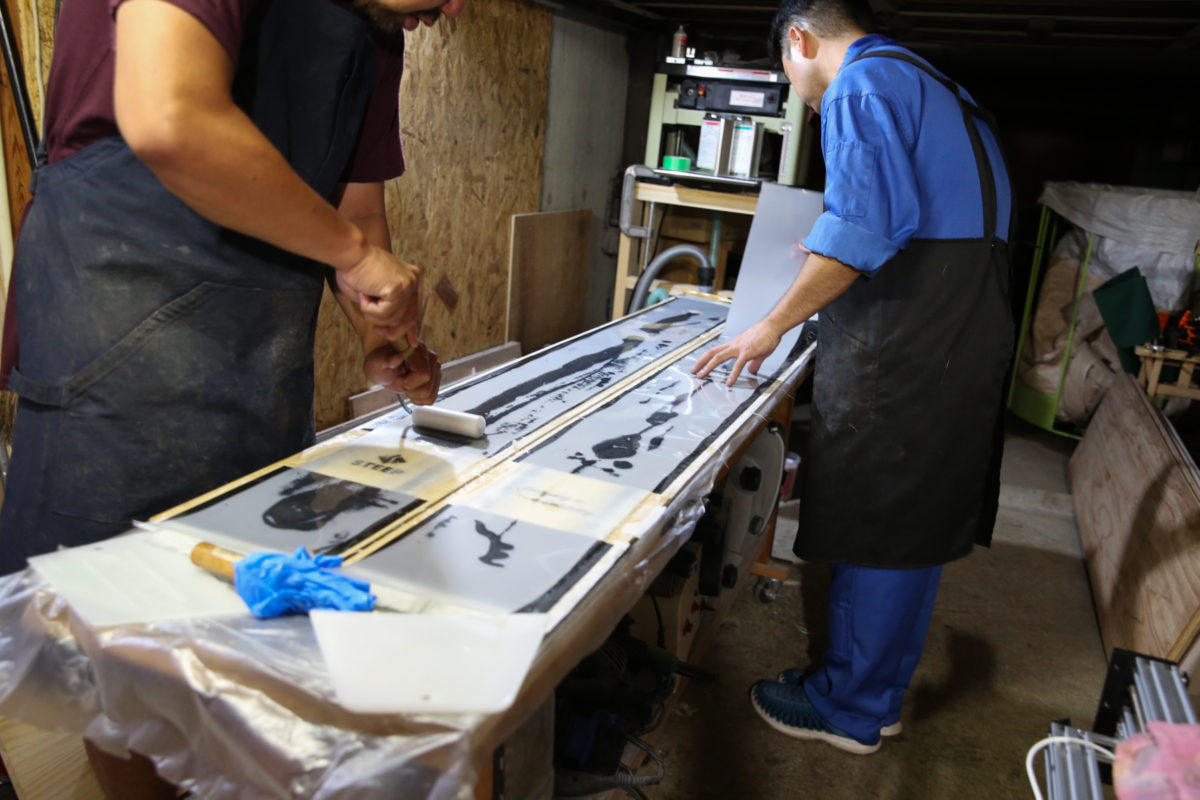
The top sheet is primarily for protection and doesn't have any particular functional role related to gliding performance.
Now that the materials are layered, it's time for the pressing process.
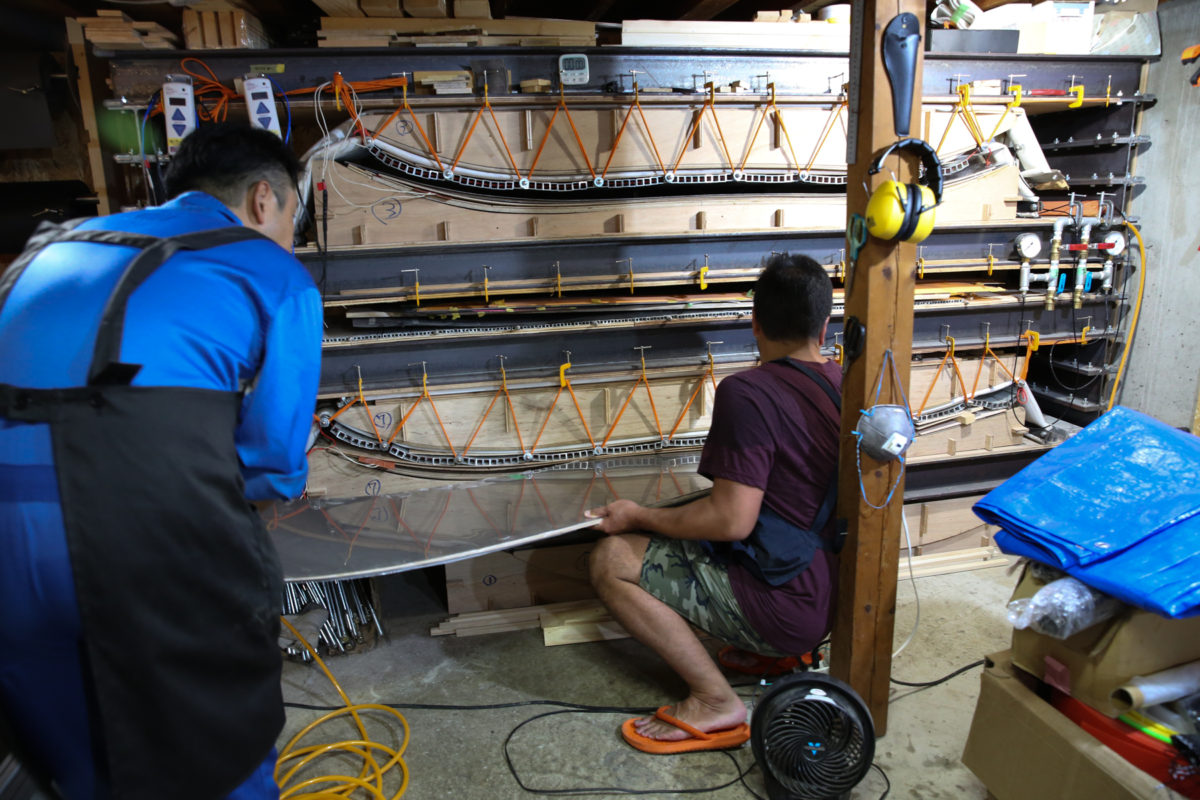
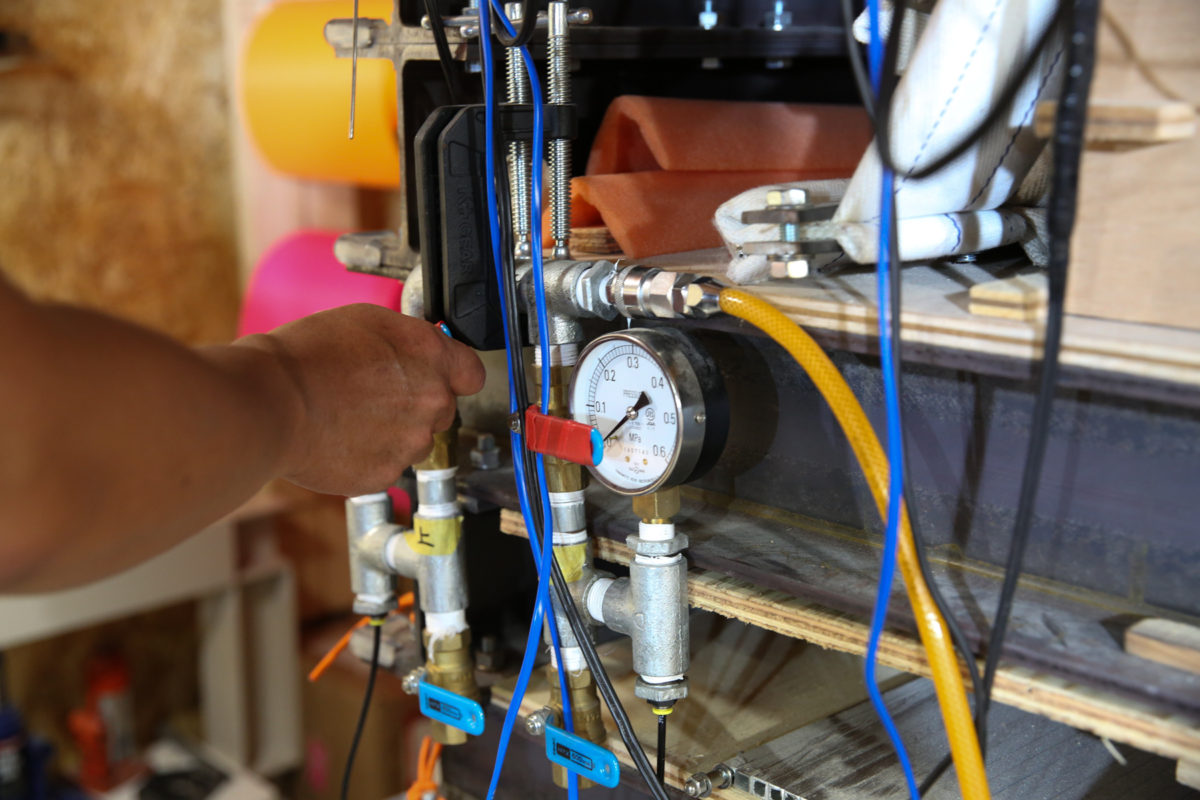
The tire is then placed in a press at a total pressure of 4 atmospheres and heated to 80 degrees Celsius for about an hour. The pressing process bonds all the materials together and shapes the camber and rocker
The one and only ski in the world is finally unveiled
And this is what came out after an hour of cooling
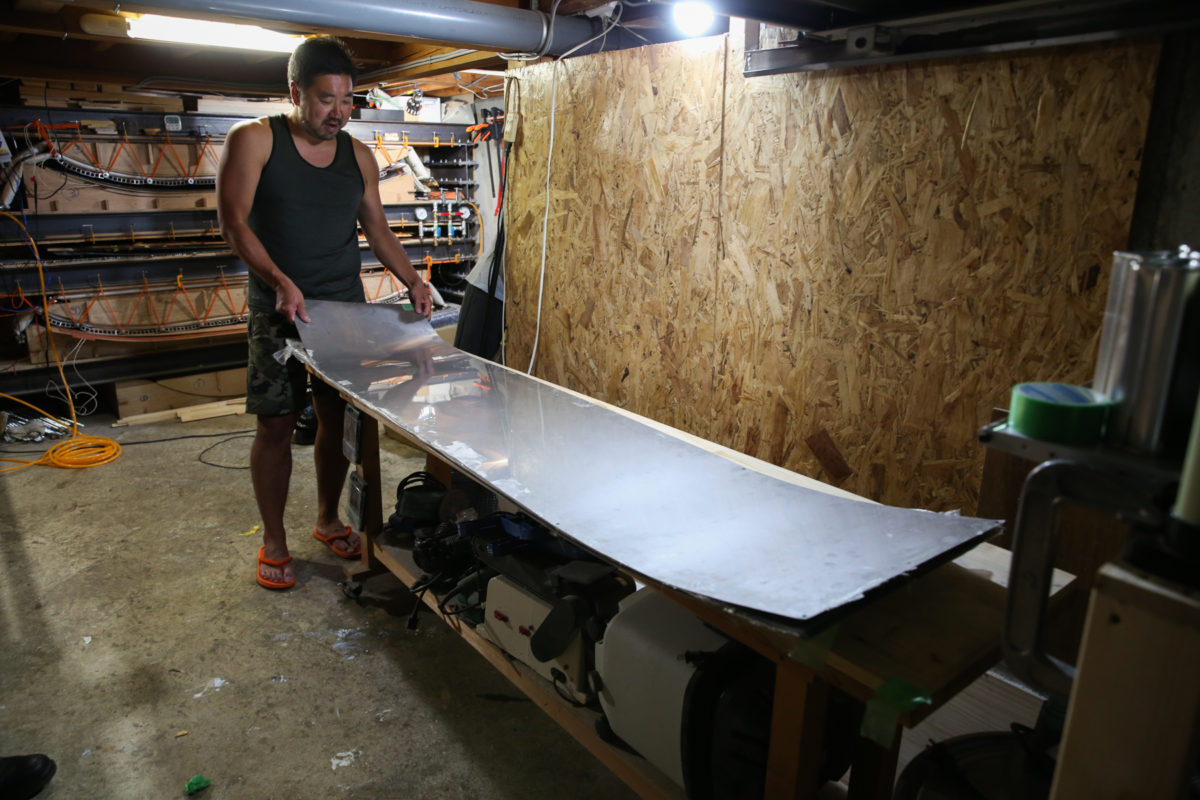
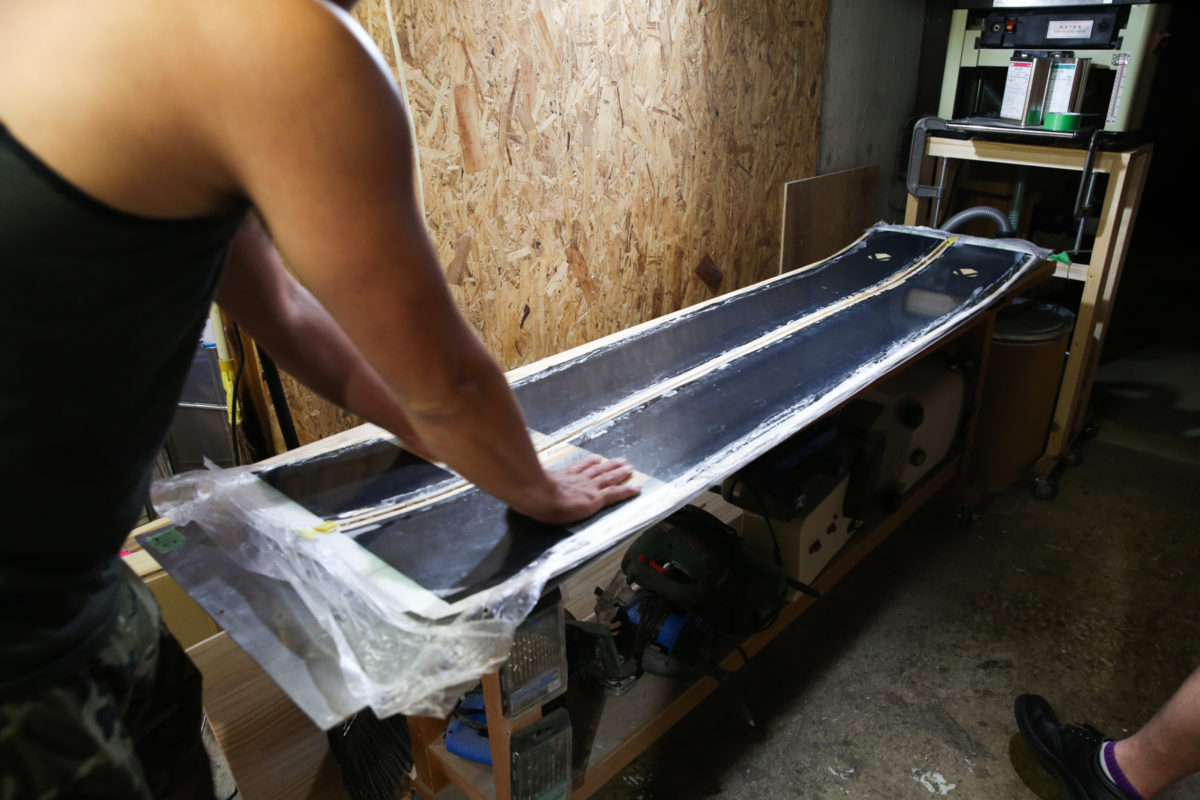
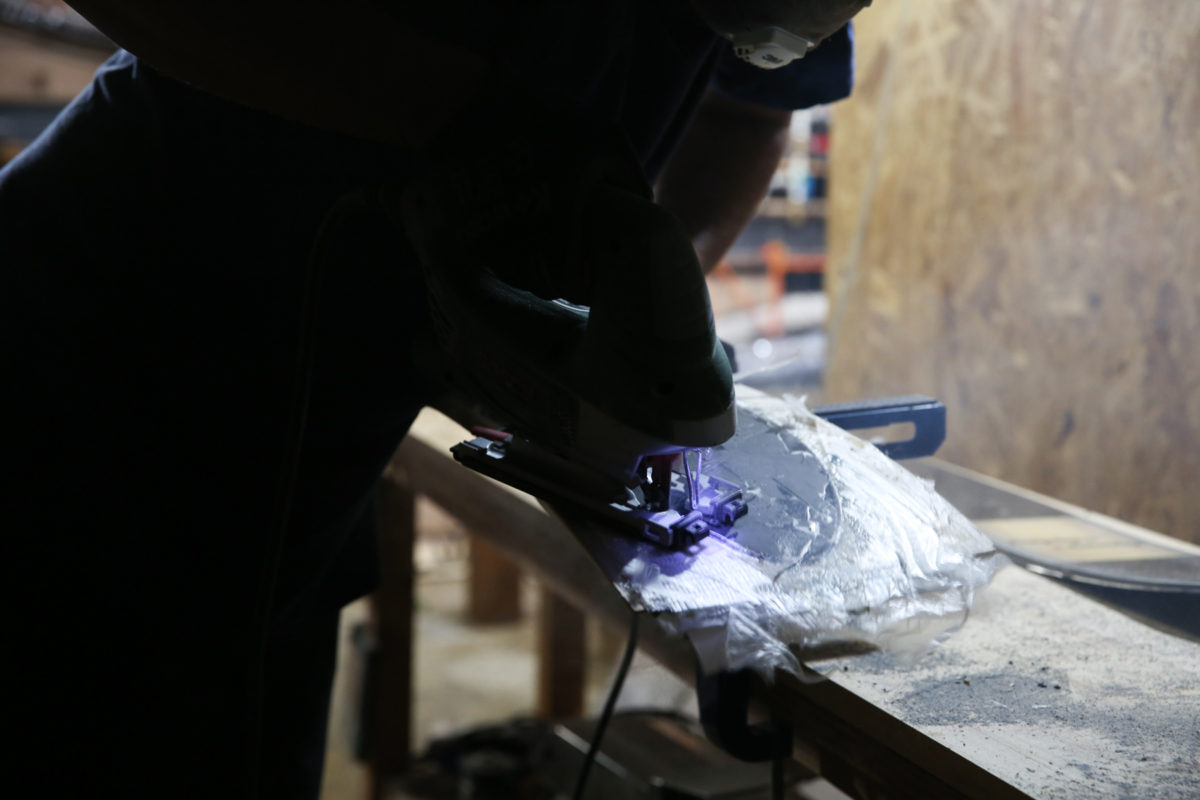
We are finally getting close to the shape of the board. At this point, it is 90% complete. All that remains is to cut it out into the shape of a ski along the edge
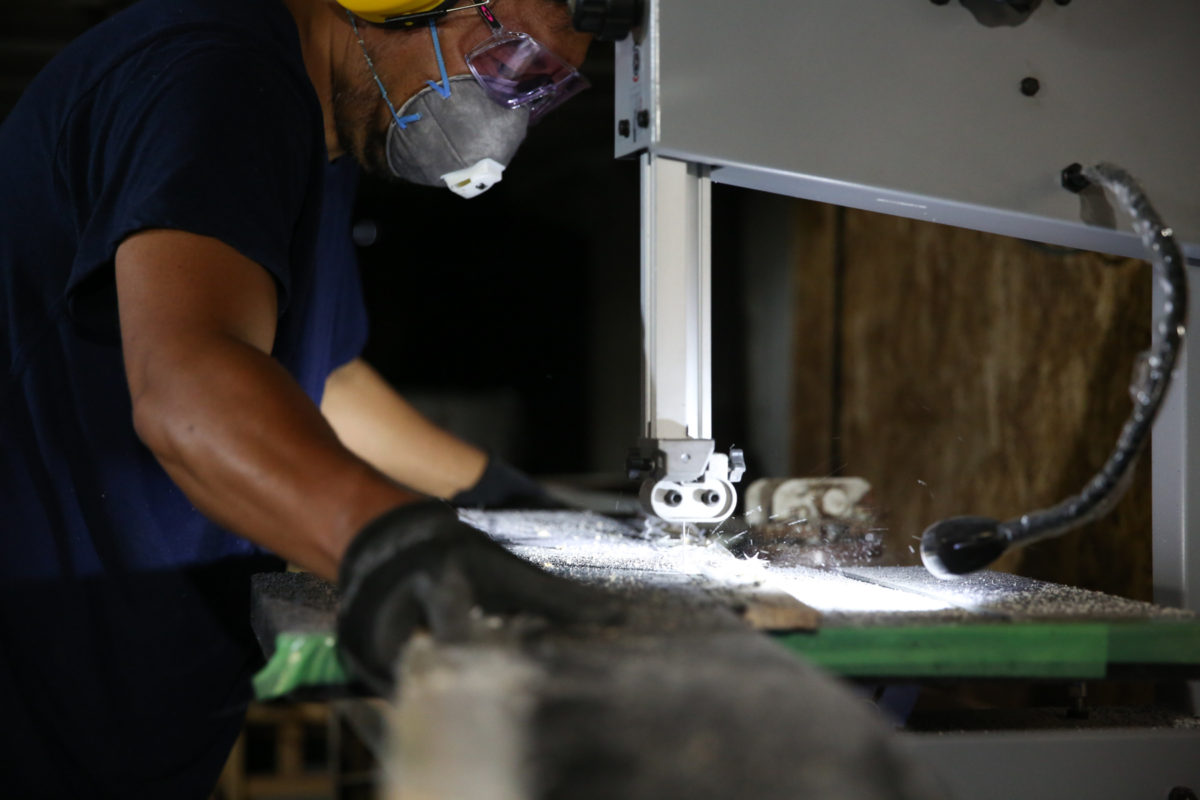
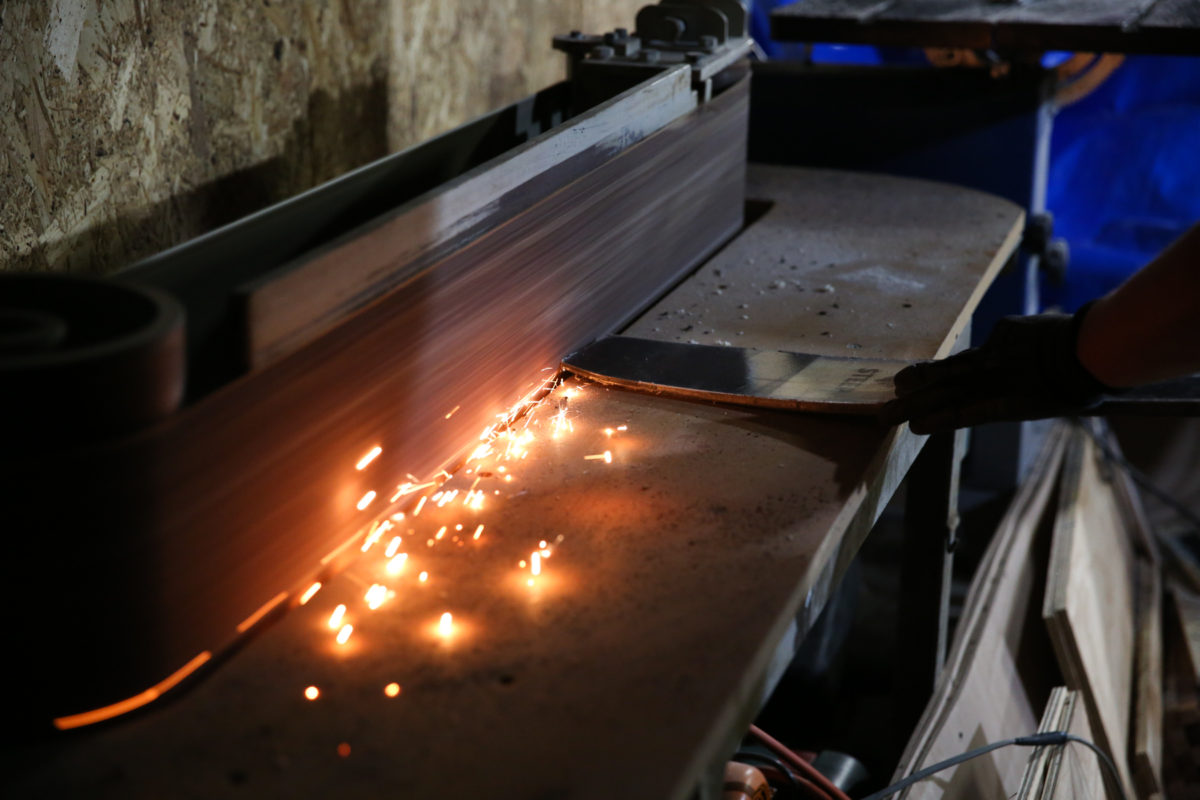
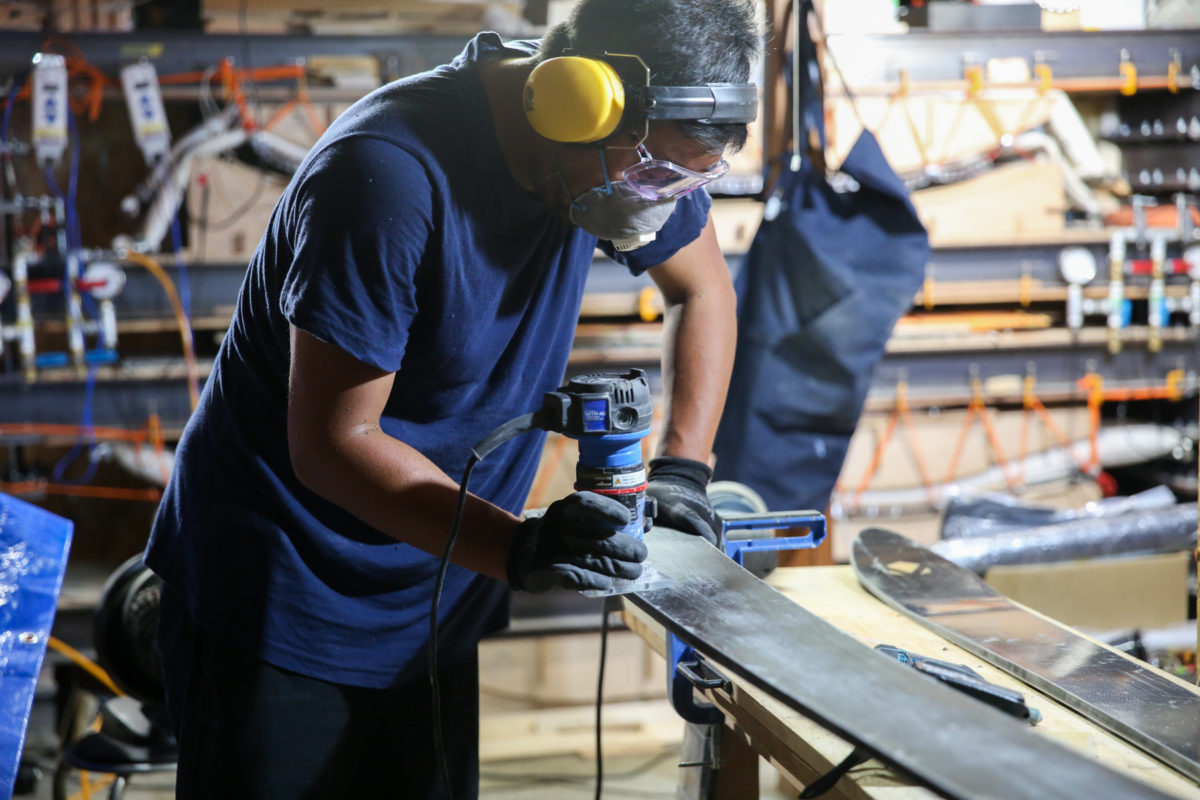
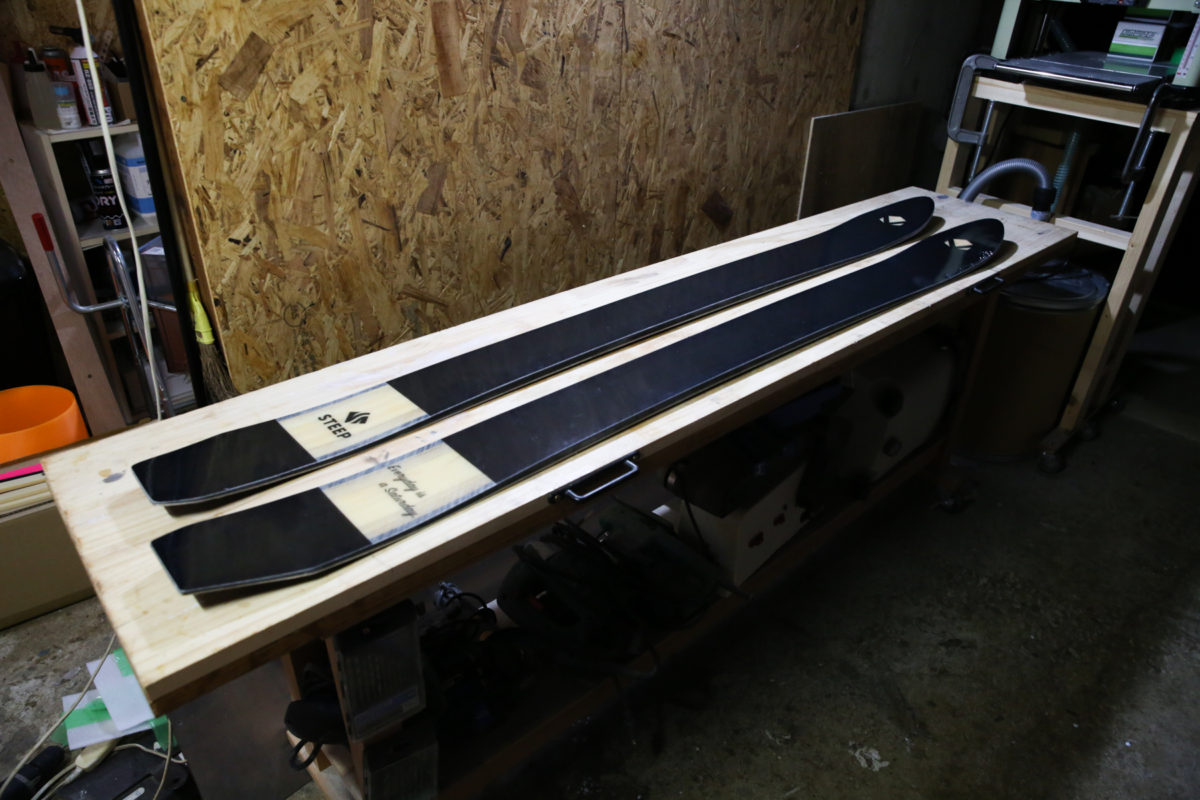
This is my board, the only one of its kind in the world. Of course, there is a template, so it can be duplicated. I can make as many boards as I want. Of course, it meets JIS standards, so it is properly recognized as a product
When I actually made it, the real thing was much cooler than what I had imagined in my head. The more I look at it, the cooler it gets. The shape and graphics are so cool that it gives me chills to think that it's the only board of its kind in the world. I can't help but
look at it through biased eyes because I designed it myself.
The board is still soft when it's warm after pressing, so it seems it will settle down after about a week. Right now, even though I made the board with the intention of making it "a little softer," when I put my weight on it and bend it, it feels a little too soft. It
would be perfect if it settles down a bit more and becomes the softness I like.
All that's left is to actually ride it on the snow and test how it feels.
It's only the beginning of September, but I can't wait for winter. I'll definitely be carrying this board with me when the ski resorts open early in November.
I can't stay happy forever..
Now, there's one concern that became apparent after actually making the board:
the amount of waste.
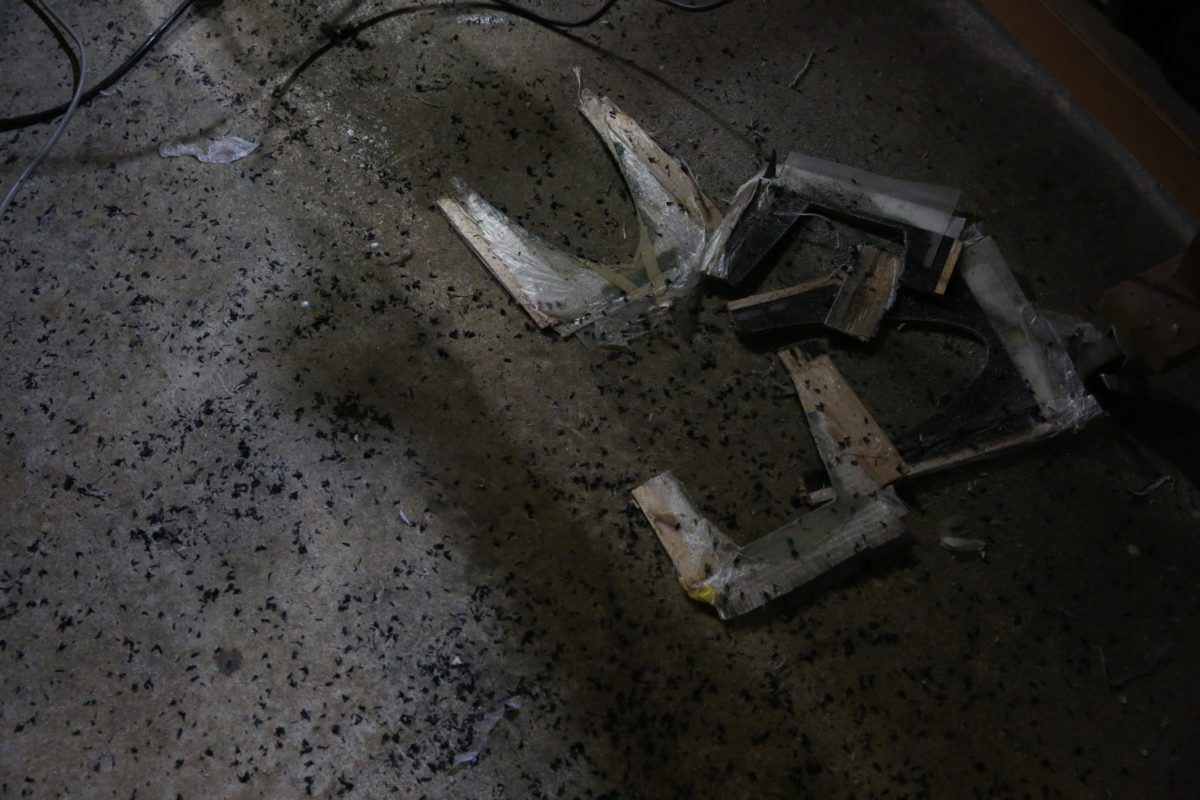
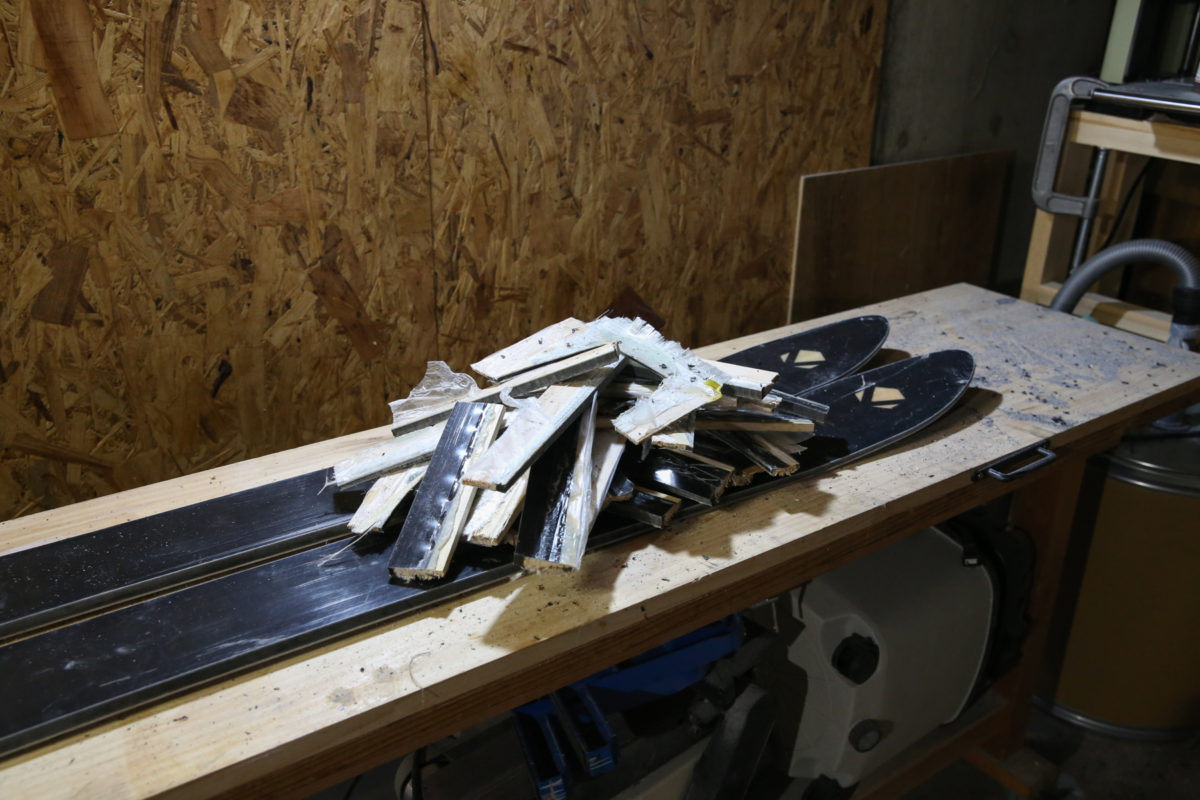
The photo above only shows a small portion of the waste generated during the cutting process.
As people who are allowed to venture into nature and play there, we cannot accept people leaving a large amount of trash behind while skiing down the powder hands-free and shouting "Yay!"
As you know, burning wood as garbage requires transportation and fuel for combustion, which results in the emission of greenhouse gases. Also, since wood is mixed with fine metals such as fiberglass, it must be treated as industrial waste
Nagai himself
says,
"This garbage problem is one of the things that needs to be solved in the future."
Voltage Design is currently working on turning the wood scraps that are produced during board production into smartphone cases and accessories, but this is not enough. They are constantly searching for more effective, radical solutions
We too have an obligation to know. To produce is to consume at the same time. I don't intend to deny consumption, but behind our activities, what do we gain in return, and what are we paying for? Rather than leaving all problem-solving to others, we should think about it ourselves and perhaps even change our behavior by learning more
This time we looked at the behind-the-scenes of ski manufacturing, but if it were ski wear or gloves, different things would probably be consumed
Making your own unique pair of skis is not only the greatest happiness for a skier, but also a valuable experience that allows you to learn about the materials used to make skis, their structure, and the processes that go into making them
Of course, this allows ordinary people to create their own one-of-a-kind skis, and they can also participate in the process and experience it firsthand.
Skiing on skis you've created yourself will bring a special sense of satisfaction. You'll likely develop a strong attachment to them and enjoy using them for a long time.
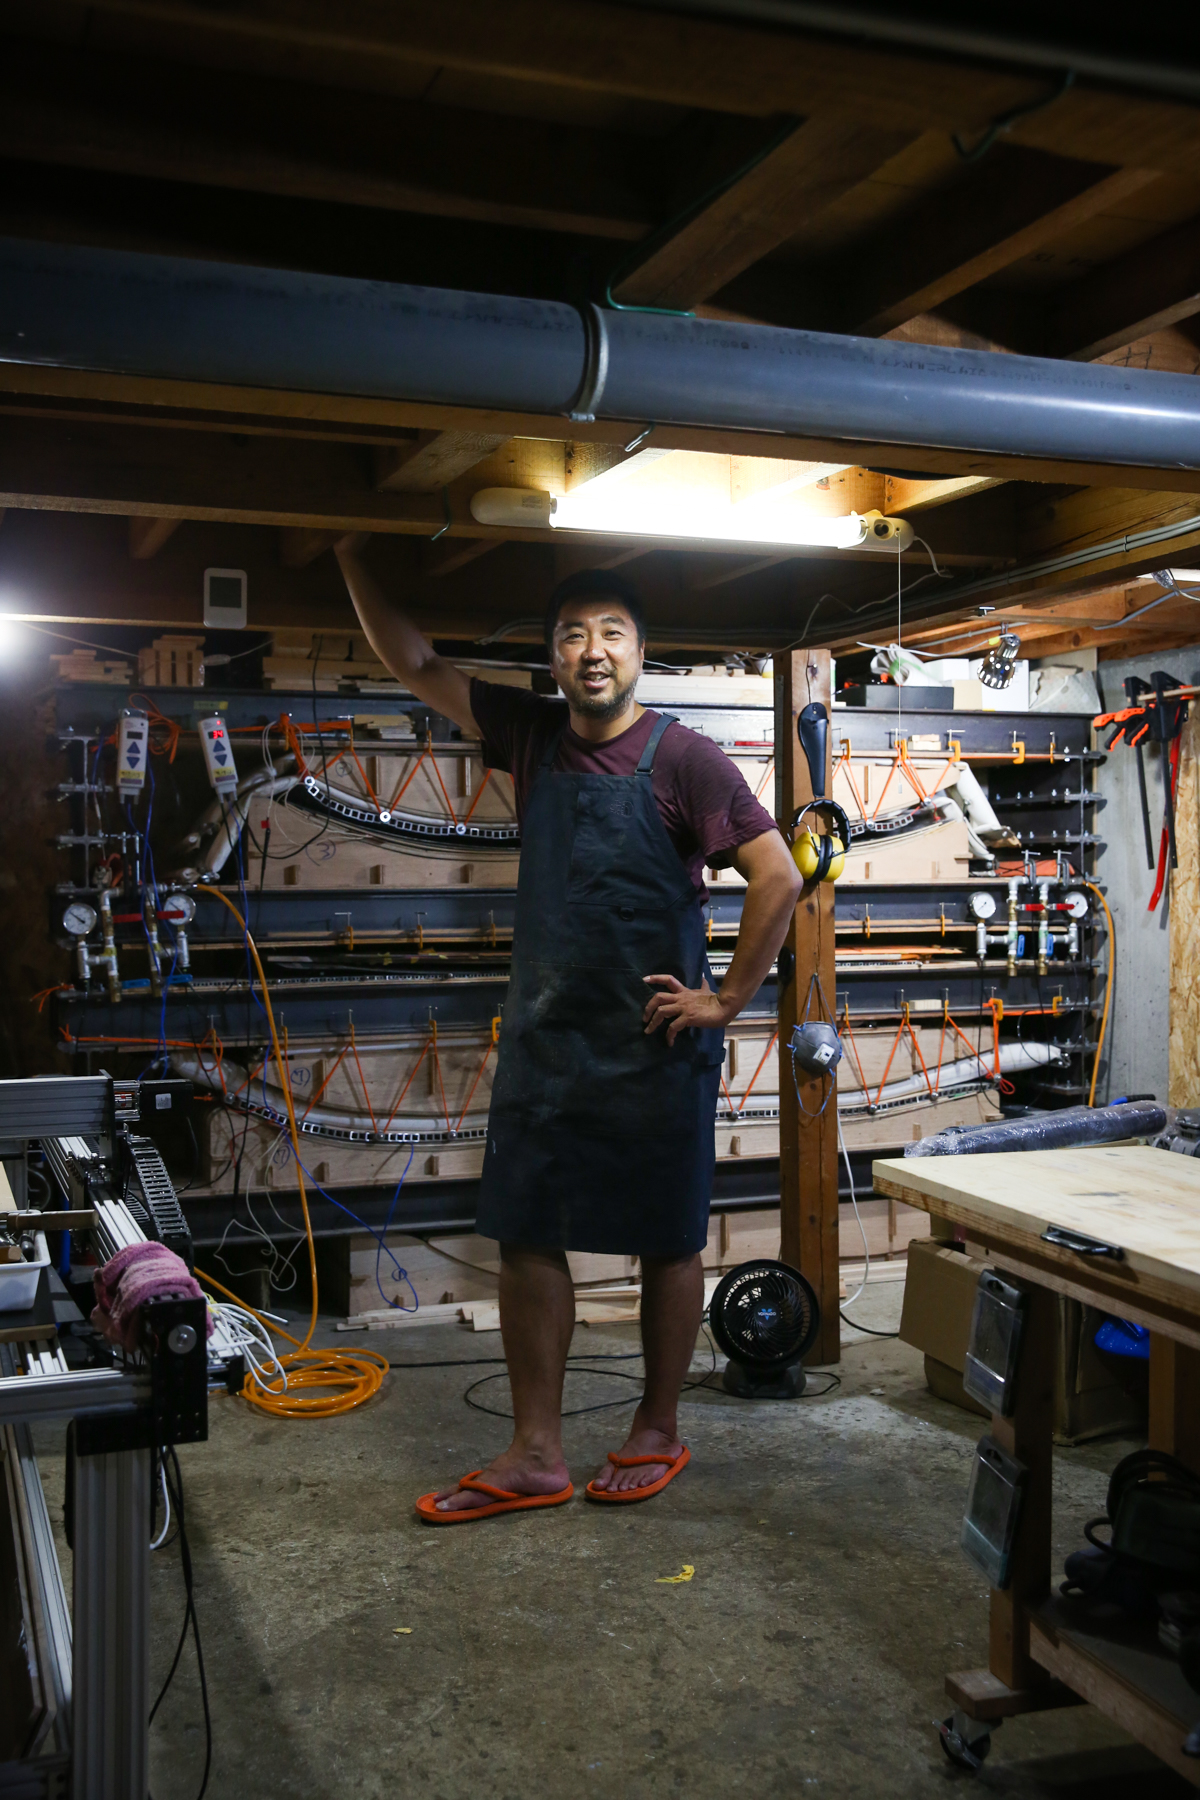
works as a mountain guide in the winter and dedicates himself day and night to making skis and snowboards in the summer.
Board development is updated daily, so please check Nagai's Instagram for details.
(Instagram
, Voltage Design website)
Interview and writing: Daigo Onozuka